
A 100-Year-Old Pie Crust Recipe That Still Shines
A 100-Year-Old Pie Crust Recipe That Still Shines is one of those treasured kitchen gems that instantly makes me grateful for the cooks who came before us.
 By Amanda DavisFEB 5, 20266 MIN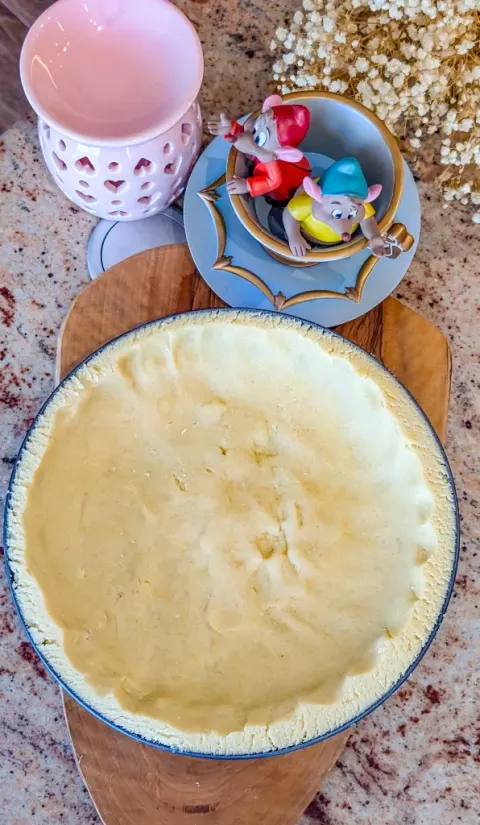
Ingredients
Instructions
- In a large bowl, whisk together the flour, salt, and sugar if using.
- Add cold lard or butter, cutting it into the flour until the mixture resembles coarse crumbs with pea-sized pieces. Those visible bits? That’s flakiness waiting to happen.
- Drizzle in ice-cold water, one tablespoon at a time, gently tossing with a fork until the dough just begins to come together.
- Divide dough into two discs, wrap tightly, and refrigerate for at least 30 minutes. Resting relaxes the gluten and firms the fat.
- On a lightly floured surface, roll from the center outward, turning the dough as you go. Transfer gently to your pie plate.
- Fill according to your pie recipe and bake as directed. This crust handles blind baking and filled pies equally well.
A 100-Year-Old Pie Crust Recipe That Still Shines is one of those treasured kitchen gems that instantly makes me grateful for the cooks who came before us. Truly — thank you for being here and for caring about recipes that last. This isn’t trendy, flashy, or complicated. It’s dependable, time-tested, and heartbreakingly good. And right after the first flaky bite, you’ll understand why this pie crust has survived for over a century.
I promised you timeless, and here it is. This is the pie crust your great-grandmother trusted, the one passed down on stained recipe cards and whispered tips at flour-dusted countertops. No shortcuts, no gimmicks — just honest ingredients and technique that works.
If you’ve ever struggled with tough crusts, shrinking edges, or soggy bottoms, this recipe might just change everything.
Why This 100-Year-Old Pie Crust Recipe Still Shines
There’s a reason this pie crust has endured for generations. It’s forgiving, flaky, and incredibly versatile. Sweet pies, savory pies, lattice tops, double crusts — it handles them all beautifully.
Unlike many modern recipes, this one relies on a balance of fat, flour, and patience rather than gadgets or specialty ingredients. It rolls easily, bakes evenly, and produces layers so tender they practically shatter under your fork.
And the flavor? Pure, buttery comfort with just enough salt to make everything else sing.
What Does This Old-Fashioned Pie Crust Taste Like?
This 100-year-old pie crust recipe delivers a delicate crispness on the outside with soft, flaky layers inside. It’s rich without being greasy, sturdy without being tough, and neutral enough to let your fillings shine.
Whether you’re filling it with spiced apples, juicy peaches, or a savory chicken pot pie, this crust supports without stealing the spotlight — exactly what a great pie crust should do.
And let me tell you… the smell of this baking in the oven is pure nostalgia.
Benefits of Making a Traditional 100-Year-Old Pie Crust
There’s something deeply satisfying about using a recipe that’s stood the test of time.
Here’s why this one is worth mastering:
- No fancy tools required
- Simple pantry ingredients
- Foolproof technique
- Works for sweet and savory pies
- Freezes beautifully
Plus, learning this recipe gives you a foundation you can rely on for decades — and maybe even pass down yourself.
Ingredients for a 100-Year-Old Pie Crust Recipe
This recipe reflects a time when ingredients were simple and purposeful.
- 2 ½ cups all-purpose flour
- 1 teaspoon salt
- 1 tablespoon sugar (optional, for sweet pies)
- 1 cup cold lard or unsalted butter (or half of each)
- 6–8 tablespoons ice-cold water
That’s it. No vinegar, no eggs, no tricks — just balance and temperature.
Tools You’ll Need
Keep it simple, just like the recipe intends.
- Large mixing bowl
- Pastry cutter or fork
- Measuring cups and spoons
- Rolling pin
- Plastic wrap
Your hands are the most important tool here.
How to Make a 100-Year-Old Pie Crust Recipe Step by Step
Step 1: Mix the Dry Ingredients
In a large bowl, whisk together the flour, salt, and sugar if using.
Step 2: Cut in the Fat
Add cold lard or butter, cutting it into the flour until the mixture resembles coarse crumbs with pea-sized pieces. Those visible bits? That’s flakiness waiting to happen.
Step 3: Add Ice Water
Drizzle in ice-cold water, one tablespoon at a time, gently tossing with a fork until the dough just begins to come together.
Step 4: Form and Chill
Divide dough into two discs, wrap tightly, and refrigerate for at least 30 minutes. Resting relaxes the gluten and firms the fat.
Step 5: Roll and Shape
On a lightly floured surface, roll from the center outward, turning the dough as you go. Transfer gently to your pie plate.
Step 6: Fill and Bake
Fill according to your pie recipe and bake as directed. This crust handles blind baking and filled pies equally well.
What to Serve with Pies Made from This Crust
This crust pairs beautifully with classic fillings:
- Apple, peach, or cherry pie
- Pumpkin or sweet potato pie
- Chicken pot pie
- Beef or vegetable hand pies
Add a scoop of vanilla ice cream or a dollop of whipped cream, and you’re set.
Storage and Make-Ahead Instructions
This 100-year-old pie crust recipe is ideal for planning ahead.
- Refrigerate dough for up to 3 days
- Freeze dough discs for up to 3 months
- Thaw overnight in the refrigerator before rolling
Baked crusts can be stored at room temperature for 1 day or frozen longer.
General Information About This Historic Recipe
Recipes like this were born from necessity — cooks needed something reliable, economical, and adaptable. That’s why this crust has outlived trends and technology. It works in wood-fired ovens, gas ovens, and modern kitchens alike.
It’s not just a recipe. It’s culinary history.
Final Thoughts on a 100-Year-Old Pie Crust Recipe That Still Shines
This 100-year-old pie crust recipe still shines because it was built on fundamentals, not trends. It’s a reminder that some things don’t need improvement — just appreciation.
If you love heritage baking, you may also enjoy Old-Fashioned Apple Pie, Classic Peach Cobbler, or Grandma’s Custard Pie — recipes that carry stories in every bite.
Let’s Keep These Recipes Alive
If you try this crust, please leave a review and share your pie photos on Pinterest. Seeing these old recipes come back to life in modern kitchens truly means the world to me.
Nutritional Information (Per Serving – Approximate)
- Calories: 210
- Fat: 14g
- Carbohydrates: 18g
- Protein: 3g
- Sugar: 1g
Tips for Success
- Keep everything cold — especially the fat
- Don’t overwork the dough
- Chill before baking to prevent shrinking
- Use gentle pressure when rolling
- Let the pie cool slightly before slicing
These small habits are what generations relied on.
Variations
This recipe has survived because it adapts.
- Butter only: Rich flavor, slightly less flaky
- Lard only: Ultra-flaky and tender
- Half butter, half lard: Best of both worlds
- Whole wheat flour: Replace up to ⅓ for a nuttier crust
- Sugar: Skip it entirely for savory pies
The structure stays strong no matter how you tweak it.
Frequently Asked Questions
Why did older recipes use lard?
Lard was affordable and produced exceptional flakiness — and honestly, it still does.
Can beginners make this pie crust?
Absolutely. This is one of the most forgiving crusts you’ll ever try.
Why is my crust tough?
Overworking the dough or adding too much water are the usual culprits.
Can I use a food processor?
Yes, but pulse gently. The old method works best for control.
More Recipes You'll Love
All Dinner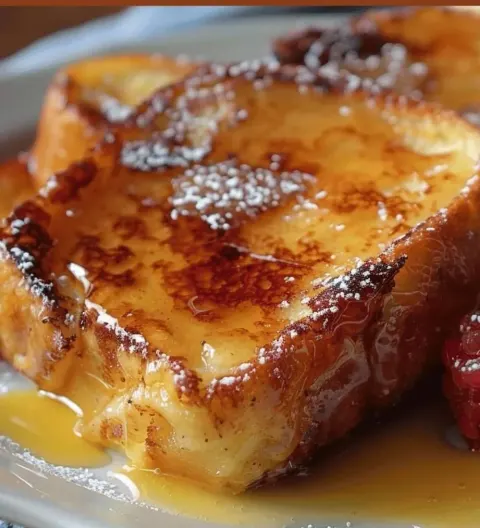 Dinner
Overnight Crème Brûlée French Toast (Decadent, Buttery & Perfect for Brunch!)
Overnight Crème Brûlée French Toast is the kind of recipe I live to share with you — thank you, truly…
 Dinner
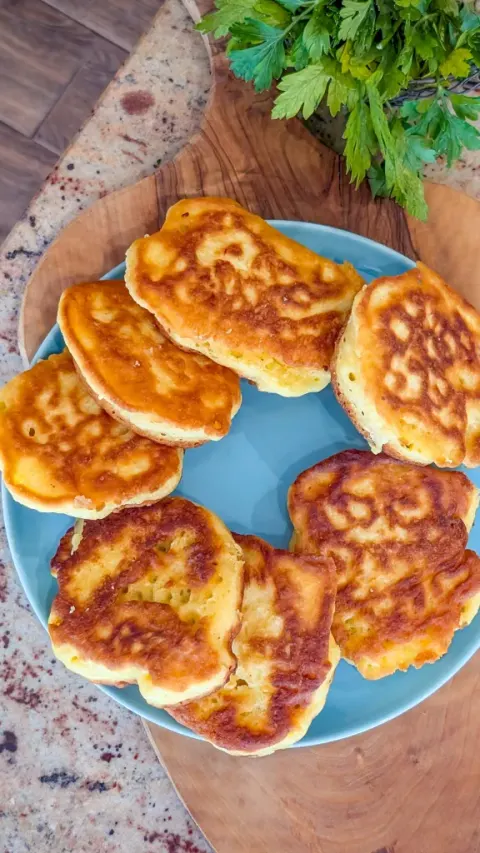
Fried Cornbread
Fried Cornbread is one of those recipes that instantly brings comfort and nostalgia flooding back. Right after the first bite, you remember why simple food…
 Dinner
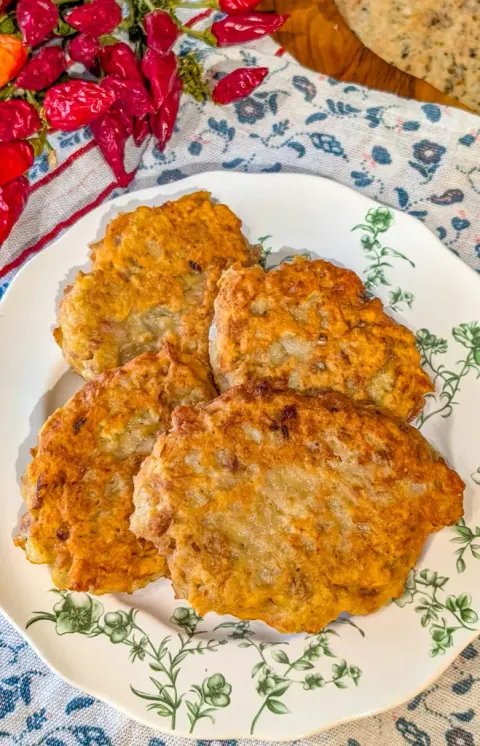
Southern Fried Salmon Patties
Southern Fried Salmon Patties are the kind of recipe that instantly feels like home. Right after the very first bite…
 Dinner
Easy Crockpot French Dip Grilled Cheese
Thank you—truly—for being here and for loving those cozy, comfort-packed meals that feel like a warm hug after a long day.
 Dinner
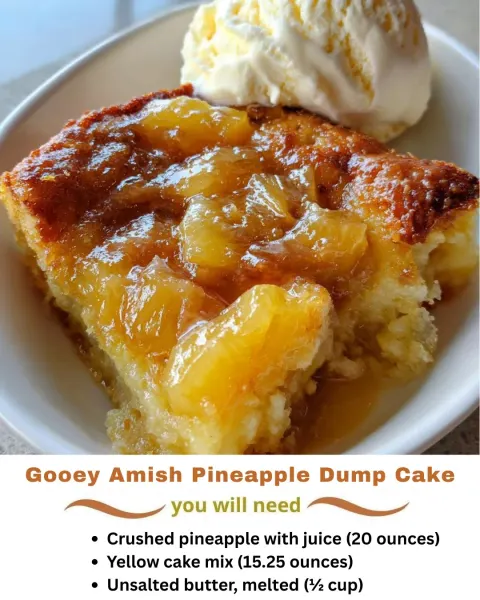
Gooey Amish Pineapple Dump Cake
Thank you—truly—for being here and for loving desserts that feel like they came straight from a well-loved church cookbook or a handwritten recipe card…
 Dinner
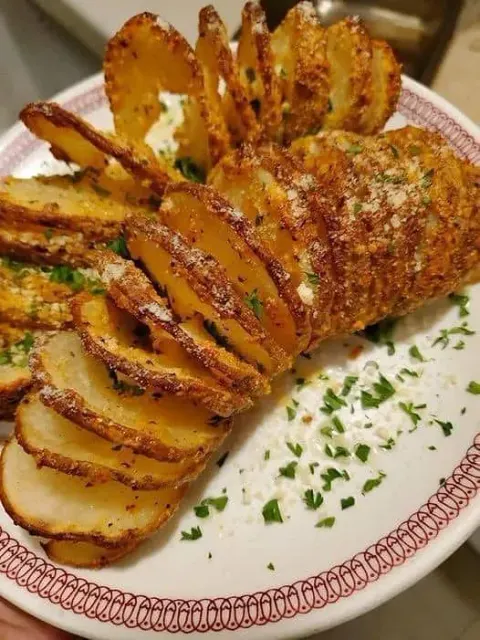
Perfectly Sliced Baked Potatoes
Thank you—truly—for being here and for loving the kind of simple, timeless recipes that turn humble ingredients into something special.
 Dinner
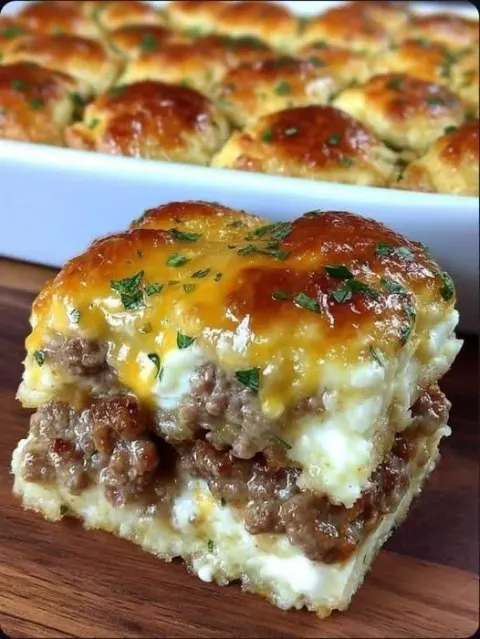
Easy 3-Ingredient Sausage & Cream Cheese Casserole
Thank you—truly—for being here and for loving recipes that prove simple can still be downright delicious.
 Dinner
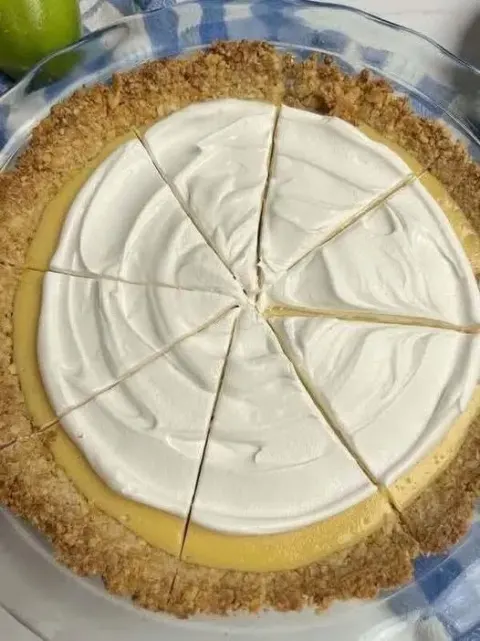
Atlantic Beach Pie: The Sweet & Salty Southern Classic!!!
Thank you—truly—for being here and for loving desserts that carry a little story in every bite. 💛 Atlantic Beach Pie is one of those Southern treasures that…