
Butterfinger Caramel Crunch Bars
If there’s one treat that always disappears first at bake sales or family gatherings, it’s these Butterfinger Caramel Crunch Bars.
 By Amanda DavisOCT 11, 20256 MIN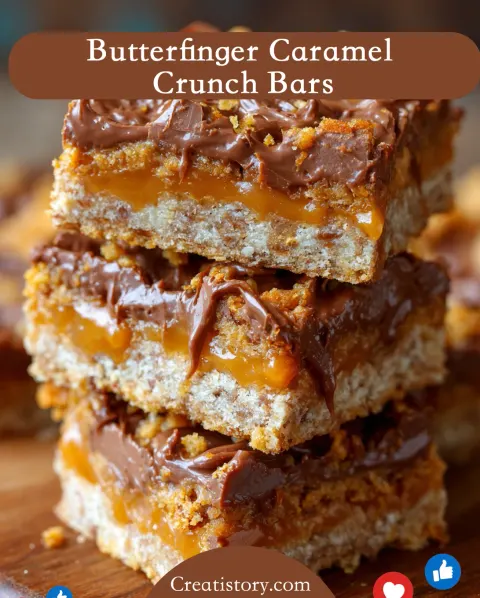
Ingredients
Instructions
- Line an 8×8-inch pan with parchment paper, leaving some overhang for easy lifting later.
- In a medium bowl, combine the crushed graham crackers and melted butter. Stir until the mixture resembles wet sand. Press firmly and evenly into the prepared pan to create the crust. Place it in the refrigerator while you prepare the caramel.
- In a small saucepan over low heat, melt the caramel bits with the heavy cream, stirring continuously until smooth and silky. Pour the caramel evenly over the graham cracker layer. Let it cool for 5–10 minutes.
- In a microwave-safe bowl, combine chocolate chips and peanut butter. Heat in 30-second intervals, stirring between each, until completely melted and glossy. Pour over the cooled caramel layer and spread evenly with a spatula.
- While the chocolate is still slightly warm, sprinkle the crushed Butterfinger pieces generously over the top, pressing them gently so they stick.
- Refrigerate for at least 2 hours, or until firm. Once set, lift the bars out using the parchment paper and cut into squares.
- Anything but boring!! The smell alone when you’re melting that caramel and chocolate together is incredible—trust me, everyone in your kitchen will be sneaking a taste before it even cools!
If there’s one treat that always disappears first at bake sales or family gatherings, it’s these Butterfinger Caramel Crunch Bars. The irresistible combination of buttery graham cracker crust, gooey caramel, and that signature Butterfinger crunch makes them pure dessert bliss. These bars are sweet, salty, and satisfyingly crunchy—all in one bite!
And because I love sharing all my favorite dessert secrets, don’t forget to subscribe to my newsletter below so you can receive this Butterfinger Caramel Crunch Bars recipe straight to your inbox, along with other exclusive sweet treats you won’t find anywhere else!
Overview of the Recipe
Butterfinger Caramel Crunch Bars are everything you crave in a dessert—rich, chewy, and crunchy with that nostalgic candy bar flavor we all grew up loving. The recipe begins with a buttery graham cracker base, followed by a luscious layer of caramel and melted chocolate, and finally topped with crushed Butterfinger candy bars. It’s an easy, no-fuss dessert that looks impressive and tastes like a million bucks.
Reasons to Love This Recipe
- No baking required! Just a few minutes on the stove and some time in the fridge.
- Crowd-pleaser: Whether it’s a potluck, birthday, or holiday party, everyone will want seconds.
- Customizable: You can swap in other candy bars or mix in nuts for your own twist.
- Perfect texture balance: Buttery base, creamy top, and crunchy candy perfection.
Description of the Taste
Imagine the buttery aroma of graham crackers melding with the silky sweetness of caramel, all crowned with crushed Butterfinger candy that gives every bite a satisfying crunch. Each mouthful delivers that chocolate-peanut-butter-caramel trifecta that’s downright addictive.
Benefits of This Recipe
Besides being dangerously delicious, these Butterfinger Caramel Crunch Bars are:
- Portable and shareable — cut into squares or bars and pack for any occasion.
- Make-ahead friendly — store beautifully in the fridge or freezer.
- Budget-friendly — uses simple pantry staples and leftover candy bars!
Ingredients for Butterfinger Caramel Crunch Bars
For the Crunch Layer:
- 1 ½ cups crushed graham crackers
- ½ cup unsalted butter, melted
For the Caramel Layer:
- 1 cup caramel bits (or soft caramels, unwrapped)
- 2 tablespoons heavy cream
For the Chocolate Layer:
- 1 ½ cups semi-sweet chocolate chips
- 2 tablespoons peanut butter
For the Topping:
- 4 Butterfinger candy bars, crushed (or about 1 ½ cups mini Butterfingers)
Necessary Tools for Preparation
- 8×8-inch baking pan
- Mixing bowls
- Rubber spatula
- Small saucepan or microwave-safe bowl
- Parchment paper
- Measuring cups and spoons
Ingredient Additions and Substitutions
- No Butterfingers? Try crushed Reese’s, Snickers, or even Heath bars.
- Add nuts: Chopped peanuts or pecans add a lovely extra crunch.
- Want it saltier? Sprinkle sea salt over the caramel layer for a salted-caramel twist.
- Dairy-free option: Use vegan butter and coconut milk instead of cream.
Step-by-Step Instructions on How to Make Butterfinger Caramel Crunch Bars
Step 1: Prepare the Pan
Line an 8×8-inch pan with parchment paper, leaving some overhang for easy lifting later.
Step 2: Make the Crunch Layer
In a medium bowl, combine the crushed graham crackers and melted butter. Stir until the mixture resembles wet sand. Press firmly and evenly into the prepared pan to create the crust. Place it in the refrigerator while you prepare the caramel.
Step 3: Melt the Caramel
In a small saucepan over low heat, melt the caramel bits with the heavy cream, stirring continuously until smooth and silky. Pour the caramel evenly over the graham cracker layer. Let it cool for 5–10 minutes.
Step 4: Add the Chocolate Layer
In a microwave-safe bowl, combine chocolate chips and peanut butter. Heat in 30-second intervals, stirring between each, until completely melted and glossy. Pour over the cooled caramel layer and spread evenly with a spatula.
Step 5: Top with Butterfinger Pieces
While the chocolate is still slightly warm, sprinkle the crushed Butterfinger pieces generously over the top, pressing them gently so they stick.
Step 6: Chill and Set
Refrigerate for at least 2 hours, or until firm. Once set, lift the bars out using the parchment paper and cut into squares.
Anything but boring!! The smell alone when you’re melting that caramel and chocolate together is incredible—trust me, everyone in your kitchen will be sneaking a taste before it even cools!
What to Serve with Butterfinger Caramel Crunch Bars
- A scoop of vanilla ice cream for an extra indulgent dessert.
- Hot coffee or espresso to balance the sweetness.
- Whipped cream and a drizzle of caramel sauce for presentation perfection.
Storage Instructions
- Refrigerator: Store in an airtight container for up to 1 week.
- Freezer: Freeze for up to 3 months. Thaw overnight in the fridge before serving.
Pro tip: Separate layers with parchment to keep the chocolate from sticking together.
General Information
- Prep Time: 15 minutes
- Chill Time: 2 hours
- Total Time: 2 hours 15 minutes
- Servings: 12–16 bars
Conclusion
If you’ve been searching for a show-stopping dessert that’s surprisingly simple to make, Butterfinger Caramel Crunch Bars are your new go-to! Every bite bursts with buttery sweetness, chocolatey indulgence, and that unforgettable Butterfinger crunch. They’re easy, crowd-pleasing, and just the right amount of over-the-top delicious.
I promised you versatile, and here’s proof—serve them chilled at your next gathering, wrap them as edible gifts, or enjoy them straight from the fridge for a midnight treat.
And if you’re as obsessed with caramel desserts as I am, be sure to check out my other peach-inspired recipes like Caramel Peach Cobbler Bars and Peach Crumble Cheesecake Cups—they’re perfect companions to today’s recipe!
Interactive Element
I’d love to see your Butterfinger Caramel Crunch Bars creations! 💛 Tag your photos on Pinterest or leave a review in the comments below—let me know if you made any fun twists. Your feedback keeps our sweet community growing!
Nutritional Information (per serving)
- Calories: ~295 kcal
- Carbohydrates: 33g
- Protein: 3g
- Fat: 18g
- Saturated Fat: 8g
- Cholesterol: 20mg
- Sodium: 150mg
- Sugar: 27g
Tips for Success
- Crush the Butterfingers finely for even distribution—or leave some chunky bits for texture!
- Use parchment paper to prevent sticking and for easy clean-up.
- Cut the bars when slightly chilled (not rock-hard) for neat slices.
- Store them cold—they taste best slightly chilled, giving that firm crunch with a soft caramel bite.
Frequently Asked Questions
Can I make these ahead of time?
Absolutely! These bars actually taste better after chilling overnight—the flavors meld beautifully.
Can I use homemade caramel sauce?
Yes, if it’s thick enough to set. Just make sure it’s not too runny before layering.
My chocolate layer cracked—what went wrong?
It likely set too quickly or was too cold when cut. Let it sit at room temperature for a few minutes before slicing next time.
Can I double the recipe?
Definitely! Use a 9×13-inch pan and double all ingredients. Perfect for parties!
More Recipes You'll Love
All Desserts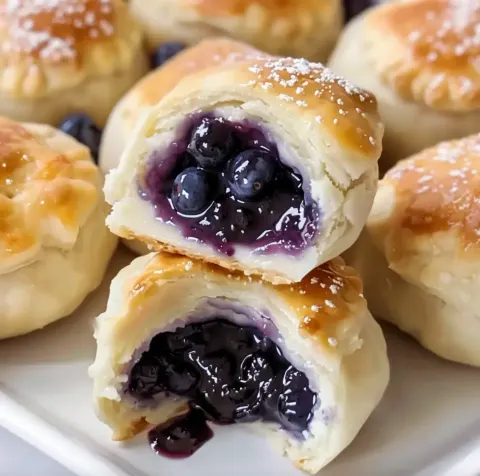 Desserts
Blueberry Pie Bombs
Blueberry Pie Bombs 💙✨ – Bite-Sized Bursts of Sweet, Flaky Goodness! Thank you so much for stopping by today, my friend!
 Desserts
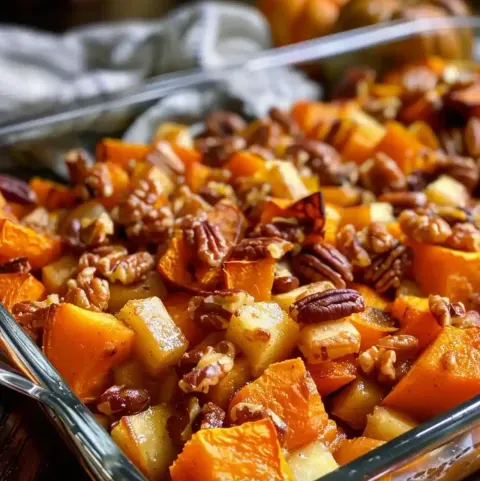
Butternut Squash Apple Bake
Butternut Squash Apple Bake – Cozy, Sweet, and Simply Irresistible 🍎🎃✨ First things first — thank you for stopping by!
 Desserts
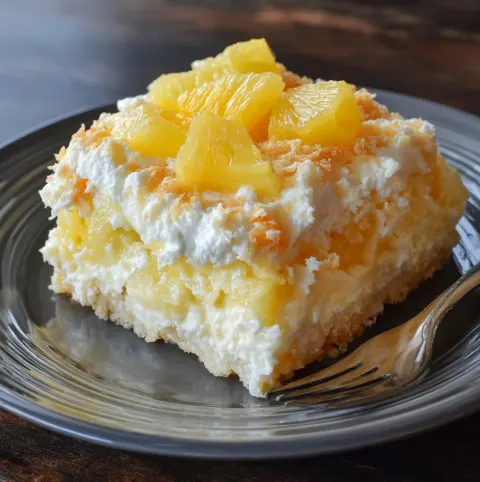
Pineapple Cheese Casserole
Pineapple Cheese Casserole – The Sweet & Savory Southern Classic 🍍🧀✨ Before we start whisking and baking, let me just say — thank you for being here!
 Desserts
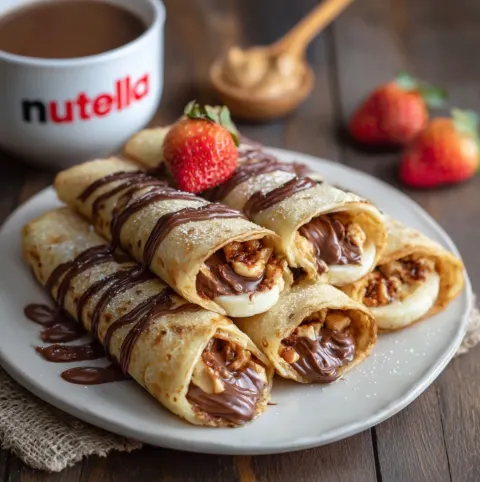
Nutella Crepe Wraps
Nutella Crepe Wraps – A Sweet Breakfast Dream Come True! 🍫🥞✨ First things first — thank you for being here, my sweet-toothed friends!
 Desserts
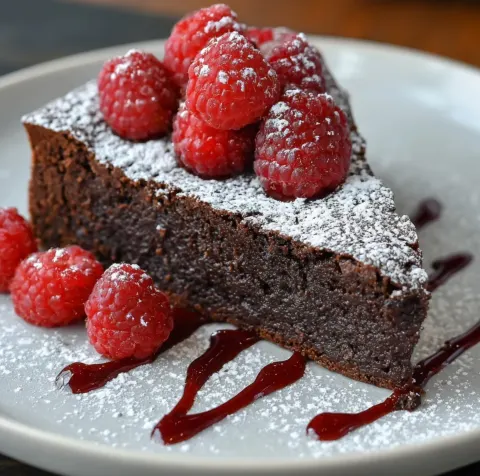
Flourless Black Cocoa and Chia Greek Yogurt Cake – A Dark Chocolate Dream
I have to start by saying — thank you for being here, my fellow chocolate lovers! ❤️ Every time I share a dessert that’s both indulgent and wholesome…
 Desserts
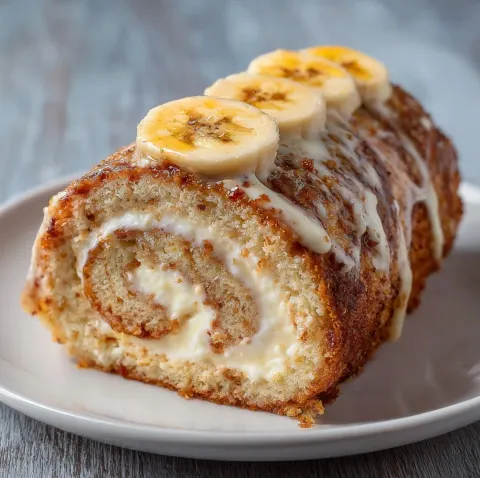
Banana Cream Cheesecake Roll
Oh, friends—this one is pure dessert heaven! My Banana Cream Cheesecake Roll is the ultimate showstopper: a light…
 Desserts
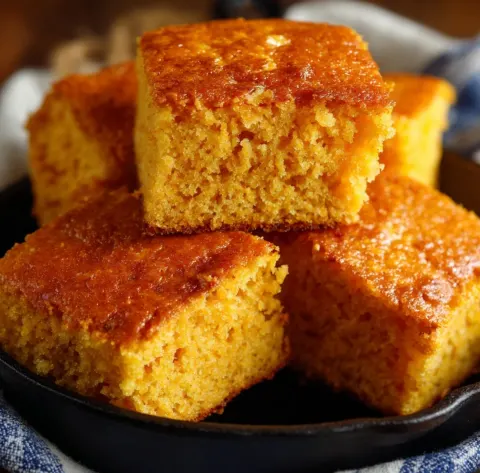
Homemade Sweet Potato Cornbread
There are few things that warm the soul quite like a golden, buttery slice of Homemade Sweet Potato Cornbread.
 Desserts
Oreo Layered Halloween Brownies
If you’re looking for the ultimate spooky-season dessert, these Oreo Layered Halloween Brownies are rich, fudgy, and loaded with layers of cookies, chocolate…