
Cheese Stick Bacon Cheeseburgers
Ground beef gets rolled around melty cheddar, crispy bacon, and a whole cheese stick, then wrapped in more bacon and baked into a sliceable…
 By Amanda DavisAUG 16, 20267 MIN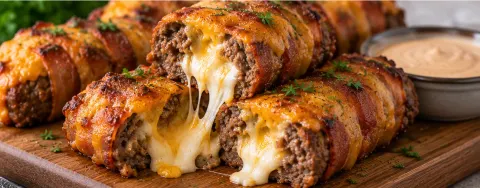
This post may contain affiliate links. If you buy something through one of them, we may earn a small commission at no extra cost to you. Learn more.
Ingredients
Instructions
- Preheat the oven to 400°F (200°C) and line a baking sheet with foil or parchment paper.
- Cook 4 slices of the bacon in a skillet over medium heat until crisp, drain, then crumble. In the same skillet, cook about a third of the ground beef with the diced onion until browned; drain excess grease.
- In a large bowl, season the remaining ground beef with the salt, garlic powder, black pepper, onion powder, and smoked paprika, mixing gently until evenly combined.
- Divide the seasoned raw beef into 6 portions and flatten each into a thin rectangle on a cutting board or piece of plastic wrap.
- Spread the cooked beef and onion mixture over each rectangle, then top with the crumbled bacon, shredded cheddar, and a mozzarella cheese stick placed in the center.
- Roll each rectangle up tightly around the filling and cheese stick, pinching the seams to seal completely.
- Wrap each roll in a slice of the remaining raw bacon, tucking the ends underneath to secure, then place on the prepared baking sheet.
- Bake for about 25–30 minutes, until the bacon is crisp and the beef reaches a safe 160°F (71°C) internally.
- Let rest for a few minutes, then slice and serve warm with your favorite dipping sauce.
If a juicy bacon cheeseburger with a cheesy surprise baked right in sounds like your kind of dinner, these Cheese Stick Bacon Cheeseburgers are about to become a favorite. Seasoned ground beef gets rolled around a savory beef-and-onion filling, crispy bacon, and melty cheddar, with a whole mozzarella stick tucked in the center for good measure.
There's something genuinely fun about slicing into a bacon-wrapped log and watching that cheese stick pull apart in strings. The whole thing bakes right on a sheet pan, so there's no flipping or babysitting a skillet — just slice it up and serve with a dipping sauce on the side.
Into easy, creative comfort food like this? Subscribe and get new recipes sent right to your inbox!
Why These Burgers Win
These bring a fun twist to a total classic.
Extra Cheesy
A cheese stick tucked inside the beef melts into a rich, gooey center.
Loaded With Bacon
Crispy bacon adds smoky, salty flavor to every bite.
Juicy and Hearty
Seasoned ground beef keeps things satisfying all the way through.
A Hit With Kids and Adults
Everyone loves discovering that cheesy surprise.
Easy to Make Your Own
Swap in your favorite cheese, toppings, and sauces.
What Do They Taste Like?
These taste like a classic bacon cheeseburger with a serious cheesy upgrade. The beef is savory and juicy, the bacon wrapped around the outside turns crisp in the oven, and the cheese stick melts into a rich, gooey center that pulls apart in strings when you slice into it.
A simple dipping sauce on the side — ranch, BBQ, or a spicy mayo — rounds it all out nicely.
What You'll Need
For the Rolls
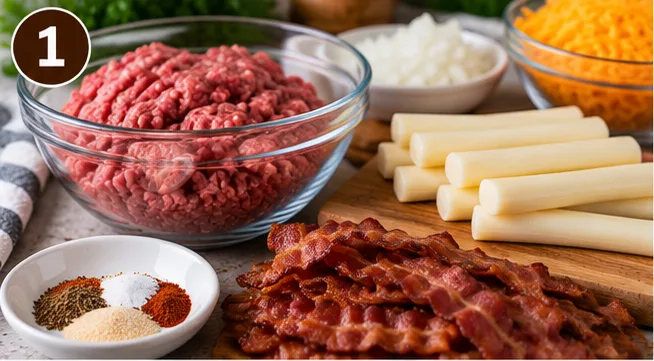
- 1½ pounds ground beef, preferably 80/20, divided
- 1 small onion, diced
- 10 slices bacon, divided (4 for the filling, 6 for wrapping)
- 1 cup shredded cheddar cheese
- 6 mozzarella cheese sticks
- 1 teaspoon kosher salt
- 1 teaspoon garlic powder
- ½ teaspoon black pepper
- ½ teaspoon onion powder
- ½ teaspoon smoked paprika
For Serving
- Your favorite dipping sauce — ranch, BBQ sauce, or spicy mayo
Equipment You'll Need
- Large skillet
- Mixing bowl
- Baking sheet
- Foil or parchment paper
- Plastic wrap, for rolling
- Meat thermometer
Ways to Customize These
Pick Your Cheese
Mozzarella sticks give a wonderfully stretchy center; cheddar leans into a sharper cheeseburger flavor.
You could also use:
- Pepper Jack
- Colby Jack
- Monterey Jack
- Provolone
Switch Up the Bacon
Regular, thick-cut, peppered, or maple bacon all bring something different to the table.
Add Some Heat
Mix diced jalapeños into the beef, or use Pepper Jack cheese sticks.
Try Different Toppings
Scatter these over the sliced rolls or serve them alongside:
- Caramelized onions
- Sautéed mushrooms
- Pickled jalapeños
- Crispy fried onions
- Diced avocado
- Coleslaw
How to Make Cheese Stick Bacon Cheeseburgers
The trick is rolling each one tightly enough that the filling and cheese stay put while it bakes.
Step 1: Heat the Oven
Preheat the oven to 400°F (200°C) and line a baking sheet with foil or parchment paper.
Step 2: Cook the Bacon and Beef Filling
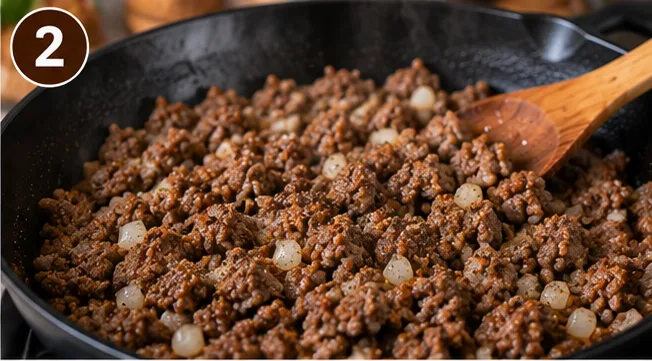
Cook 4 slices of the bacon in a skillet over medium heat until crisp, then drain and crumble.
In the same skillet, cook about a third of the ground beef with the diced onion until browned. Drain off any excess grease.
Step 3: Season the Remaining Beef
Put the remaining ground beef in a large bowl.
Sprinkle in the salt, garlic powder, black pepper, onion powder, and smoked paprika.
Mix gently until evenly seasoned — avoid overworking the beef, since it can make the rolls dense.
Step 4: Flatten the Beef
Divide the seasoned raw beef into 6 equal portions.
Flatten each portion into a thin rectangle on a cutting board or piece of plastic wrap.
Step 5: Layer the Filling
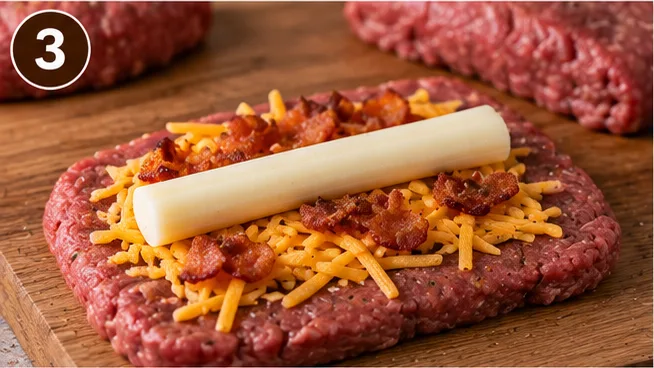
Spread the cooked beef and onion mixture over each rectangle, then top with the crumbled bacon and shredded cheddar. Place a mozzarella cheese stick in the center of each.
Step 6: Roll and Wrap
Roll each rectangle up tightly around the filling and cheese stick, pinching the seams to seal completely.
Wrap each roll in a slice of the remaining raw bacon, tucking the ends underneath to secure it.
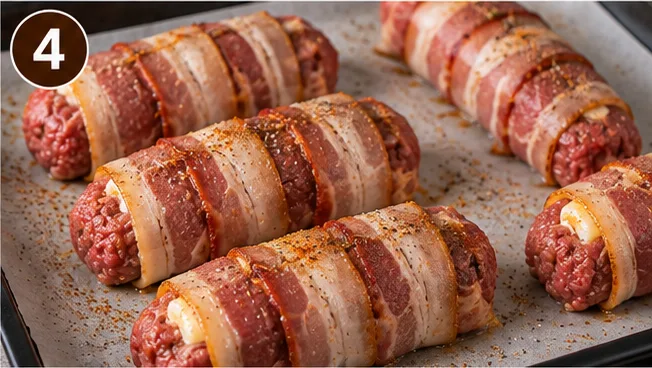
Step 7: Bake
Place the wrapped rolls on the prepared baking sheet.
Bake for about 25–30 minutes, until the bacon is crisp and the beef reaches a safe 160°F (71°C) internally.
Step 8: Rest, Slice, and Serve
Let the rolls rest for a few minutes, then slice and serve warm with your favorite dipping sauce.
What to Serve With Them
These pair perfectly with classic cookout sides.
Favorite Sides
- French fries
- Sweet potato fries
- Onion rings
- Potato wedges
- Coleslaw
- Macaroni salad
- Pasta salad
- Baked beans
- Corn on the cob
A pile of crispy fries and a cold drink makes it the ultimate cheeseburger night.
Storing Leftovers
In the Fridge
Store cooked, sliced rolls in an airtight container for up to 3–4 days.
In the Freezer
Uncooked, wrapped rolls freeze well individually wrapped for up to 2 months. Thaw in the fridge before baking.
Reheating
Reheat gently in the oven or air fryer until warmed through.
Don't overheat — the cheese center gets very hot.
A Little Background
Bacon-wrapped meat rolls are a fun way to turn everyday cheeseburger flavors into something a bit more special. Rolling the beef around the filling instead of just forming a patty means every slice shows off that gooey cheese center.
80/20 ground beef gives the rolls enough fat to stay juicy, and the bacon wrapped around the outside adds another layer of smoky richness as it crisps in the oven.
Nutrition Info
Approximate values per roll, before dipping sauce:
- Calories: 550
- Protein: 40g
- Carbohydrates: 4g
- Fat: 44g
- Saturated Fat: 17g
- Fiber: 1g
- Sugar: 2g
- Sodium: 1,150mg
Nutrition information is approximate and will vary depending on the beef, cheese, bacon, and dipping sauce used.
Final Thoughts
These Cheese Stick Bacon Cheeseburgers take everything great about a bacon cheeseburger and roll it into an irresistible, sliceable log. Juicy seasoned beef wraps around a gooey cheese-stick center, and a snug bacon wrap crisps up perfectly in the oven.
Fun enough for a weekend get-together, easy enough for a weeknight dinner. Just make sure those seams and bacon wraps are sealed well — and get ready for everyone to ask what's inside.
Made these? Leave a review and share your photos on Pinterest — I'd love to see your cheesy creations!
Tips for Success
Seal the Cheese Completely
This is the step that matters most — pinch every seam of the rolled beef firmly shut so the cheese stick can't leak out while baking.
Flatten the Beef Evenly
An even rectangle rolls up more neatly and cooks more evenly than one with thick and thin spots.
Wrap the Bacon Snugly
A tight bacon wrap holds the roll together and crisps up nicely; loose ends can unravel in the oven.
Chill Before Baking
For extra insurance, refrigerate the wrapped rolls for 15–20 minutes before baking to help them hold their shape.
Use a Meat Thermometer
Since these are thicker than a flat patty, a thermometer is the most reliable way to confirm the center is fully cooked.
Frequently Asked Questions
What cheese works best for these rolls?
Mozzarella cheese sticks give you an even, gooey center. Cheddar, Pepper Jack, Monterey Jack, and provolone sticks all work well too.
Can I use turkey instead of beef?
Yes, though ground turkey is leaner and can dry out faster — pick one with some fat and keep an eye on the bake time.
Do I need to cook part of the beef and the bacon first?
Yes — browning a portion of the beef with the onion, and cooking part of the bacon until crisp, builds flavor into the filling before it's rolled up and baked.
How do I keep the cheese from leaking out?
Make sure the rolled beef is pinched shut along every seam, and that the bacon wrap is snug around the outside. Chilling the rolls before baking helps too.
Can I make these ahead and freeze them unbaked?
Yes — assemble and wrap the rolls, then freeze them individually before baking. Thaw in the fridge overnight before baking as directed.
Can I make these in an air fryer?
Yes — cook at around 375°F (190°C) for about 18–22 minutes, turning halfway, until the bacon is crisp and the beef reaches 160°F (71°C) inside. Time will vary based on your air fryer.
More Recipes You'll Love
All Dinner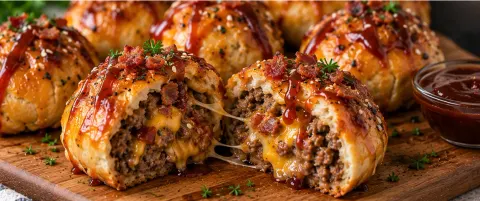 Dinner
BBQ Bacon Cheeseburger Bombs
Juicy beef, smoky bacon, melted cheddar, and tangy BBQ sauce get tucked inside golden, buttery dough for a handheld cheeseburger you can eat with one hand.
 Dinner
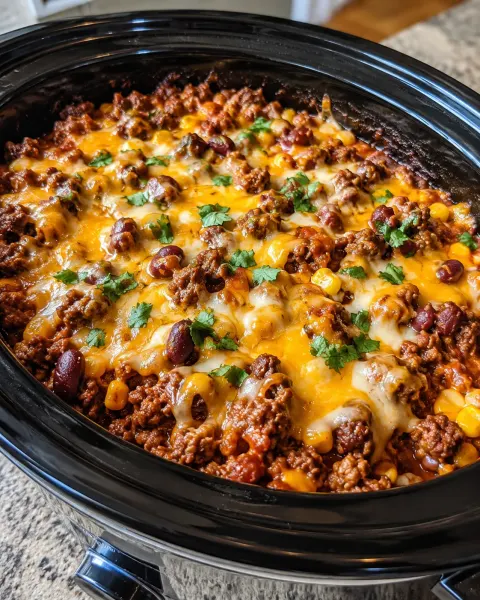
Crock Pot Cowboy Casserole
If you’re looking for a hearty, family-friendly dinner that practically cooks itself, this Crock Pot Cowboy Casserole is a recipe you’ll want to keep close.
 Dinner
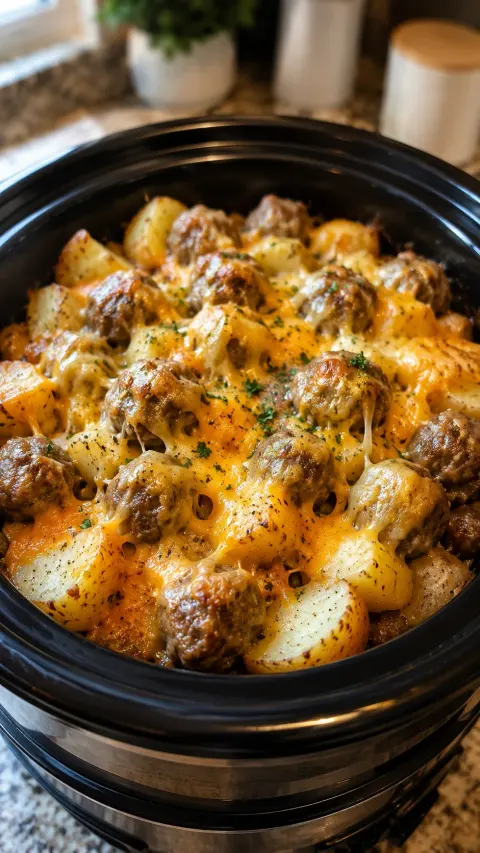
Slow Cooker Cheesy Meatball Potato Bake
If you’re craving a cozy, hearty dinner that practically cooks itself, this Slow Cooker Cheesy Meatball Potato Bake is exactly the kind of recipe to keep…
 Dinner
Best Crack Cake
If you love a cake that’s incredibly moist, buttery, and bursting with warm cinnamon flavor, this Best Crack Cake is one you absolutely need to try.
 Dinner
Cheesy Beef Taco Pockets
If you’re looking for a fun, hearty dinner that combines all the best parts of tacos with golden, flaky pastry…
 Dinner
Kentucky Hot Brown Sandwiches
If you’re craving something warm, cheesy, savory, and completely indulgent, these Kentucky Hot Brown Sandwiches are calling your name!
 Dinner
Slow Cooker Amish Sour Cream Noodles 🍜🥣
If you’re craving a creamy, comforting dinner that’s incredibly easy to prepare, this Slow Cooker Amish Sour Cream Noodles recipe is exactly what you need.
 Dinner
Low Carb 3-Ingredient Bacon Onion Bakes 🥓🧅🧀
If you’re searching for a quick, savory snack or side dish that’s packed with flavor and low in carbs…