
Crustless Coconut Pie – Creamy, Golden & Effortlessly Delicious 🥥✨
Crustless Coconut Pie is one of those magical desserts that feels nostalgic, comforting, and just a little bit dreamy.
 By Amanda DavisAPR 20, 20264 MIN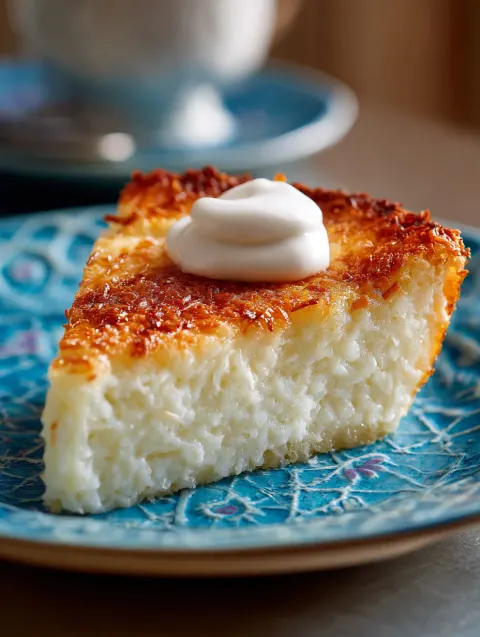
This post may contain affiliate links. If you buy something through one of them, we may earn a small commission at no extra cost to you. Learn more.
Ingredients
Instructions
- Preheat your oven to 175°C (350°F) and lightly grease your pie dish.
- In a bowl, whisk together coconut, sugar, flour, baking powder, and salt.
- Add eggs, milk, vanilla extract, and melted butter. Whisk until smooth and fully combined.
- Pour the batter into your prepared baking dish. The mixture will look very loose—that’s exactly right!
- Bake for 35–45 minutes, or until the top is golden and the center is set.
- The aroma while baking? Buttery, sweet coconut heaven—it’s the kind of smell that makes everyone wander into the kitchen!!
- Let cool slightly before slicing. It will firm up as it rests.
Crustless Coconut Pie is one of those magical desserts that feels nostalgic, comforting, and just a little bit dreamy. I’m so glad you’re here because this recipe is proof that you don’t need anything fancy—no crust, no complicated steps—to create a rich, custardy, coconut-packed pie that practically makes itself in the oven. The smell while it bakes? Sweet coconut, vanilla, and buttery warmth filling the kitchen… absolutely irresistible!!
If you love simple, cozy desserts like this, don’t forget to subscribe for more easy homemade recipes that feel like a hug in every bite.
Why You’ll Love This Crustless Coconut Pie
This Crustless Coconut Pie is soft in the center, lightly golden on top, and filled with rich coconut flavor in every bite. It magically forms its own layers while baking—no crust required.
The Taste & Texture
Creamy like a custard, slightly chewy from the coconut, and delicately sweet with vanilla and butter. The top turns beautifully golden while the inside stays soft and tender—anything but boring!!
Benefits of This Recipe
- No crust needed (super easy!)
- Pantry-friendly ingredients
- One-bowl style mixing
- Perfect for beginners
- Great warm or chilled
Ingredients for Crustless Coconut Pie
Here’s everything you’ll need:
- 1 cup shredded coconut (sweetened or unsweetened)
- ½ cup granulated sugar
- ½ cup all-purpose flour
- ½ teaspoon baking powder
- ¼ teaspoon salt
- 4 large eggs
- 1 cup whole milk
- 1 teaspoon vanilla extract
- ¼ cup butter, melted and cooled
Optional Garnish
- Whipped cream
- Toasted coconut flakes
Tools You’ll Need
- Mixing bowl
- Whisk
- 9-inch pie dish or baking dish
- Spatula
Ingredient Additions and Substitutions
This Crustless Coconut Pie is wonderfully flexible:
- Use coconut milk instead of whole milk for extra coconut flavor
- Swap sugar with coconut sugar or brown sugar
- Add a pinch of cinnamon for warmth
- Mix in chocolate chips for a dessert twist
- Use gluten-free flour blend if needed
How to Make Crustless Coconut Pie
Step 1: Preheat the Oven
Preheat your oven to 175°C (350°F) and lightly grease your pie dish.
Step 2: Mix Dry Ingredients
In a bowl, whisk together coconut, sugar, flour, baking powder, and salt.
Step 3: Add Wet Ingredients
Add eggs, milk, vanilla extract, and melted butter. Whisk until smooth and fully combined.
Step 4: Pour into Dish
Pour the batter into your prepared baking dish. The mixture will look very loose—that’s exactly right!
Step 5: Bake
Bake for 35–45 minutes, or until the top is golden and the center is set.
The aroma while baking? Buttery, sweet coconut heaven—it’s the kind of smell that makes everyone wander into the kitchen!!
Step 6: Cool and Serve
Let cool slightly before slicing. It will firm up as it rests.
What to Serve with Crustless Coconut Pie
This pie pairs beautifully with:
- Whipped cream
- Vanilla ice cream
- Fresh berries
- A drizzle of caramel or honey
- Hot coffee or tea
Storage Instructions
- Store in the fridge for up to 4 days
- Serve chilled or lightly warmed
- Freeze for up to 1 month
General Information About Crustless Coconut Pie
This classic-style dessert is sometimes called a “magic pie” because it forms its own structure while baking. The flour settles, the eggs set, and the coconut floats slightly—creating a naturally layered, custard-like texture.
It’s simple, rustic, and deeply satisfying.
Conclusion
Crustless Coconut Pie is the perfect blend of simplicity and comfort—creamy, golden, and full of tropical coconut flavor. It’s the kind of dessert that feels effortless yet special enough for any occasion.
If you try it, I’d love to hear how it turned out—share your photos on Pinterest or leave a review!
And if you’re craving more easy desserts, you might also enjoy:
- Coconut custard bars
- Vanilla yogurt cake
- Easy lemon pudding cake
Nutritional Information (Approximate per slice)
- Calories: ~260 kcal
- Protein: 7 g
- Carbohydrates: 28 g
- Fat: 14 g
- Fiber: 2 g
This pie is cozy, creamy, and beautifully simple—the kind of dessert you’ll want to make again and again! 🥥✨
Tips for Success
- Don’t overmix—just combine until smooth
- Let it cool before slicing for clean pieces
- Use whole milk for the richest texture
- Toast coconut flakes for extra flavor on top
- Bake until just set (slightly jiggly center is okay)
Frequently Asked Questions
Why is it called crustless pie?
Because the batter bakes into its own soft structure—no crust needed!
Can I use coconut milk?
Yes! It enhances the coconut flavor beautifully.
Is it supposed to be jiggly?
Slightly in the center when hot—that’s normal. It sets as it cools.
Can I reduce the sugar?
Yes, but it will be less sweet and slightly more egg-forward.
Can I make it ahead of time?
Absolutely—it tastes even better the next day.
More Recipes You'll Love
All Desserts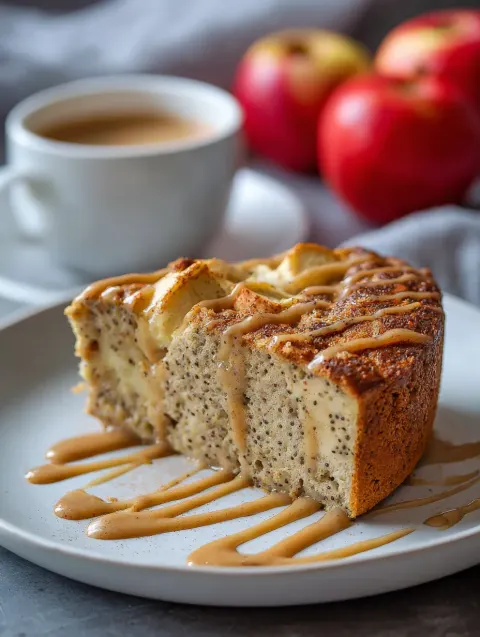 Desserts
Blender Apple Honey Cake – Soft, Naturally Sweet & Effortless 🍎✨
Blender Apple Honey Cake is one of those beautifully simple recipes that makes you pause and smile—because everything comes together in one blender…
 Desserts
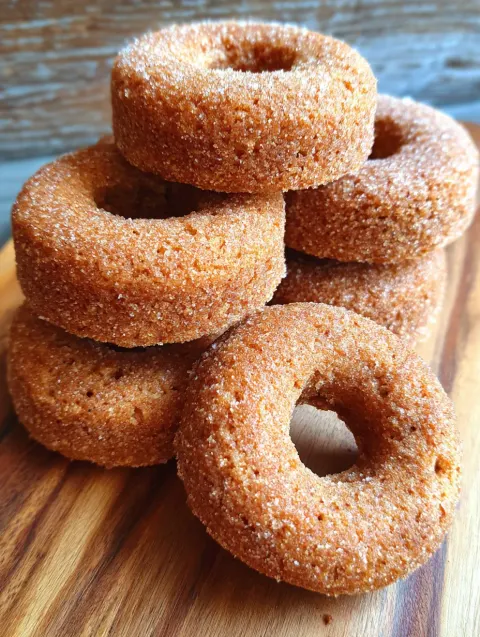
4-Ingredient Healthy Donuts – Soft, Naturally Sweet & Guilt-Free 🍩✨
4-Ingredient Healthy Donuts are one of those simple little kitchen wins that I absolutely love sharing.
 Desserts
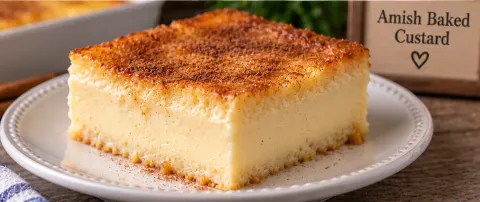
Amish Baked Custard: A Timeless Farmhouse Dessert
A silky, gently sweet custard baked directly in the oven until the top turns deeply golden — the kind of humble…
 Desserts
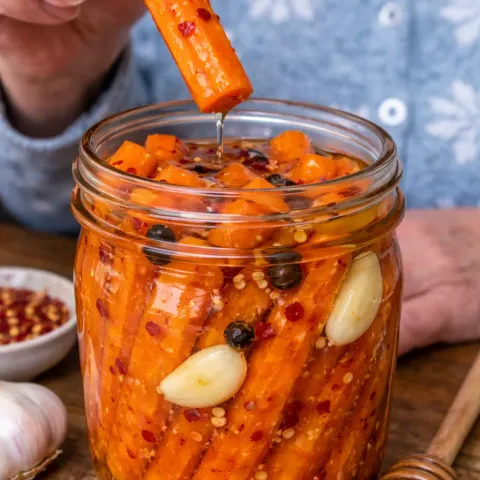
Easy Hot Honey Pickled Carrots (My Favorite Quick Refrigerator Recipe)
There’s something so special about a recipe that’s simple, vibrant, and full of personality—and these Easy Hot Honey Pickled Carrots are exactly that.
 Desserts
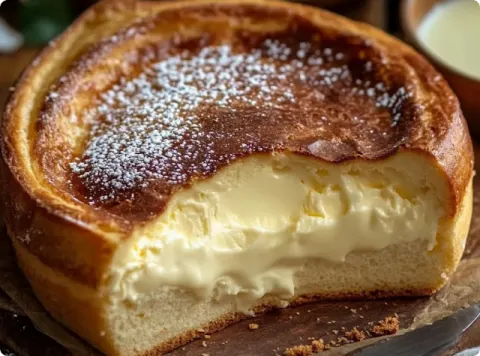
Cream Cheese Pancake (No-Bake Cheesecake-Style Cake)
There’s something so special about a dessert that feels fancy but comes together with almost no effort—and this Cream Cheese Pancake (No-Bake…
 Desserts
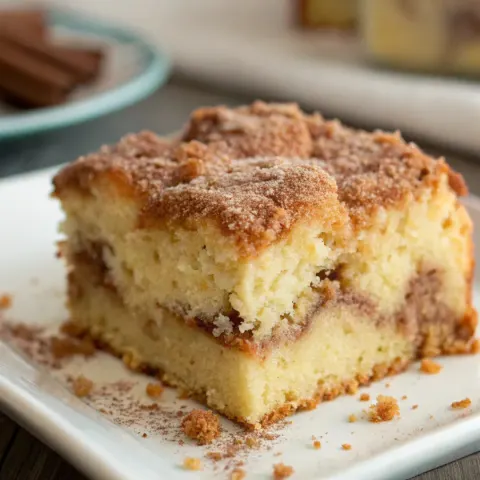
Mom’s Sour Cream Coffee Cake – 10-Min Prep, Super Moist & Easy!
There’s something deeply comforting about a homemade coffee cake, and Mom’s Sour Cream Coffee Cake has always been one of those recipes that feels like…
 Desserts
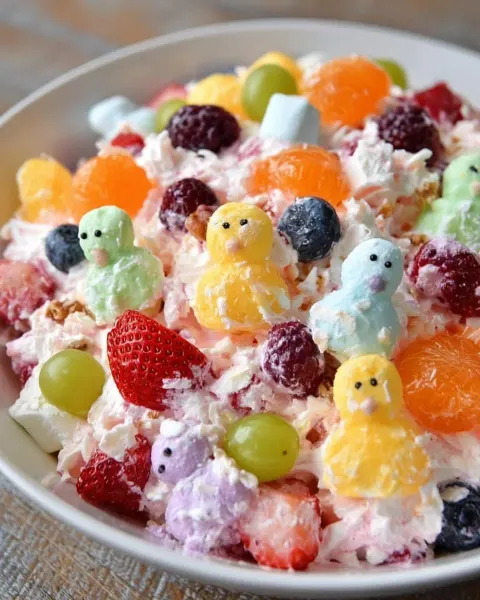
Easter Fruit Fluff Salad
If there’s one dish that instantly brings a little joy and color to the table, it’s this Easter Fruit Fluff Salad.
 Desserts
Delicious Crepes Recipe
I’m always grateful for recipes that feel elegant but are surprisingly simple to make at home. This Delicious Crepes Recipe is exactly that kind of dish.