
Easy Breakfast Cheese Danish: The Ultimate Cream Cheese Pastry with Bakery-Quality Excellence
Thank you—truly—for being here and for loving those special breakfast treats that feel indulgent yet totally doable at home.
 By Amanda DavisFEB 1, 20264 MIN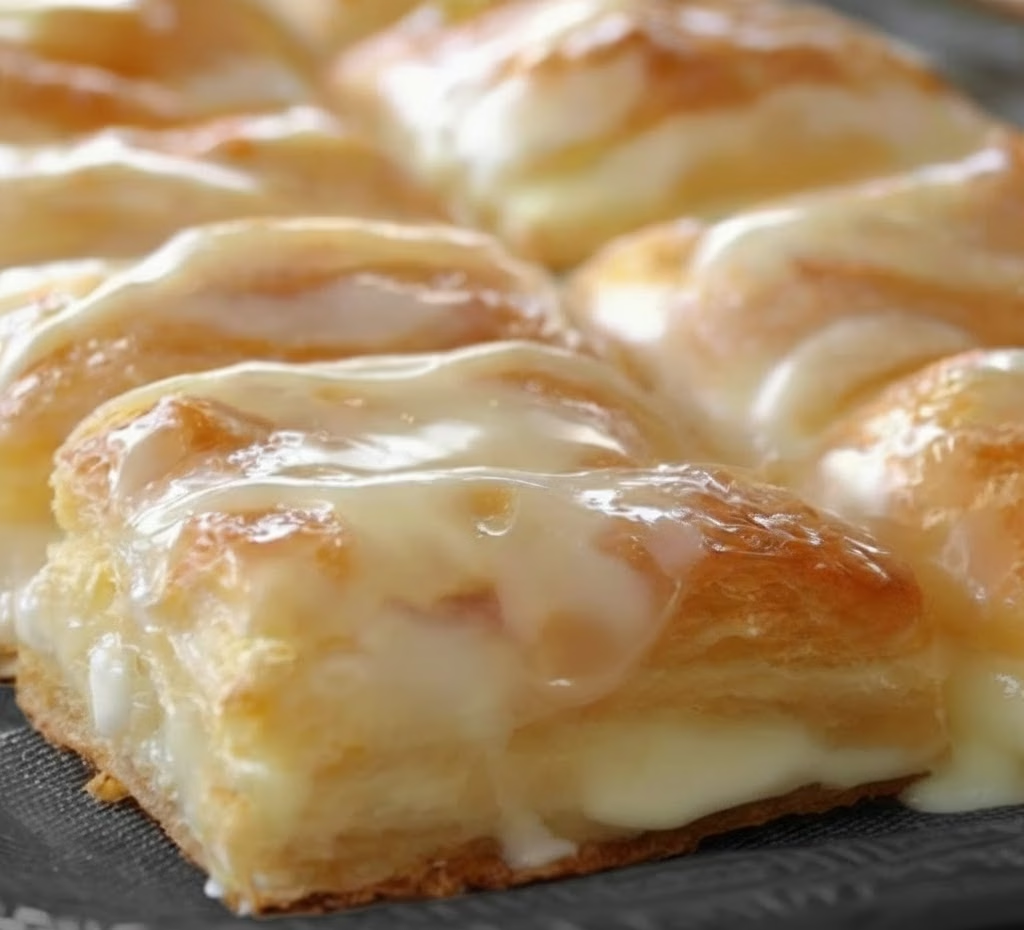
This post may contain affiliate links. If you buy something through one of them, we may earn a small commission at no extra cost to you. Learn more.
Ingredients
Instructions
- Preheat your oven to 375°F (190°C). Line a baking sheet with parchment paper.
- In a bowl, mix cream cheese, sugar, egg yolk, vanilla, and lemon juice until smooth and creamy.
- Roll out the pastry dough and cut into squares or rectangles. Place them on the prepared baking sheet.
- Spoon a generous amount of cream cheese filling into the center of each pastry.
- Fold or slightly pinch the edges inward, leaving the center exposed.
- Bake for 15–18 minutes, or until the pastry is puffed and golden.
- Allow to cool slightly. Drizzle with glaze or dust with powdered sugar if desired.
Thank you—truly—for being here and for loving those special breakfast treats that feel indulgent yet totally doable at home. 💛 This Easy Breakfast Cheese Danish is one of those recipes that makes an ordinary morning feel like a bakery visit. Flaky, golden pastry wrapped around a creamy, lightly sweetened cream cheese filling—it’s everything you crave in a Danish, without the stress.
This Easy Breakfast Cheese Danish is perfect for slow weekends, holiday mornings, or anytime you want to impress with minimal effort. It looks fancy, tastes bakery-quality, and yet comes together with simple ingredients you probably already have. I promised you easy elegance—and here’s proof!
If you enjoy cozy breakfast bakes like this, don’t forget to subscribe so you can receive my favorite morning recipes straight to your inbox.
Overview of Easy Breakfast Cheese Danish
This recipe uses ready-made pastry dough to create a flaky base, filled with a smooth cream cheese mixture and baked until golden and irresistible. It’s simple, reliable, and endlessly customizable.
Reasons to Love This Easy Breakfast Cheese Danish
• Bakery-style results at home • Quick and beginner-friendly • Flaky, buttery pastry • Creamy, lightly sweet filling • Perfect for breakfast or brunch
Anything but boring!!
What This Cheese Danish Tastes Like
This Danish is rich yet balanced. The pastry is crisp and buttery, while the filling is smooth, creamy, and gently sweet with a hint of vanilla. The aroma when it bakes is incredible!! Warm butter, vanilla, and that unmistakable bakery smell filling the kitchen—pure morning magic.
Benefits of This Recipe
• Uses store-bought dough for ease • No yeast or rising time • Crowd-pleasing breakfast • Easy to customize with toppings • Great make-ahead option
Ingredients for Easy Breakfast Cheese Danish
You only need a handful of classic ingredients.
• Puff pastry or crescent roll dough • Cream cheese (softened) • Granulated sugar • Egg yolk • Vanilla extract • Lemon juice (optional, for brightness)
Optional toppings:
• Powdered sugar glaze • Fruit preserves • Fresh berries
Necessary Tools for Preparation
• Baking sheet • Parchment paper • Mixing bowl • Hand mixer or whisk • Spoon or spatula
No fancy equipment required.
Ingredient Additions and Substitutions
This recipe is wonderfully flexible:
• Add raspberry, cherry, or apricot jam • Use mascarpone for extra richness • Add almond extract for bakery flair • Top with sliced almonds • Drizzle with vanilla or lemon glaze
Small touches make it feel brand new every time.
How to Make Easy Breakfast Cheese Danish Step by Step
Step 1: Preheat the Oven
Preheat your oven to 375°F (190°C). Line a baking sheet with parchment paper.
Step 2: Prepare the Filling
In a bowl, mix cream cheese, sugar, egg yolk, vanilla, and lemon juice until smooth and creamy.
Step 3: Prepare the Pastry
Roll out the pastry dough and cut into squares or rectangles. Place them on the prepared baking sheet.
Step 4: Add the Filling
Spoon a generous amount of cream cheese filling into the center of each pastry.
Step 5: Shape the Danish
Fold or slightly pinch the edges inward, leaving the center exposed.
Step 6: Bake
Bake for 15–18 minutes, or until the pastry is puffed and golden.
Step 7: Cool and Finish
Allow to cool slightly. Drizzle with glaze or dust with powdered sugar if desired.
What to Serve with Cheese Danish
This Danish pairs beautifully with:
• Hot coffee or espresso • Fresh fruit • Yogurt parfaits • Scrambled eggs • Mimosas or fresh juice
Perfect for brunch spreads or quiet mornings.
Storage Instructions
Store leftovers properly to maintain freshness.
• Refrigerator: up to 3 days • Freezer: up to 1 month
Reheat briefly in the oven for best results.
General Recipe Information
• Prep Time: 10 minutes • Bake Time: 15–18 minutes • Total Time: About 30 minutes • Yield: 6–8 pastries
Conclusion: Bakery Comfort Made Easy
This Easy Breakfast Cheese Danish delivers everything you love about a bakery pastry—flaky layers, creamy filling, and that special morning indulgence—without complicated steps. It’s easy, elegant, and guaranteed to make mornings feel extra special.
If you loved this recipe, you might also enjoy:
• Puff Pastry Cinnamon Rolls • Cream Cheese Breakfast Braid • Easy Fruit Turnovers
If you make this Easy Breakfast Cheese Danish, I’d love for you to leave a review and share your photos on Pinterest. Seeing your bakery-style bakes come to life truly means the world to me.
Nutritional Information (Per Danish – Approximate)
• Calories: 320 • Fat: 22g • Carbohydrates: 26g • Sugar: 10g • Protein: 6g
Tips for Success
• Use fully softened cream cheese • Don’t overfill the pastries • Bake until deeply golden • Let cool slightly before glazing • Serve warm for best texture
Frequently Asked Questions
Can I make these ahead of time?
Yes—bake and reheat gently before serving.
Can I use crescent dough instead of puff pastry?
Absolutely—it’s slightly softer but still delicious.
Is this recipe very sweet?
No, it’s perfectly balanced and not overly sugary.
Can I add fruit?
Yes! Fruit preserves or fresh berries work beautifully.
More Recipes You'll Love
All Dinner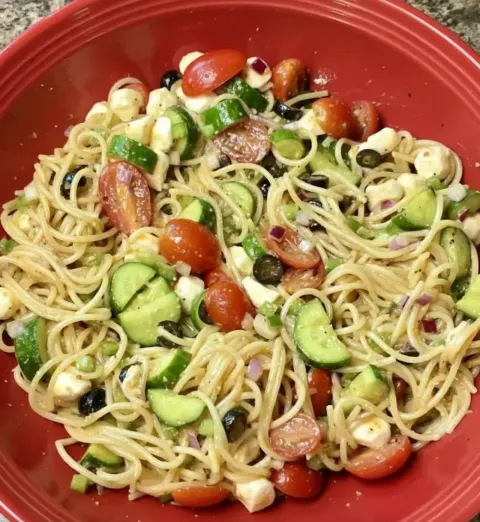 Dinner
California Spaghetti Salad: The Ultimate Cold Pasta Potluck with Veggie-Loaded Excellence
Thank you—truly—for being here and for loving recipes that feel fresh, colorful, and made to be shared.
 Dinner
Texas Roadhouse Butter Chicken Skillet
Thank you—truly—for being here and for loving recipes that feel indulgent, comforting, and just a little bit nostalgic.
 Dinner
Crockpot Angel Chicken
Thank you—truly—for being here and for loving the kind of dinners that feel comforting, dependable, and a little bit magical.
 Dinner
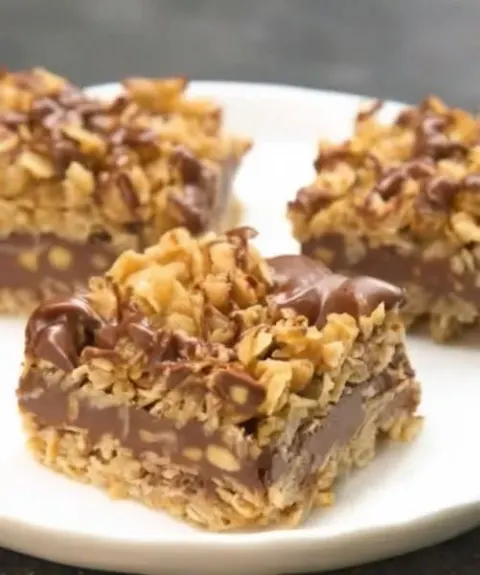
No-Bake Chocolate Oat Bars Recipe
If there’s one thing I’ll never stop being grateful for, it’s recipes that save the day without ever turning on the oven.
 Dinner
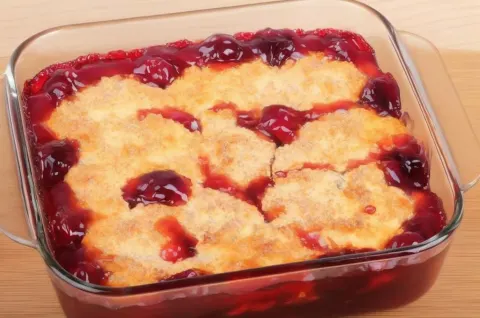
3-Ingredient Cake Mix Cobbler
Thank you—truly—for being here and for loving the kind of desserts that feel almost too easy to be this good.
 Dinner
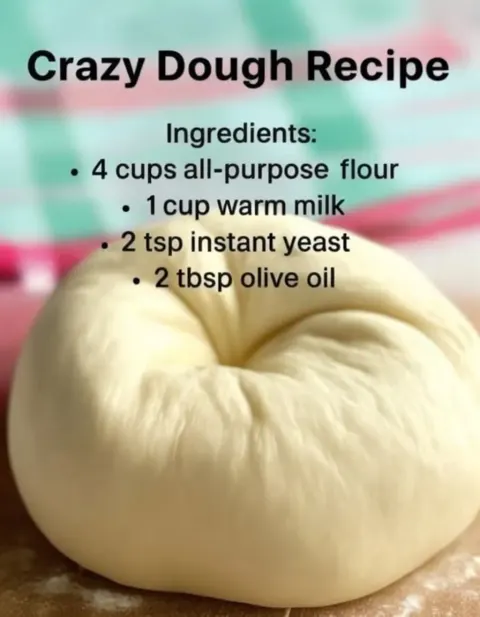
Crazy Dough Recipe (One Dough, Endless Possibilities!)
Thank you—truly—for being here and for loving those magical kitchen recipes that feel almost too good to be true.
 Dinner
Million Dollar Chicken Casserole
Thank you—truly—for being here and loving the kind of recipes that feel comforting, familiar, and a little bit indulgent.
 Dinner
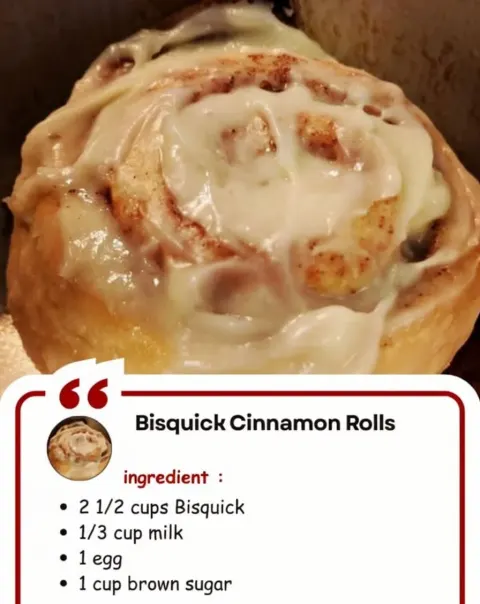
Bisquick Cinnamon Rolls
Thank you—truly—for loving the kind of recipes that feel nostalgic, comforting, and just plain happy.