
Grandma’s Chocolate Pie
Oh, my heart is so full sharing this one with you today. Grandma’s Chocolate Pie isn’t just a recipe — it’s a warm memory, a familiar aroma…
 By Amanda DavisNOV 13, 20255 MIN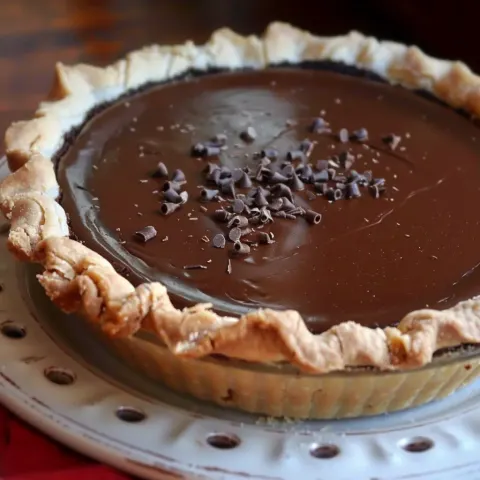
Ingredients
Instructions
- In a saucepan, whisk together cocoa, sugar, cornstarch, and salt until lump-free.
- Gradually pour in the milk while whisking to ensure a smooth mixture.
- Cook over medium heat, whisking constantly, until the mixture thickens and begins to bubble. This may take 7–10 minutes — be patient! The magic happens here.
- In a small bowl, lightly beat the egg yolks. Slowly add a ladleful of the hot mixture into the yolks, whisking continuously. Then pour the yolk mixture back into the saucepan. (This keeps the eggs from scrambling!)
- Cook for another 2–3 minutes until thick, glossy, and pudding-like.
- Remove from heat. Stir in the butter and vanilla until completely melted and smooth.
- Pour the hot filling into the pre-baked pie shell and smooth the top.
- Let the pie cool, then refrigerate for at least 4 hours or until fully set.
Oh, my heart is so full sharing this one with you today. Grandma’s Chocolate Pie isn’t just a recipe — it’s a warm memory, a familiar aroma, and the very definition of homemade comfort. I’m genuinely grateful you’re here, ready to bring this classic dessert into your own kitchen. And trust me… one bite of this silky, deeply chocolaty pie and you’ll understand why it has stood the test of time.
Don’t forget to subscribe to receive this recipe by email, along with all the nostalgic favorites I publish each week!
Why You’ll Love This Grandma’s Chocolate Pie Recipe
This pie delivers everything you want in an old-fashioned chocolate dessert — rich, creamy filling, a glossy finish, and that unmistakable cocoa flavor only grandma-style pies seem to have. It’s pure comfort wrapped in a flaky crust.
And the best part? It uses simple pantry staples and comes together beautifully on the stovetop. I promised you nostalgic, and here’s proof!
What Does Grandma’s Chocolate Pie Taste Like?
Think velvety chocolate pudding but thicker, deeper, and more luxurious. Sweet but not overly so, with that perfect cocoa richness that lingers on the tongue. The smooth filling sets into a dreamy slice that holds its shape but practically melts on your fork.
The smell alone as it bubbles on the stove? Absolutely incredible!!
Benefits of This Recipe
- Uses simple, budget-friendly ingredients
- No special equipment required
- Classic and nostalgic — perfect for holidays or Sunday dinner
- Silky-smooth texture every time
- Customizable with toppings, crusts, and flavor add-ins
Ingredients for Grandma’s Chocolate Pie
You’ll need:
- ½ cup cocoa
- ¼ cup cornstarch
- 3 egg yolks
- 1 ½ cups sugar
- ¼ tsp salt
- 2 cups whole milk
- 1 tbsp butter
- 1 tsp vanilla extract
- 1 pre-baked pie crust (homemade or store-bought)
Tools You’ll Need
- Medium saucepan
- Whisk
- Mixing bowl
- Measuring cups and spoons
- Pre-baked 9-inch pie shell
- Rubber spatula
Additions and Substitutions
Additions
- A pinch of espresso powder to deepen the chocolate flavor
- A dusting of cocoa or shaved chocolate on top
- Whipped cream or meringue topping
Substitutions
- Whole milk → 2% milk (texture slightly less rich)
- Cocoa → Dutch-processed cocoa for a darker, more intense chocolate flavor
- Cornstarch → Flour (use ½ cup flour; filling will be slightly thicker)
How to Make Grandma’s Chocolate Pie
Step 1 — Mix Dry Ingredients
In a saucepan, whisk together cocoa, sugar, cornstarch, and salt until lump-free.
Step 2 — Add Milk
Gradually pour in the milk while whisking to ensure a smooth mixture.
Step 3 — Cook the Filling
Cook over medium heat, whisking constantly, until the mixture thickens and begins to bubble. This may take 7–10 minutes — be patient! The magic happens here.
Step 4 — Temper the Egg Yolks
In a small bowl, lightly beat the egg yolks. Slowly add a ladleful of the hot mixture into the yolks, whisking continuously. Then pour the yolk mixture back into the saucepan. (This keeps the eggs from scrambling!)
Step 5 — Thicken Again
Cook for another 2–3 minutes until thick, glossy, and pudding-like.
Step 6 — Add Butter & Vanilla
Remove from heat. Stir in the butter and vanilla until completely melted and smooth.
Step 7 — Fill the Crust
Pour the hot filling into the pre-baked pie shell and smooth the top.
Step 8 — Chill
Let the pie cool, then refrigerate for at least 4 hours or until fully set.
What to Serve with Grandma’s Chocolate Pie
- Fresh whipped cream
- A drizzle of caramel
- Vanilla ice cream
- Crushed nuts or chocolate curls
- Fresh raspberries or strawberries
Storage Instructions
- Refrigerator: 4–5 days, covered
- Freezer: Not recommended (texture becomes grainy)
- Make-ahead: Prepare the filling up to 24 hours ahead and assemble later
General Information
- Prep time: 10 minutes
- Cook time: 15 minutes
- Chill time: 4 hours
- Total time: ~4 hours 30 minutes
- Servings: 8 slices
Conclusion
This Grandma’s Chocolate Pie recipe is truly a treasure — silky, sweet, chocolaty, and impossibly nostalgic. It’s simple, comforting, and guaranteed to become a family favorite you’ll be proud to share again and again. I hope this classic brings as much warmth to your table as it has to mine.
If you enjoy old-fashioned desserts, be sure to check out my other timeless treats — especially my peach-inspired favorites!
Share the Love!
Tried this recipe? I would love to see your pie! Leave a review and share your photos on Pinterest — they genuinely brighten my day.
Nutritional Information (Approx. per slice)
- Calories: 315
- Carbohydrates: 52g
- Protein: 4g
- Fat: 10g
- Sugar: 40g
- Fiber: 2g
Want a printable recipe card or a version with step-by-step photos? I can create one!
Tips for Success
- Whisk constantly — it prevents lumps and burning.
- Temper the yolks slowly to avoid curdling.
- Use whole milk for the creamiest texture.
- Let it chill completely before slicing — it’s worth the wait!
- Strain the filling if you want an ultra-smooth result.
Frequently Asked Questions
Can I use a graham cracker crust?
Absolutely! It pairs beautifully with the chocolate filling.
Why isn’t my filling thickening?
It likely hasn’t cooked long enough — cornstarch needs time to activate. Keep whisking.
Can I make a meringue topping instead of whipped cream?
Yes! Add it before baking and broil until lightly browned.
Can I use a non-dairy milk?
It works with oat or almond milk, but the filling will be slightly less creamy.
Can I double the recipe?
Yes, but use a deep-dish pie pan or two standard pans.
More Recipes You'll Love
All Dinner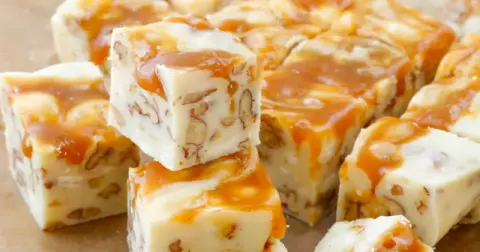 Dinner
5-Minute White Chocolate Caramel Pecan Fudge 🍫✨ – Irresistibly Creamy & Foolproof!
First off — thank you for being here, sweet friend! If you’re anything like me, you love a dessert that looks fancy but takes almost no time to pull together.
 Dinner
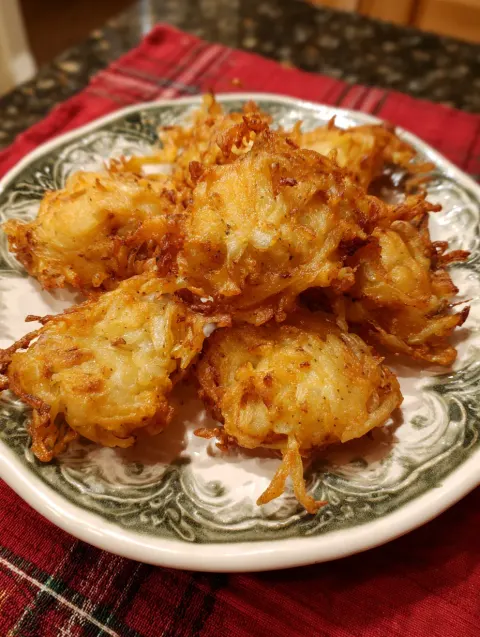
Crispy Amish Onion Fritters 🧅 – Golden, Crunchy & Irresistibly Delicious!
If there’s one side dish that turns even the simplest meal into something special, it’s these Crispy Amish Onion Fritters.
 Dinner
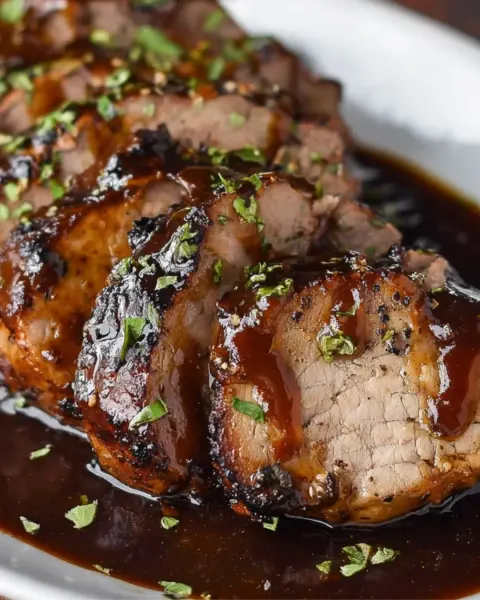
Crockpot Brown Sugar Balsamic Glazed Pork 🍖 – Tender, Sweet & Savory Perfection
If you’re searching for a dinner that practically cooks itself and tastes like something from a fancy restaurant…
 Dinner
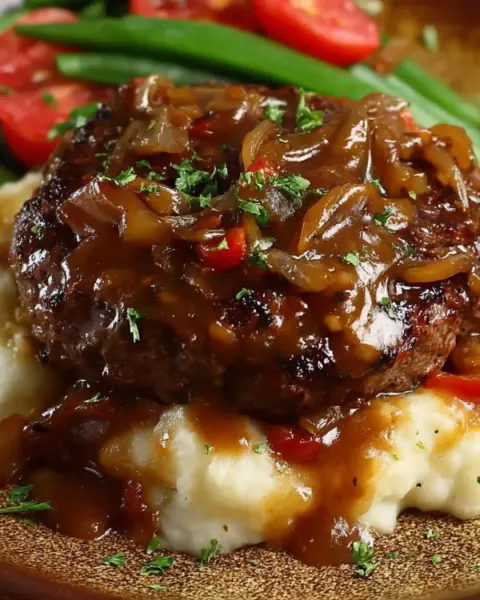
Smothered Hamburger Steak Magic 🍽️ – Juicy, Savory & Comfort-Food Perfection
When you’re craving a hearty dinner that feels like a warm hug, this Smothered Hamburger Steak Magic is the one.
 Dinner
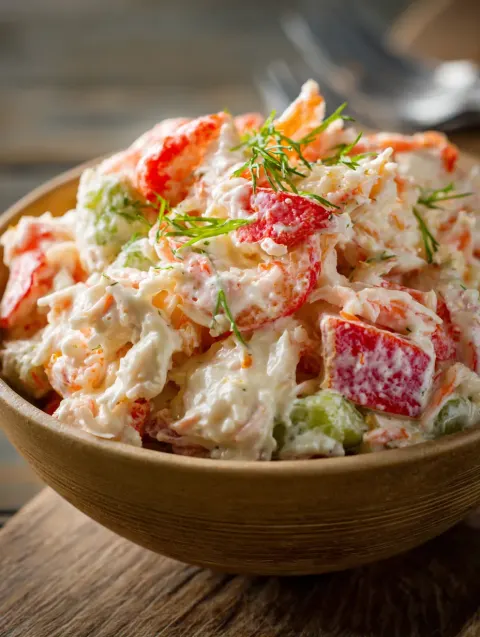
Creamy Seafood Salad with Imitation Crab – Cool, Flavorful & Incredibly Easy 🦀🥗
I have to admit — I’m a little obsessed with this one. Every time I make this Creamy Seafood Salad with Imitation Crab…
 Dinner
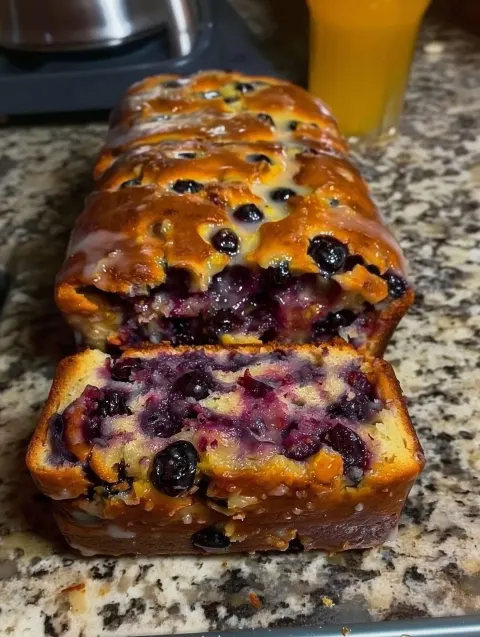
Lemon Blueberry Loaf – Soft, Zesty & Bursting with Fresh Berries 🍋💙
“Brought a loaf to my neighbor and she called five minutes later saying she needed the recipe! People seriously love this bread.” And honestly…
 Dinner
Cranberry Loaf Recipe – Soft, Buttery & Perfectly Festive 🍞✨
“Brought a loaf to my neighbor and she called five minutes later saying she needed the recipe! People seriously love this bread.” That’s exactly the kind…
 Dinner
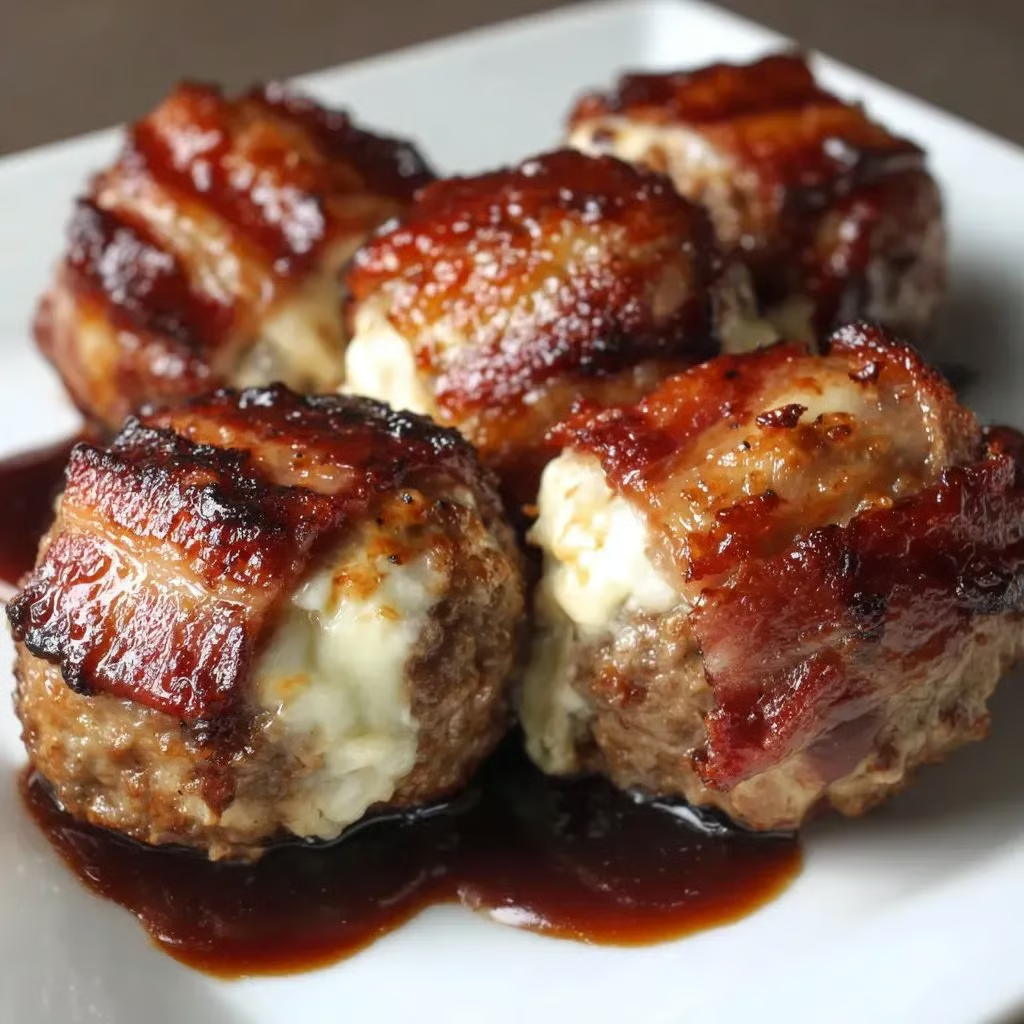
Cheddar-Stuffed BBQ Bacon Bombs – Smoky, Cheesy, and Totally Addictive 🧀🥓🔥
If you’re looking for a recipe that brings the wow factor to any table — you just found it! These Cheddar-Stuffed BBQ Bacon Bombs are the definition…