
Grandmother’s Pie Crust Recipe 🥧✨
There’s something magical about a recipe passed down through generations, and this Grandmother’s Pie Crust Recipe is the perfect example of simple…
 By Amanda DavisFEB 10, 20256 MIN
There’s something magical about a recipe passed down through generations, and this Grandmother’s Pie Crust Recipe is the perfect example of simple, time-tested perfection. Flaky, tender, and rich in flavor, this crust is the foundation for countless pies—whether sweet or savory. The secret? A dash of cream of tartar, Grandma’s special ingredient that adds just the right touch of tenderness and prevents over-browning.
Whether you’re baking an apple pie for the holidays, a savory quiche for brunch, or a summer berry galette, this pie crust will never let you down. It’s reliable, easy to work with, and always delivers that melt-in-your-mouth flakiness we all crave. Let’s get baking! 🥧❤️
Why You’ll Love This Pie Crust
- Flaky & Tender: The perfect balance of buttery layers and a melt-in-your-mouth texture.
- Grandma’s Secret Ingredient: A hint of cream of tartar for extra tenderness and structure.
- Versatile: Ideal for fruit pies, cream pies, quiches, and savory tarts.
- Easy to Work With: Rolls out smoothly without cracking or tearing.
What Does It Taste Like? 🤤
This crust is everything a perfect pie crust should be—light, flaky, and delicately buttery (even with Crisco!). The cream of tartar adds a subtle tang and helps create tender layers, while the vinegar works quietly in the background to keep the dough from getting tough. The result? A crust that’s crisp on the edges, tender in the middle, and flavorful enough to stand on its own, yet humble enough to let your fillings shine.
Ingredients You’ll Need
- 3 cups all-purpose flour 🌾 (for structure and flakiness)
- 1/4 teaspoon cream of tartar ✨ (Grandma’s secret for tender, flaky crusts)
- 1 teaspoon salt 🧂 (balances the flavors)
- 1 1/2 cups Crisco (or vegetable shortening) 🧈 (for that signature flaky texture)
- 4 to 8 tablespoons very cold water ❄️ (helps bind the dough without making it tough)
- 1 well-beaten egg 🥚 (adds richness and helps with structure)
- 1 tablespoon vinegar 🍾 (prevents gluten overdevelopment, ensuring tenderness)
Optional Add-Ins:
- 1 tablespoon sugar (if making a sweet pie crust)
- Substitute half Crisco with butter 🧈 (for a slightly richer flavor while maintaining flakiness)
Tools You’ll Need
- Large mixing bowl
- Pastry cutter or two forks (or your fingers!)
- Rolling pin
- Plastic wrap
- Pie dish
How to Make Grandmother’s Pie Crust
Step 1: Combine Dry Ingredients
- In a large mixing bowl, whisk together the flour, cream of tartar, and salt until evenly combined.
Step 2: Cut in the Crisco
- Pro Tip: Those little clumps of fat are what create flaky layers when the crust bakes.
Step 3: Add Wet Ingredients
- In a small bowl, whisk together the well-beaten egg, vinegar, and 4 tablespoons of very cold water.
- Pour the wet mixture into the flour mixture.
- Gently mix with a fork until the dough starts to come together. Add additional cold water, one tablespoon at a time, if needed, until the dough holds together without being sticky.
Step 4: Chill the Dough
- Divide the dough into two equal portions (perfect for a double-crust pie).
- Shape each portion into a flat disc and wrap tightly in plastic wrap.
- Chill in the refrigerator for at least 1 hour (or up to 2 days). This helps relax the gluten and firm up the fat, which results in a flakier crust.
Step 5: Roll Out the Dough
- On a lightly floured surface, roll out one dough disc into a 12-inch circle (about 1/8-inch thick).
- Carefully transfer the dough to your pie dish, gently pressing it into the bottom and up the sides.
- Add your desired filling.
- Roll out the second disc for the top crust (if making a double-crust pie). Crimp the edges, cut slits for steam to escape, and brush with an egg wash if desired for a golden finish.
Step 6: Bake
Follow the baking instructions for your specific pie recipe. For a blind-baked crust, bake at 375°F (190°C) for 15–20 minutes with pie weights, then remove the weights and bake for an additional 5–10 minutes until golden brown.
What to Fill Your Pie Crust With
Classic Apple Pie 🍏
Cherry Pie 🍒
Pecan Pie 🥧
Lemon Meringue Pie 🍋
Pumpkin Pie 🎃
Chicken Pot Pie 🍗
Quiche Lorraine 🧀
Meat Pies or Empanadas 🥩
Spinach and Feta Tart 🌿
How to Store & Freeze Pie Crust
- Refrigerate: Wrapped tightly in plastic wrap, the dough will keep in the fridge for up to 2 days.
- Freeze: Wrap in plastic wrap and place in a freezer-safe bag. Freeze for up to 3 months. Thaw overnight in the refrigerator before using.
- Pre-Baked Crust: A blind-baked crust can be frozen for up to 1 month—just cool completely before freezing.
Wrapping It Up 🥧✨
This Grandmother’s Pie Crust Recipe is more than just a recipe—it’s a piece of family history, filled with love and memories baked into every flaky layer. Whether you’re a pie-making pro or a beginner, this crust is foolproof, flavorful, and destined to become your go-to for every pie-worthy occasion.
If you try this recipe, I’d love to hear how it turned out! Leave a review, snap a photo, and share it on Pinterest or Instagram—I can’t wait to see your beautiful pies. 😍
Craving More Baking Classics?
- Grandma’s Apple Pie with Cinnamon Crumble 🍏
- Buttery Shortbread Cookies 🍪
- Fluffy Buttermilk Biscuits 🥐
Happy baking, and may your pies be as perfect as Grandma’s! 😊🥧💕
Tips for Success
- Keep Everything Cold: Cold shortening, cold water, and even chilling your mixing bowl can help keep the fat from melting before baking.
- Don’t Overwork the Dough: Mix just until the dough comes together. Overmixing can make the crust tough.
- Chill Before Baking: After assembling your pie, pop it in the fridge for 15–30 minutes before baking. This helps the crust hold its shape.
- Use Vinegar & Cream of Tartar: These little “secret” ingredients prevent gluten development, keeping the crust tender and flaky.
- Add an Egg Wash: For a shiny, golden-brown finish, brush the top crust with a beaten egg mixed with a splash of water.
Frequently Asked Questions
Can I use butter instead of Crisco?
Yes! For a richer flavor, you can substitute up to 50% of the Crisco with unsalted butter. This gives you the best of both worlds—flaky from the shortening and buttery from the butter.
What does the cream of tartar do?
It’s Grandma’s secret weapon! Cream of tartar helps stabilize the dough, prevents over-browning, and adds a subtle tenderness to the crust.
Why add vinegar to pie crust?
Vinegar helps inhibit gluten formation, keeping the crust tender instead of tough. You won’t taste it in the final product.
My dough is crumbly—what should I do?
Add more cold water, one tablespoon at a time, until the dough comes together. Be careful not to overdo it—just enough for the dough to hold without cracking.
Can I make this crust gluten-free?
Yes! Substitute the all-purpose flour with a 1:1 gluten-free flour blend. You may need to adjust the water slightly, as gluten-free flours absorb moisture differently.
More Recipes You'll Love
All Desserts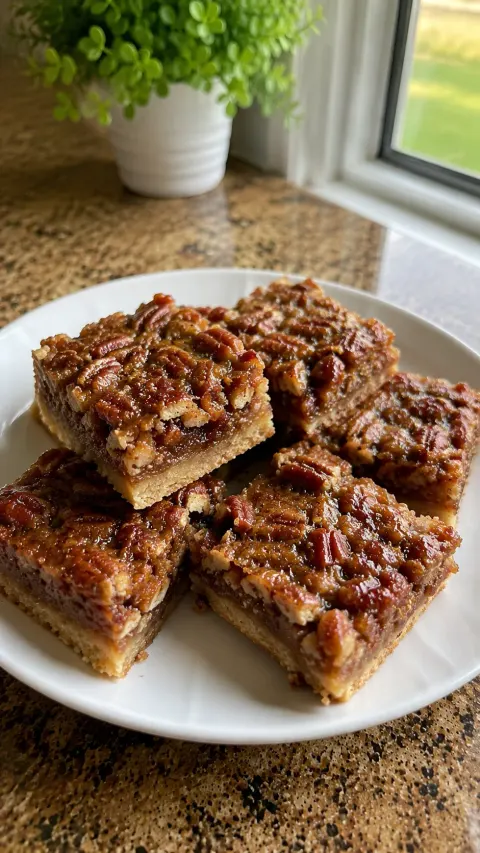 Desserts
Lazy Girl Pecan Pie Bars 🥧😍
Craving the rich, gooey goodness of pecan pie but don’t have the time (or patience) to roll out a crust and fuss with a pie dish?
Banana Bread Cake with Cream Cheese Frosting 🍰✨
If you love the cozy, comforting flavors of classic banana bread but crave the indulgence of a soft, moist cake topped with rich…
Heavenly White Chocolate Raspberry Cake 😋🤍💖
If you’re looking for a dessert that’s as stunning as it is delicious, this Heavenly White Chocolate Raspberry Cake is the perfect choice.
 Desserts
Moist Red Velvet Cupcakes with Cream Cheese Frosting Delight.
Introduction The Allure of Moist Red Velvet Cupcakes with Cream Cheese Frosting There’s something truly special about a moist red velvet cupcake with cream…
Luscious Lemon Raspberry Swirl Cheesecake Cups 🍋🍓🧁
If you love the tangy sweetness of lemon, the bright burst of raspberries, and the creamy decadence of cheesecake…
 Desserts
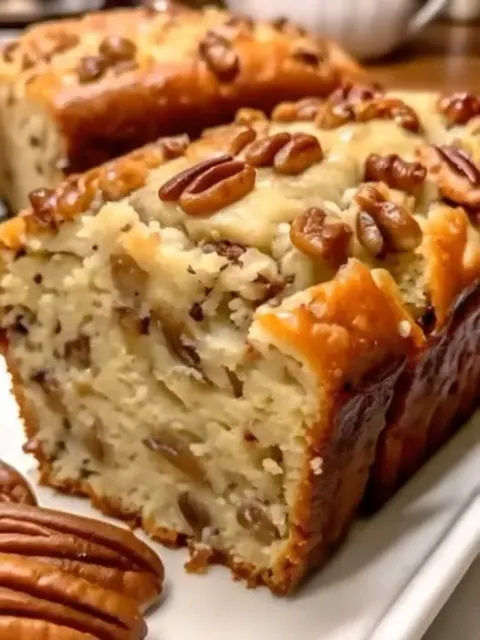
Sweet Alabama Pecan Bread 🍞✨
If you’re in the mood for something irresistibly sweet, nutty, and melt-in-your-mouth delicious, this Sweet Alabama Pecan Bread is the perfect treat.
Levain Bakery Chocolate Chip Cookies 🍪✨
If you’ve ever had the pleasure of biting into a Levain Bakery Chocolate Chip Cookie, you know exactly why they’re legendary.
Old-Fashioned Fudge 😋 (Don’t Lose This Recipe!)
There’s something truly special about Old-Fashioned Fudge—the rich, creamy texture, the deep chocolate flavor, and that perfect…