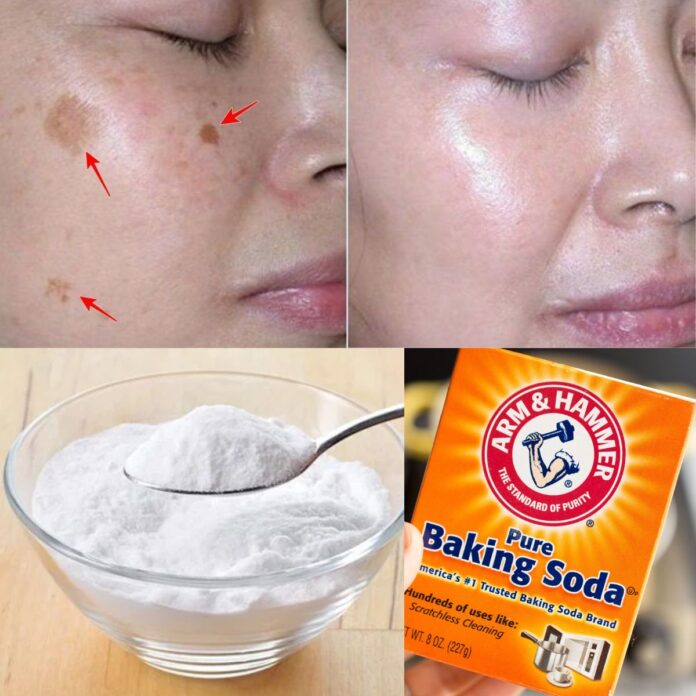
Baking soda is a versatile, natural ingredient that can work wonders for your skin. Its gentle exfoliating and pH-balancing properties make it ideal for tackling wrinkles, skin spots, and blackheads. With this simple DIY baking soda cream, you can brighten your complexion, reduce blemishes, and achieve smoother, more radiant skin—all from the comfort of your home.
Here’s how to make this powerful yet gentle cream and use it effectively for beautiful, glowing skin.
Ingredients for Baking Soda Cream
- 1 tablespoon baking soda: Exfoliates the skin and unclogs pores, reducing blackheads and spots.
- 1 teaspoon coconut oil (or olive oil): Hydrates and nourishes the skin, leaving it soft and smooth.
- 1 teaspoon lemon juice: Brightens skin and fades dark spots (optional for sensitive skin).
- 1 tablespoon honey: Acts as a natural moisturizer and has antibacterial properties.
- A few drops of water: To adjust the consistency.
How to Make the Cream
- Mix the Ingredients:
- In a small bowl, combine the baking soda, coconut oil (or olive oil), lemon juice (if using), and honey.
- Stir the mixture well until it forms a smooth, creamy paste.
- Add a few drops of water if the consistency is too thick.
- Test for Sensitivity:
- Apply a small amount of the cream to the inside of your wrist or behind your ear to check for any allergic reactions, especially if you’re using lemon juice.
How to Use the Baking Soda Cream
- Cleanse Your Skin:
Wash your face with a gentle cleanser to remove dirt, oil, and makeup. Pat your skin dry with a clean towel. - Apply the Cream:
- Using clean fingers, apply a thin layer of the cream to your face.
- Focus on areas with blackheads, spots, or fine lines. Avoid the delicate skin around your eyes.
- Massage Gently:
- Massage the cream into your skin using circular motions for about 1-2 minutes. This helps exfoliate and increase blood flow.
- Let it Sit:
- Leave the cream on your skin for 5-10 minutes. If you have sensitive skin, reduce the time to 3-5 minutes.
- Rinse Thoroughly:
- Wash off the cream with lukewarm water. Gently pat your skin dry.
- Moisturize:
Apply your favorite moisturizer to hydrate and protect your skin after the treatment.
How Often to Use
- For sensitive skin: Use once a week.
- For normal to oily skin: Use 2-3 times a week.
Benefits of the Ingredients
- Baking Soda: Gently exfoliates, balances skin’s pH, and clears clogged pores.
- Coconut Oil/Olive Oil: Provides deep hydration, preventing dryness and irritation.
- Lemon Juice: Brightens the skin and fades dark spots with its Vitamin C content.
- Honey: Hydrates, soothes, and fights bacteria, reducing the chances of breakouts.
Precautions
- Avoid Overuse: Over-exfoliating with baking soda can disrupt your skin’s natural barrier. Stick to the recommended frequency.
- Be Gentle: Avoid scrubbing too hard, as this can irritate your skin.
- Sun Sensitivity: Lemon juice can make your skin more sensitive to sunlight. Use sunscreen after applying the cream.
- Patch Test: Always test the cream on a small area of skin before using it on your face.
Results to Expect
- After 1-2 Uses: Your skin will feel smoother and look brighter as dead skin cells and impurities are removed.
- After 2-3 Weeks: You’ll notice reduced blackheads, lighter spots, and a more even skin tone.
- Over Time: Fine lines and wrinkles may appear less pronounced with consistent use, as the skin becomes healthier and more nourished.
Final Thoughts
This DIY baking soda cream is an easy and affordable way to rejuvenate your skin, reduce blemishes, and reveal a glowing complexion. By combining the exfoliating power of baking soda with the nourishing properties of honey and coconut oil, this cream is a must-try for anyone looking to improve their skin naturally.
Ready to give it a go? Let me know how it works for you in the comments below! 🌟
