
No-Bake Strawberry Cheesecake Jars – The Sweet, Simple Treat You’ll Want to Make All Summer
No-Bake Strawberry Cheesecake Jars Thank you so much for being here today—it truly means more than you know.
 By Amanda DavisNOV 23, 20255 MIN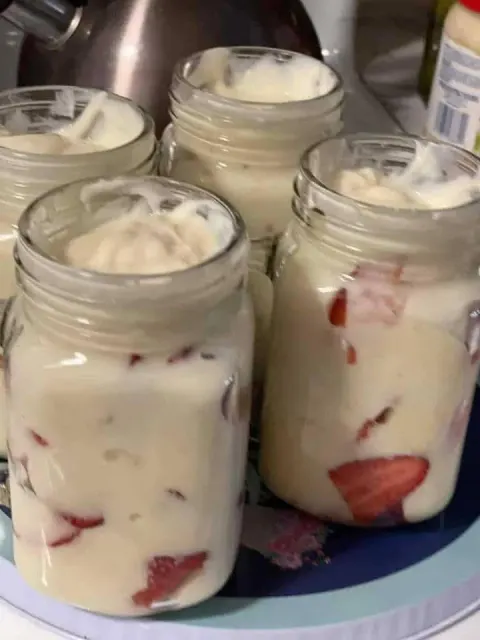
Ingredients
Instructions
- In a bowl, mix strawberries with sugar and lemon juice. Let them sit for 10 minutes to release juices and become jammy.
- Stir graham crumbs, melted butter, and sugar until combined. Spoon a couple of tablespoons into each jar and lightly press.
- Beat cream cheese, powdered sugar, and vanilla until smooth. Fold in whipped topping until fluffy and creamy.
- Add a layer of cheesecake filling over the crust. Spoon strawberry mixture on top. Repeat layers if your jars are tall.
- Refrigerate for at least 1 hour. The flavors meld beautifully as they rest.
- Top with whipped cream, a whole strawberry, or extra crumbs!
No-Bake Strawberry Cheesecake Jars
Thank you so much for being here today—it truly means more than you know. Every time you stop by my little kitchen corner, it feels like we’re sharing a moment of joy, one delicious bite at a time. And today? Ohhh, I’ve got a dessert that delivers BIG summertime happiness with almost zero effort. These No-Bake Strawberry Cheesecake Jars are creamy, fruity, refreshing, and unbelievably easy. They look fancy, taste dreamy, and come together in minutes. Honestly? They’re the perfect make-ahead dessert for warm days, busy days, party days—any day.
Before we dive in, don’t forget to subscribe and get this recipe sent straight to your inbox, along with more no-bake treats, summer favorites, and cozy seasonal recipes!
What Are No-Bake Strawberry Cheesecake Jars?
These adorable jars layer a buttery graham cracker crust with a silky smooth cream cheese filling and sweet, juicy strawberry topping. They’re exactly what classic cheesecake wants to be on a hot day—no oven, no fuss, no cracking, just creamy perfection in a spoonable dessert jar.
Why You’ll Love This Recipe
- Truly no-bake – Not even a second of oven time.
- Fast & easy – Ready in under 20 minutes.
- Perfectly portable – Great for parties, picnics, and gifting.
- Make-ahead friendly – Chill overnight for even better flavor.
- Light yet indulgent – Creamy, fruity, and perfectly sweet.
What Do These Cheesecake Jars Taste Like?
Imagine classic New York–style cheesecake… but fluffier, creamier, lighter, and layered with fresh summery strawberries. The graham layer is buttery and slightly crunchy, the filling is tangy-sweet velvet, and the strawberries bring a burst of bright freshness. Each bite is cool, creamy, and sunshine-sweet. Anything but boring!!
Benefits of These Cheesecake Jars
- No special equipment needed.
- Easy individual portions.
- Great for kids to assemble.
- Uses simple, accessible ingredients.
- Can be customized for any fruit or flavor preference.
Ingredients
For the Crust
- 1 cup graham cracker crumbs
- 4 tbsp melted butter
- 2 tbsp sugar
For the Cheesecake Filling
- 8 oz cream cheese, softened
- ½ cup powdered sugar
- 1 tsp vanilla extract
- 1 cup whipped topping OR homemade whipped cream
For the Strawberry Layer
- 1 ½ cups diced strawberries
- 2 tbsp sugar
- 1 tsp lemon juice
Optional Garnishes
- Whole strawberries
- Graham cracker crumbs
- Fresh mint
- Whipped cream swirl
Tools You’ll Need
- Small mason jars or dessert cups
- Mixing bowls
- Hand mixer or whisk
- Spatula
- Spoon or piping bag
Ingredient Additions & Substitutions
- Fruit options: Blueberries, raspberries, peaches, cherries—anything works!
- Graham swap: Use Oreos, vanilla wafers, or Biscoff cookies.
- Cream cheese: Neufchâtel for a lighter version.
- Sweetener swap: Honey or maple syrup instead of sugar.
- Dairy-free option: Use dairy-free cream cheese and coconut whipped topping.
How to Make No-Bake Strawberry Cheesecake Jars (Step-by-Step)
1. Make the Strawberry Topping
In a bowl, mix strawberries with sugar and lemon juice. Let them sit for 10 minutes to release juices and become jammy.
2. Prepare the Crust
Stir graham crumbs, melted butter, and sugar until combined. Spoon a couple of tablespoons into each jar and lightly press.
3. Mix the Cheesecake Filling
Beat cream cheese, powdered sugar, and vanilla until smooth. Fold in whipped topping until fluffy and creamy.
4. Layer the Jars
Add a layer of cheesecake filling over the crust. Spoon strawberry mixture on top. Repeat layers if your jars are tall.
5. Chill
Refrigerate for at least 1 hour. The flavors meld beautifully as they rest.
6. Garnish
Top with whipped cream, a whole strawberry, or extra crumbs!
What to Serve With These Strawberry Cheesecake Jars
- Iced coffee or cold brew
- Lemonade
- Fresh berries
- A summer charcuterie board
- Grilled chicken or BBQ dinners (perfect dessert pairing!)
Storage Instructions
- Refrigerator: Up to 3 days, tightly sealed.
- Freezer: Freeze without strawberries for up to 1 month. Thaw overnight.
- Make-ahead: Assemble up to 24 hours before serving.
General Information
- Prep time: 20 minutes
- Chill time: 1 hour
- Servings: 6–8 jars
- Difficulty: Easy
Conclusion
If you’re craving something cool, creamy, fruity, and unbelievably simple, these No-Bake Strawberry Cheesecake Jars are the answer. They’re bright, fun, gorgeous, and guaranteed to impress—proof that decadent desserts don’t need to be complicated. I hope they bring sweetness to your table all season long!
If you love no-bake treats, try my No-Bake Lemon Icebox Cake, Strawberry Delight, or No-Bake Berry Cheesecake Bars next!
Share Your Dessert!
Made these jars? I’d love to see them! Leave a review below and share your creations on Pinterest—your kitchen magic always inspires me.
Nutritional Information (approx. per jar)
- Calories: 235
- Fat: 14g
- Carbs: 24g
- Protein: 3g
- Fiber: 1g
Tips for Success
- Use room-temperature cream cheese for the smoothest filling.
- Don’t overmix—keeps the filling airy and fluffy.
- Chill at least 1 hour; overnight is even better.
- Use ripe, sweet strawberries for maximum flavor.
- Assemble in jars with lids if transporting.
Frequently Asked Questions
Can I use frozen strawberries?
Yes! Thaw completely and drain extra liquid before mixing.
Can I make these sugar-free?
Use sugar-free sweeteners and sugar-free whipped topping.
Can I double the recipe?
Absolutely—perfect for parties!
Can I use a piping bag for the filling?
Yes! It makes layering cleaner and prettier.
Can I turn this into a full-size cheesecake?
Yes, just use an 8×8 pan and chill at least 4 hours.
More Recipes You'll Love
All Dinner Dinner
Devil Crab Cream Cheese Ball – The Party Appetizer Everyone Will Beg You to Make
Devil Crab Cream Cheese Ball Thank you so much for being here! Truly, every time you join me in the kitchen it feels like we’re sharing something special…
 Dinner
Amish Cinnamon Bread – The Sweet, Cozy Loaf Everyone Falls in Love With
Amish Cinnamon Bread Thank you so much for being here today. Every time you join me in the kitchen, it truly feels like sharing a warm moment…
 Dinner
Pinto Beans – The Coziest, Heartiest Comfort Food You’ll Make This Week
Pinto Beans Thank you so much for being here today—truly. Every time you drop in to cook with me, I feel like we’re sitting around the kitchen table together…
 Dinner
The Famous Panera Broccoli Cheese Soup 🥦🧀 — Creamy, Cozy & Ridiculously Comforting
Panera Broccoli Cheese Soup — that iconic creamy, cheesy, cozy bowl of goodness — now made right at home with simple ingredients, unbeatable flavor…
 Dinner
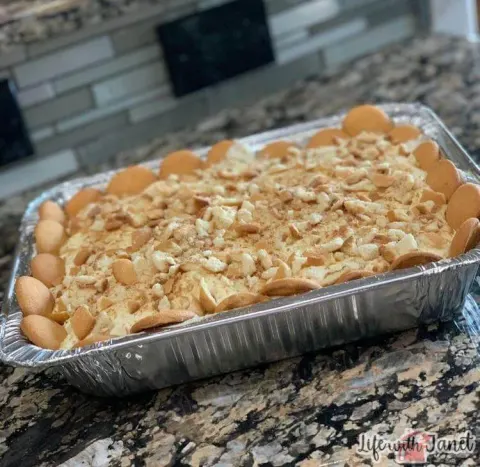
Old Fashioned Banana Pudding
Thank you so much for being here. Your support means everything, and sharing this nostalgic dessert with you makes my heart so happy.
 Dinner
Creamy Chicken Rice Casserole: The Ultimate Comfort Food
I’m so glad you’re here today — truly! Thank you for coming back to my cozy kitchen corner where comfort food lives and love is always baked right in.
 Dinner
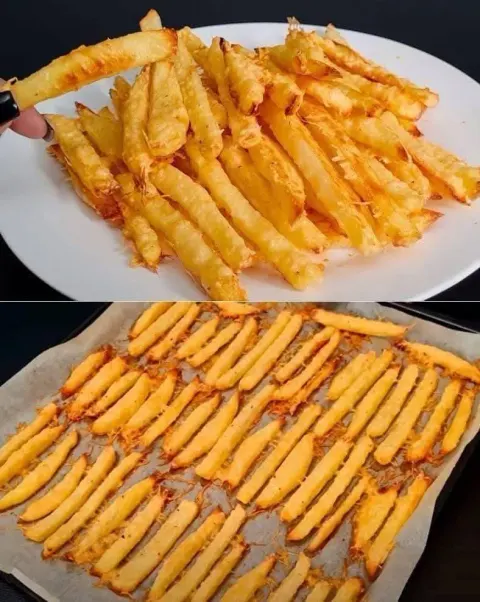
Crispy Baked Parmesan Potato Fries: A Guilt-Free Delight
I’m so glad you’re here today — truly! Thank you for stopping by my cozy kitchen corner again. Your love for easy, delicious…
 Dinner
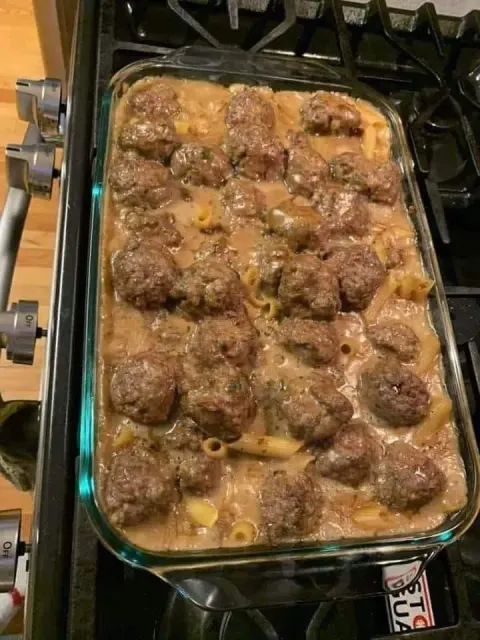
Swedish Meatball Noodle Bake
I’m so glad you’re here today — truly! Thank you for stepping back into my cozy kitchen corner. Your enthusiasm for warm…