
Queso Chicken Enchiladas
If there’s one dish that never fails to bring comfort and smiles to the table, it’s a cheesy pan of Queso Chicken Enchiladas.
 By Amanda DavisSEP 26, 20253 MIN
If there’s one dish that never fails to bring comfort and smiles to the table, it’s a cheesy pan of Queso Chicken Enchiladas. Tender shredded chicken wrapped in soft tortillas, smothered with creamy queso sauce, and baked until bubbling—it’s the ultimate Tex-Mex comfort food that tastes even better than takeout.
These enchiladas are perfect for busy weeknights, potlucks, or family dinners when you need a hearty meal that feels indulgent but comes together with simple ingredients.
Why You’ll Love Queso Chicken Enchiladas
- 🧀 Cheesy comfort food – Rich, melty queso covers every bite.
- 🌮 Family favorite – A guaranteed crowd-pleaser, even for picky eaters.
- ⏱️ Quick & easy – Uses cooked chicken and pantry staples.
- 🍴 Versatile – Swap in beef, beans, or veggies if you’d like.
Ingredients You’ll Need
- 2 cups cooked chicken, shredded (rotisserie chicken works great)
- 2 cups queso dip (homemade or store-bought)
- 1 cup sour cream
- 1 tsp chili powder
- 1 tsp cumin
- 8–10 flour or corn tortillas
- 1 cup shredded cheddar or Monterey Jack cheese
- 2 tbsp chopped cilantro (optional)
- Jalapeños or salsa, for garnish (optional)
Tools You’ll Need
- 9×13-inch baking dish
- Mixing bowl
- Skillet (if warming tortillas)
- Foil for covering while baking
Step-by-Step Instructions
- Preheat oven – Set oven to 350°F (175°C).
- Mix filling – In a bowl, combine shredded chicken, 1 cup queso, sour cream, chili powder, and cumin.
- Fill tortillas – Spoon chicken mixture into each tortilla, roll tightly, and place seam-side down in the baking dish.
- Top with queso – Pour remaining queso over the enchiladas. Sprinkle with shredded cheese.
- Bake – Cover with foil and bake for 20 minutes. Remove foil and bake another 10 minutes, until cheese is bubbly and golden.
- Garnish & serve – Sprinkle with cilantro, jalapeños, or drizzle with salsa if desired.
Flavor & Serving Suggestions
- Pair with Spanish rice, refried beans, or a simple green salad.
- Add guacamole and tortilla chips for a full Tex-Mex spread.
- Spice it up with diced green chiles or hot sauce in the filling.
Storage Instructions
- Fridge – Store leftovers in an airtight container for up to 4 days.
- Freezer – Assemble but don’t bake; freeze up to 3 months. Bake from frozen, adding 15 minutes.
- Reheat – Warm in oven at 325°F or microwave individual servings.
General Info
- Prep Time: 15 minutes
- Cook Time: 30 minutes
- Total Time: 45 minutes
- Servings: 6
Conclusion
These Queso Chicken Enchiladas are everything you want in a Tex-Mex dinner—cheesy, creamy, hearty, and absolutely irresistible. With simple ingredients and easy prep, they’re perfect for weeknight dinners, gatherings, or anytime you’re craving comfort food with a Mexican twist.
If you loved this recipe, try:
- Cheesy Cajun Alfredo Chicken
- Cheeseburger French Fry Bake
- Creamy Cajun Chicken Stuffed Shells
And don’t forget—leave a review below and share your enchilada masterpiece on Pinterest! 🌮✨
Nutritional Information (Per serving, approx.)
- Calories: 420
- Protein: 26g
- Fat: 24g
- Carbs: 28g
- Fiber: 2g
Tips for Success
- Warm tortillas before filling to prevent cracking.
- Don’t overfill—1/4 cup filling per tortilla works best.
- Use corn tortillas for a more authentic enchilada flavor.
- Make extra sauce! Enchiladas are always better with extra queso.
Frequently Asked Questions
Can I use store-bought queso?
Yes! Jarred queso works, though homemade queso blanco makes it extra creamy.
Can I make it ahead of time?
Definitely—assemble enchiladas up to a day ahead and refrigerate until ready to bake.
What tortillas work best?
Flour tortillas are softer and easier to roll, while corn tortillas give a classic flavor.
Can I make this vegetarian?
Yes! Swap chicken for black beans, roasted veggies, or even jackfruit.
More Recipes You'll Love
All Desserts Desserts
Raspberry Cream Cheese Bites 🍓🧀✨
When you need a dessert that’s easy, elegant, and irresistibly delicious, look no further than these Raspberry Cream Cheese Bites.
 Desserts
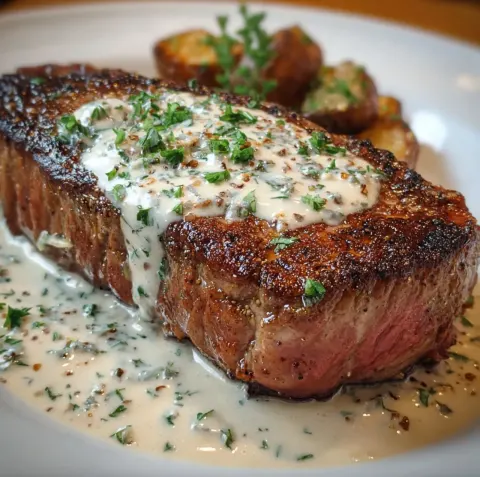
Steak with Haunted Bourbon Garlic Cream Sauce
When it comes to indulgent dinners, nothing beats a perfectly seared steak—but when you add a rich and velvety Haunted Bourbon Garlic Cream Sauce…
 Desserts
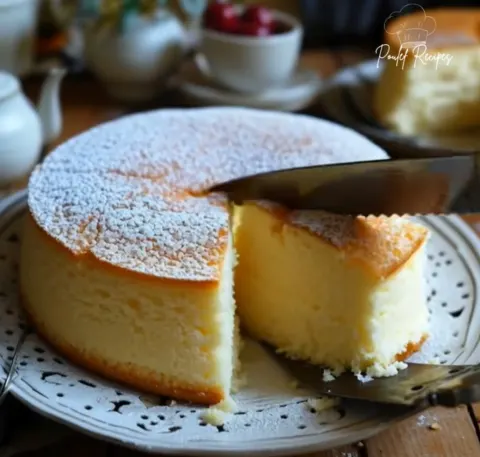
Moist Lemon Yogurt Cake
If you’ve ever tasted a traditional French Moist Lemon Yogurt Cake, you know it’s one of the simplest yet most satisfying desserts you can bake.
 Desserts
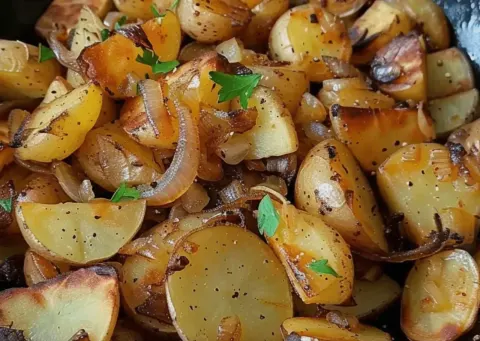
Crispy Fried Potatoes and Onions 🥔🧅✨
Crispy Fried Potatoes and Onions are the ultimate comfort food side dish. With golden brown edges, tender insides…
 Desserts
Apple and Cinnamon Cake 🍏✨
Juicy apple chunks and warm cinnamon bake into a moist, tender cake that fills the kitchen with that unmistakable smell of fall.
 Desserts
Country Apple Fritter Bread
I’m so happy you’re here, because this Country Apple Fritter Bread is one of those bakes that feels like a warm hug from the kitchen.
 Desserts
Golden Ham Mozzarella Sticks
I’m so glad you stopped by, because these Golden Ham Mozzarella Sticks are not your ordinary snack. Think classic gooey cheese sticks…
 Desserts
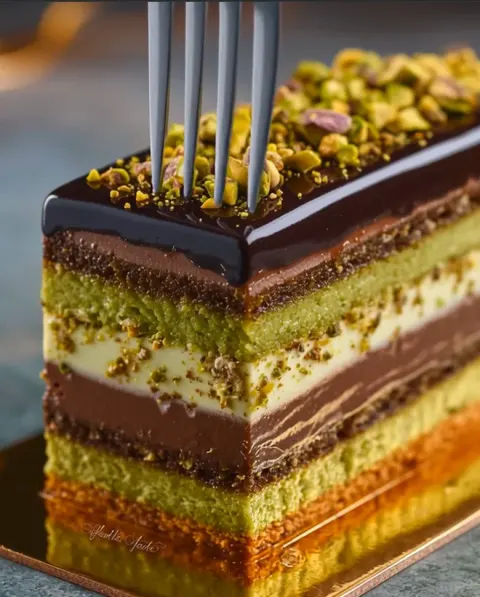
Pistachio Chocolate Cake
I’m so glad you’re here, because this Pistachio Chocolate Cake is one of those desserts that feels truly special.