
Say Goodbye to Grease: A Simple, Efficient Way to Combat Kitchen Cabinet Buildup
Thank you so much for being here 💛 Truly. If you’ve ever run your hand across your kitchen cabinets and felt that sticky, dusty film staring back at you…
 By Amanda DavisJAN 5, 20265 MIN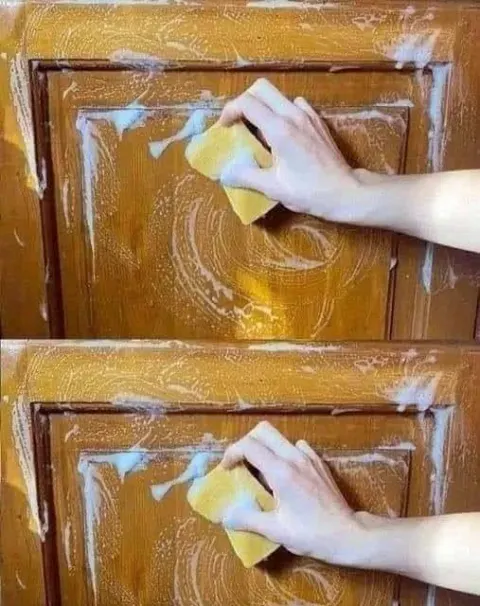
Thank you so much for being here 💛 Truly. If you’ve ever run your hand across your kitchen cabinets and felt that sticky, dusty film staring back at you, you’re not alone. I used to think it was just part of having a “lived-in” kitchen—until I discovered how easy it actually is to tackle grease buildup without harsh chemicals or endless scrubbing. And let me tell you… once you see the results, there’s no going back.
This guide is all about saying goodbye to grease with a simple, efficient way to combat kitchen cabinet buildup—one that works, smells clean, and doesn’t eat up your entire afternoon.
Say Goodbye to Grease on Kitchen Cabinets: What’s Really Happening?
Grease buildup on kitchen cabinets doesn’t happen overnight. It sneaks up slowly from everyday cooking—especially frying, sautéing, and anything involving oils. Add dust to the mix, and suddenly you’ve got a stubborn, sticky layer that dulls your cabinets and traps grime.
The good news? You don’t need expensive cleaners or elbow-breaking effort to fix it.
Why Grease Loves Kitchen Cabinets
- Cooking oils become airborne when heated
- Steam helps grease stick to surfaces
- Dust clings to grease, creating buildup
- Cabinets near the stove are most affected
Understanding this makes it much easier to remove—and prevent.
Why You’ll Love This Simple, Efficient Cleaning Method
This simple, efficient way to combat kitchen cabinet buildup is a game changer because it:
- Uses ingredients you likely already have
- Works on wood, laminate, and painted cabinets
- Cuts through grease without damaging finishes
- Takes minutes, not hours
- Leaves cabinets clean, not sticky
And yes—the shine afterward is incredibly satisfying!
What You’ll Need (Simple Pantry Staples)
- 1 cup warm water
- 1 cup white vinegar
- 1 tablespoon dish soap (grease-cutting)
- Microfiber cloths or soft rags
- Optional: baking soda for stubborn spots
That’s it. No harsh fumes, no complicated steps.
The Best Simple Way to Say Goodbye to Grease
Step 1: Mix Your Grease-Cutting Solution
In a bowl or spray bottle, combine:
- Warm water
- White vinegar
- Dish soap
This combination works beautifully: vinegar breaks down grease, dish soap lifts it, and warm water helps everything dissolve faster.
Step 2: Wipe Gently—but Thoroughly
Dip a microfiber cloth into the solution, wring it out well, and wipe your cabinets in circular motions. You’ll literally feel the grease lifting as you go.
For extra buildup near handles or above the stove, pause for 10–15 seconds before wiping—let the solution do the work.
Step 3: Tackle Stubborn Grease Spots
For sticky areas that won’t budge:
- Sprinkle a tiny amount of baking soda onto your cloth
- Gently rub the spot
- Wipe clean with a damp cloth
No scratching. No damage. Just clean cabinets.
Step 4: Dry and Buff
Always finish by drying cabinets with a clean cloth. This prevents streaks and brings back that natural shine.
What This Method Smells and Feels Like
Unlike chemical cleaners, this method smells fresh and clean—not overpowering. Your cabinets feel smooth, not slick or waxy, and the color instantly looks brighter. It’s one of those “why didn’t I do this sooner?” moments.
Benefits of This Efficient Cabinet Cleaning Method
- Safe for daily kitchens
- Budget-friendly
- Kid- and pet-conscious
- Gentle on finishes
- Easy to repeat weekly
Once you try it, keeping cabinets clean feels effortless instead of overwhelming.
How Often Should You Clean Kitchen Cabinets?
To truly say goodbye to grease, consistency is key:
- Light wipe-down: once a week
- Deep clean: once a month
- High-use areas: every 3–5 days
Regular light cleaning prevents heavy buildup and saves time long-term.
What to Avoid When Cleaning Greasy Cabinets
Some cleaners do more harm than good:
- Avoid straight ammonia
- Skip abrasive scrub pads
- Don’t soak wooden cabinets
- Avoid excessive water
Gentle, steady cleaning always wins.
A Quick Routine That Actually Works
Once you make this part of your routine, you’ll notice:
- Less buildup over time
- Easier cleanups
- Cabinets that look newer longer
- A kitchen that feels fresher overall
And honestly? That alone makes it worth it.
Conclusion: Say Goodbye to Grease for Good
Saying goodbye to grease doesn’t have to mean harsh chemicals, endless scrubbing, or expensive products. This simple, efficient way to combat kitchen cabinet buildup proves that sometimes the easiest solution really is the best one.
Clean cabinets change the whole feel of your kitchen—and once you see how quickly this works, you’ll never dread cabinet cleaning again.
If you found this helpful, save it, share it, and let me know how it worked for you. And if you’d like more simple home tips like this, you’re always welcome back here 💛✨
Tips for Success
- Use your stove vent fan while cooking
- Wipe cabinet handles frequently
- Clean spills immediately
- Keep a microfiber cloth handy
- Do a quick post-cooking wipe
Small habits make a big difference.
Frequently Asked Questions
Does vinegar damage wood cabinets?
No—when diluted properly and wiped dry, it’s safe for sealed wood cabinets.
Can I use this on painted cabinets?
Yes! It’s gentle enough for painted surfaces.
What about laminate cabinets?
This method works beautifully on laminate and MDF.
Can I add essential oils?
Absolutely. A few drops of lemon or orange oil add freshness and boost grease-cutting power.
More Recipes You'll Love
All Breakfast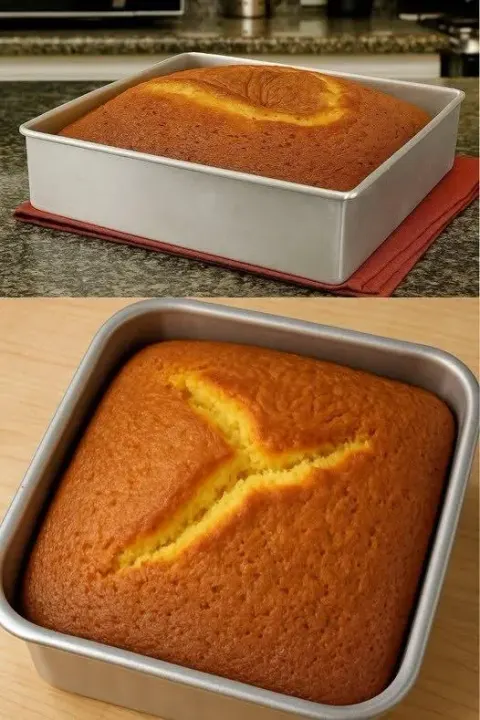 Breakfast
3-Ingredient Blender Cake – Quick and Fluffy in Just 30 Minutes
3-Ingredient Blender Cake – Quick and Fluffy in Just 30 Minutes is one of those recipes that feels almost too good to be true—and I’m genuinely grateful…
 Breakfast
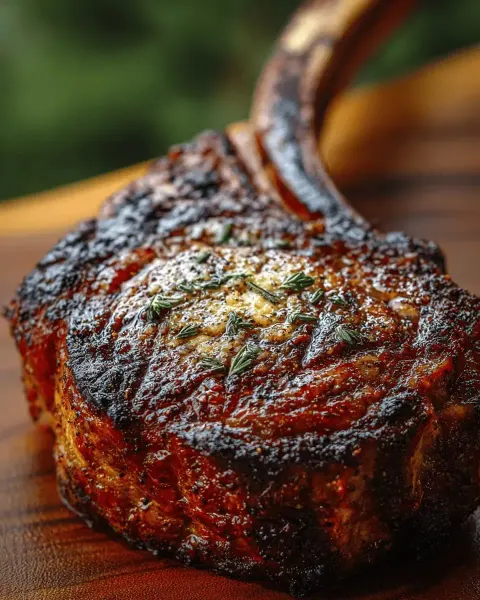
Grilled Tomahawk Steak
Thank you—honestly, thank you—for being here and trusting me with your kitchen moments. Recipes like this Grilled Tomahawk Steak are the ones I get…
 Breakfast
My Guests Can’t Get Enough of This Dish—It Vanishes in Minutes! (Hot Cheesy Chicken Dip)
I’m so thankful you’re here—because this is one of those recipes I almost hesitate to share… only because once you make it…
 Breakfast
Creamy Seafood Salad
I’m so happy you’re here—because this Creamy Seafood Salad is one of those timeless deli-style classics that feels indulgent, luxurious…
 Breakfast
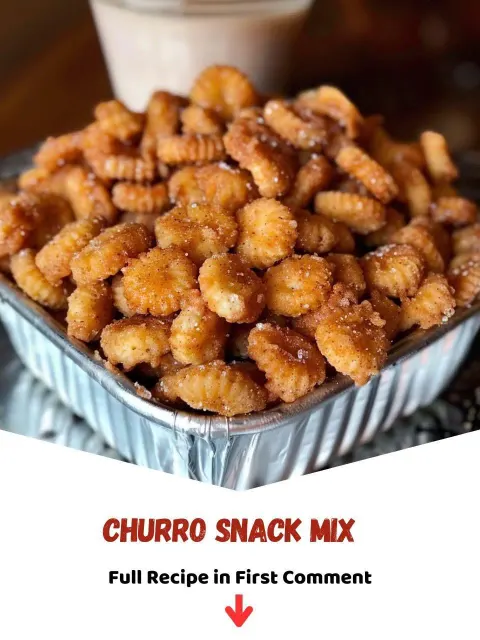
Churro Snack Mix: Sweet, Crispy, Cinnamon-Sugar Magic in Every Bite
I am so happy you’re here—because this Churro Snack Mix is the kind of sweet, buttery, cinnamon-sugar treat that makes everyone stop mid-bite and say…
 Breakfast
Slow Cooker Pepper Steak: Tender, Saucy, and Packed With Comfort
Slow Cooker Pepper Steak Thank you so much for being here—truly. I’m so excited to share this Slow Cooker Pepper Steak recipe with you today because it’s one…
 Breakfast
Three Cheese Quiche: Rich, Fluffy & Foolproof Every Time
Three Cheese Quiche Thank you so much for being here today—truly. I’m so excited to share this Three Cheese Quiche…
 Breakfast
Best Southern Fried Chicken Batter: Crispy, Golden & Absolutely Irresistible
Best Southern Fried Chicken Batter — a ridiculously crispy, golden, flavor-packed coating that delivers the PERFECT Southern-style crunch every single time!