
These Balls Are My Husband’s Ultimate Weakness (He Can Finish the Entire Tray by Himself!)
These balls are my husband’s ultimate weakness—he can finish the entire tray by himself, and honestly… I don’t even blame him.
 By Amanda DavisJAN 22, 20264 MIN
This post may contain affiliate links. If you buy something through one of them, we may earn a small commission at no extra cost to you. Learn more.
Ingredients
Instructions
- In a mixing bowl, combine peanut butter, softened butter, powdered sugar, and vanilla extract. Stir until smooth and creamy.
- Scoop out small portions and roll into bite-sized balls. Place them on a parchment-lined baking sheet.
- Refrigerate the balls for 20–30 minutes until firm. This helps them hold their shape when dipping.
- Melt chocolate in the microwave in 20–30 second intervals, stirring between each, until smooth.
- Dip each chilled ball into the melted chocolate, coating completely. Return to the baking sheet.
- Let the chocolate set at room temperature or place in the refrigerator for faster setting.
These balls are my husband’s ultimate weakness—he can finish the entire tray by himself, and honestly… I don’t even blame him. Thank you for being here, because this is one of those recipes that comes straight from real life. I made these once “just to try,” turned around, and suddenly half the tray was gone. Lesson learned: always make a double batch.
These little bites are rich, creamy, chocolatey, and dangerously easy to make. They’re no-bake, totally irresistible, and perfect for holidays, parties, or late-night snacking straight from the fridge. And yes—if you love easy, crave-worthy treats like this, be sure to subscribe to my email list so you never miss a recipe that disappears this fast.
Overview of These Irresistible No-Bake Dessert Balls
These no-bake dessert balls are a creamy peanut-butter center wrapped in a smooth chocolate coating. They’re simple, indulgent, and made with just a handful of pantry staples. No oven, no mixer, no stress—just pure dessert magic.
Reasons to Love This Recipe
There are so many reasons these never last long No baking required Only a few ingredients Perfect make-ahead dessert Freezer-friendly Certified husband-approved
What Do These Dessert Balls Taste Like?
Think rich peanut butter fudge meets silky chocolate coating. They’re soft but not crumbly, sweet but not overwhelming, and perfectly balanced. One bite turns into two… and suddenly the tray is empty. The texture is creamy on the inside with that satisfying chocolate snap on the outside—absolute perfection.
Benefits of Making These No-Bake Balls
Besides being wildly addictive, this recipe is Quick to make Budget-friendly Great for gifting Perfect for holidays and parties Ideal for beginner bakers
Ingredients for These Irresistible Dessert Balls
Main Ingredients
- Creamy peanut butter
- Powdered sugar
- Butter (softened)
- Vanilla extract
- Chocolate chips or chocolate melting wafers
That’s it. Simple ingredients, unbelievable results.
Kitchen Tools You’ll Need
- Mixing bowl
- Spoon or spatula
- Baking sheet
- Parchment paper
- Microwave-safe bowl (for melting chocolate)
No fancy equipment needed at all.
Ingredient Additions and Substitutions
These dessert balls are incredibly versatile.
Optional Add-Ins
- Crushed graham crackers
- Rice cereal for crunch
- Mini chocolate chips inside
- Sprinkles on top
Substitutions
- Use almond or cashew butter
- Swap milk chocolate for dark chocolate
- Use dairy-free butter and chocolate
- Add a pinch of salt to balance sweetness
How to Make These No-Bake Dessert Balls Step by Step
Step 1 Make the Peanut Butter Mixture
In a mixing bowl, combine peanut butter, softened butter, powdered sugar, and vanilla extract. Stir until smooth and creamy.
Step 2 Shape the Balls
Scoop out small portions and roll into bite-sized balls. Place them on a parchment-lined baking sheet.
Step 3 Chill
Refrigerate the balls for 20–30 minutes until firm. This helps them hold their shape when dipping.
Step 4 Melt the Chocolate
Melt chocolate in the microwave in 20–30 second intervals, stirring between each, until smooth.
Step 5 Dip and Coat
Dip each chilled ball into the melted chocolate, coating completely. Return to the baking sheet.
Step 6 Set
Let the chocolate set at room temperature or place in the refrigerator for faster setting.
What to Serve With These Dessert Balls
They’re perfect on their own, but also great with Coffee or espresso Holiday cookie trays Ice cream boards Party dessert spreads
Storage Instructions
Store these dessert balls in an airtight container in the refrigerator for up to 1 week.
Freezing Instructions
Freeze for up to 2 months. Thaw slightly before serving.
General Recipe Information
- Prep Time 15 minutes
- Chill Time 30 minutes
- Total Time About 45 minutes
- Servings 24–30 balls
Conclusion
These balls are my husband’s ultimate weakness—he can finish the entire tray by himself, and once you try them, you’ll understand exactly why. They’re rich, easy, and completely addictive—the kind of recipe people beg you to bring again and again.
If you loved this recipe, you might also enjoy Oreo Truffles Buckeye Balls No-Bake Chocolate Peanut Butter Bars
I’d love to hear how fast these disappeared in your house! Leave a review and don’t forget to share your photos on Pinterest—especially if you managed to save a few for yourself.
Nutritional Information (Approximate Per Ball)
- Calories 120
- Carbohydrates 12g
- Protein 3g
- Fat 8g
- Sugar 9g
Tips for Success
- Chill before dipping
- Use creamy peanut butter for best texture
- Don’t overheat the chocolate
- Work in batches
- Make extra—you’ll thank yourself
Frequently Asked Questions
Can I make these ahead of time?
Yes! They’re perfect for making days in advance.
Do these need to stay refrigerated?
They’re best stored chilled, especially in warm weather.
Can I use crunchy peanut butter?
You can, but creamy gives the smoothest texture.
Why did my chocolate crack?
Temperature differences—let balls sit out 1–2 minutes before dipping.
More Recipes You'll Love
All Dinner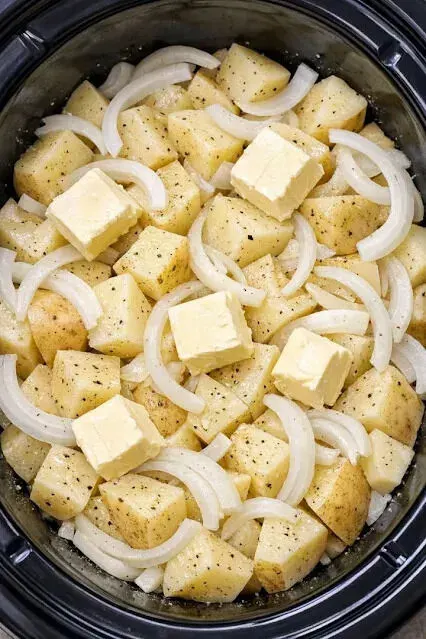 Dinner
Slow Cooker Irish Potatoes
Slow Cooker Irish Potatoes is one of those cozy, no-fuss recipes I’m truly grateful to share—thank you so much for being here.
 Dinner
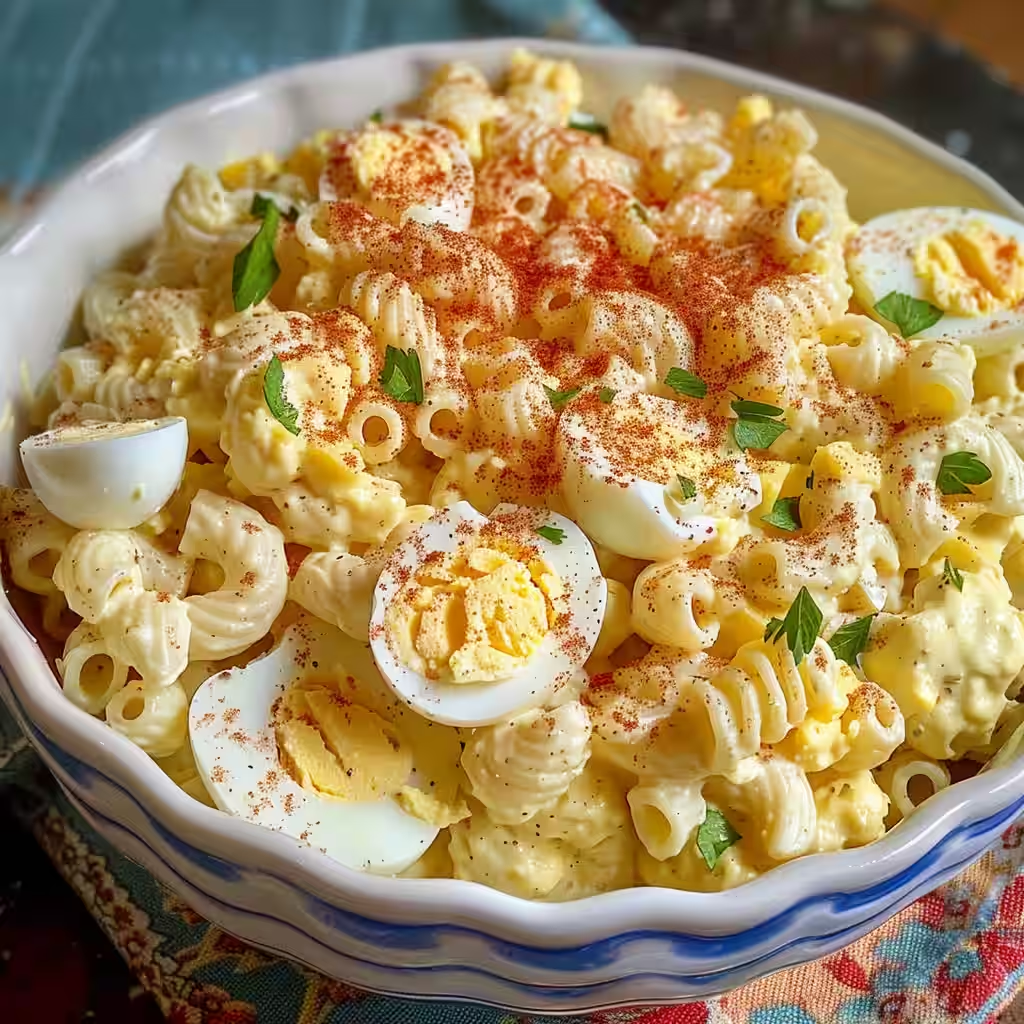
Deviled Egg Pasta Salad: The Ultimate Picnic Fusion Experience Masterpiece
Deviled Egg Pasta Salad is one of those recipes I’m genuinely grateful to share—thank you so much for being here.
 Dinner
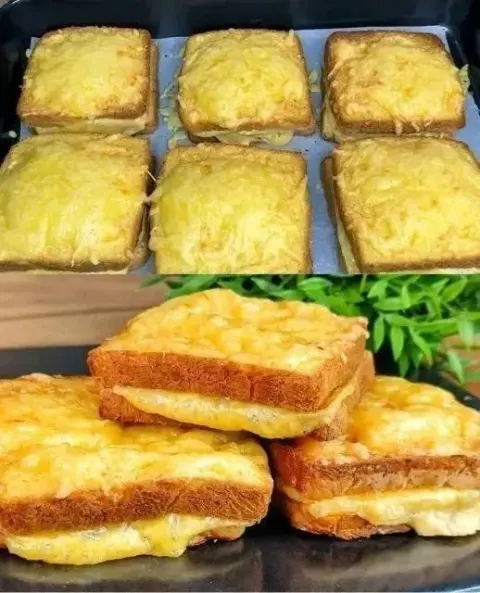
The Best Air Fryer Grilled Cheese Sandwich
The Best Air Fryer Grilled Cheese Sandwich is one of those simple joys I’m always thankful to share. Truly—thank you for being here.
 Dinner
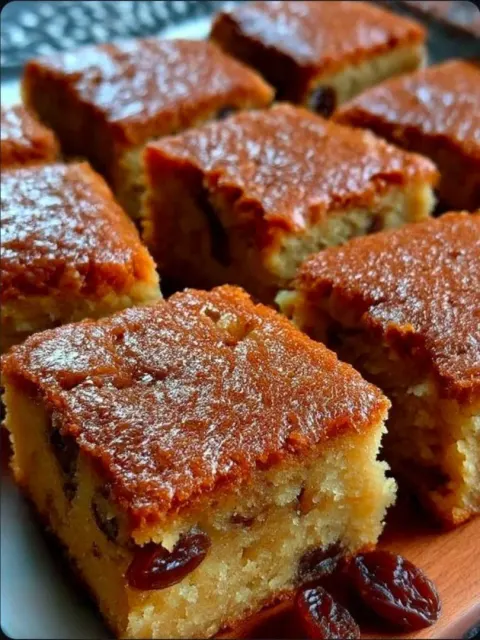
Old-Fashioned War-Time Cake
Old-Fashioned War-Time Cake is one of those recipes that instantly makes me pause and feel grateful. Truly—thank you for being here. This cake tells a story.
 Dinner
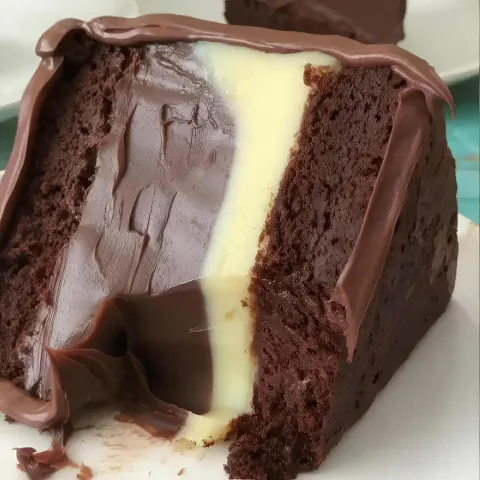
Classic Chocolate Cake (Rich, Moist & Truly Timeless)
Classic Chocolate Cake (Rich, Moist & Truly Timeless) is one of those recipes I’m genuinely honored to share. Thank you for being here—truly.
 Dinner
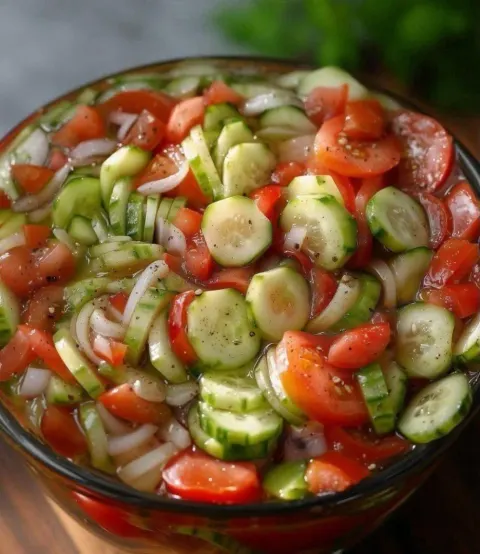
Marinated Cucumbers, Onions, and Tomatoes
Marinated Cucumbers, Onions, and Tomatoes is one of those beautifully simple recipes I’m always thankful to share. Truly—thank you for being here.
 Dinner
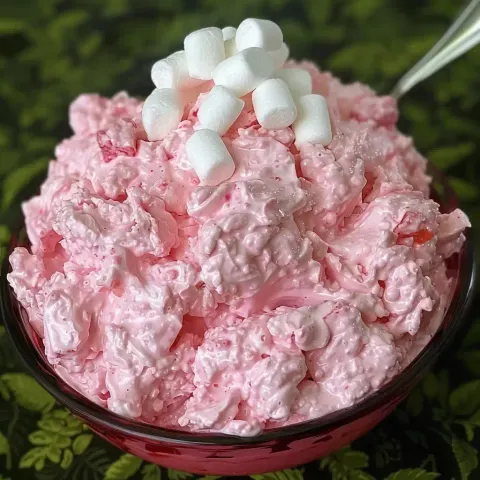
Pink Party Salad
Pink Party Salad is one of those nostalgic, smile-inducing recipes I’m always so grateful to share. Truly—thank you for being here.
 Dinner
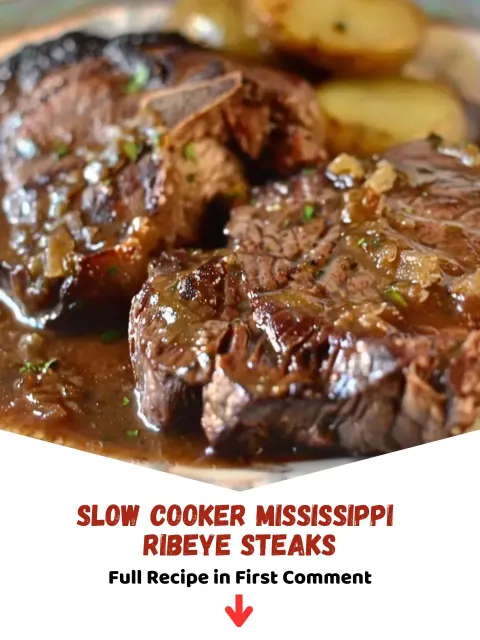
Slow Cooker Mississippi Ribeye Steaks
Slow Cooker Mississippi Ribeye Steaks are one of those recipes I’m genuinely thankful to share. Thank you for being here—truly.