
🧀 Cheesy Zucchini Sandwich Bites Recipe
Thank you for stopping by! Whether you’re looking for a fun low-carb appetizer, a light lunch idea, or just a new way to use up that summer zucchini—you’re…
 By Amanda DavisJUL 28, 20255 MIN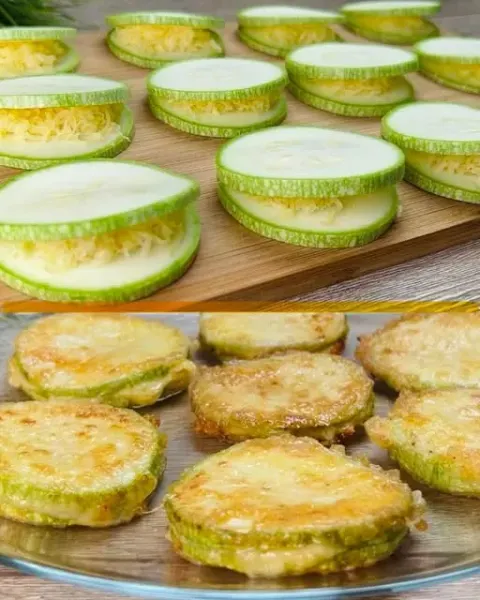
Thank you for stopping by! Whether you’re looking for a fun low-carb appetizer, a light lunch idea, or just a new way to use up that summer zucchini—you’re going to fall hard for these Cheesy Zucchini Sandwich Bites. They’re crispy, melty, snackable little bundles of flavor, and yes—they’re as satisfying as they sound!
If quick, cheesy bites like this speak to your soul (as they do mine!), 💌 [subscribe here] to get recipes like this one delivered straight to your inbox.
What Are Cheesy Zucchini Sandwich Bites?
These are mini zucchini “sandwiches” made by layering melty cheese between two thin slices of zucchini, dipping them in a crispy breadcrumb coating, and pan-frying or baking until golden and gooey. Think of them as a cross between mozzarella sticks and zucchini fries, with a little extra flair!
They’re great as appetizers, after-school snacks, or even a veggie-forward party platter everyone will rave about.
Why You’ll Love This Recipe
- Kid-friendly – A fun and cheesy way to eat veggies.
- Crispy + gooey – That crunch on the outside and melty cheese in the middle? Heaven!
- Customizable – Try different cheeses or seasonings.
- Low-carb option available – Use almond flour or skip the breadcrumbs.
- Great for dipping – Serve with marinara, ranch, or spicy mayo!
What Do They Taste Like?
Picture this: tender, slightly caramelized zucchini with golden edges, hugging a stretchy pocket of melted cheese, all wrapped in a crispy, seasoned breadcrumb shell. It’s like a grilled cheese bite with a fresh, veggie twist—and it totally works!
Benefits of Making These at Home
- You control the ingredients – Gluten-free, low-carb, extra cheesy? You got it.
- A creative use for extra zucchini
- Cheaper (and healthier) than store-bought snacks
- Fun for kids to help assemble
🛒 Ingredients for Cheesy Zucchini Sandwich Bites
- 1–2 medium zucchinis, sliced into thin, round coins (about 1/4″ thick)
- 4 oz mozzarella cheese, cut into small squares or strips
- 1/2 cup all-purpose flour
- 2 eggs, beaten
- 1 cup breadcrumbs (panko or regular, seasoned or plain)
- 1/2 tsp garlic powder
- 1/2 tsp Italian seasoning
- Salt & black pepper, to taste
- Olive oil, for frying or spraying
Optional: Parmesan cheese for the breadcrumb mix, red pepper flakes for heat
🧰 Tools You’ll Need
- Knife & cutting board
- Mixing bowls
- Small skillet or sheet pan
- Tongs or spatula
- Paper towels for draining
🔄 Ingredient Swaps & Add-Ins
- Cheese: Try sharp cheddar, pepper jack, provolone, or even cream cheese & herbs for a twist.
- Breading: Use almond flour + crushed pork rinds for a low-carb version.
- Egg-free? Use plant-based egg replacer or a mix of milk and flour.
- Gluten-free? Use gluten-free breadcrumbs or crushed rice crackers.
👩🍳 How to Make Cheesy Zucchini Sandwich Bites
Step 1: Slice & Pair the Zucchini
Cut zucchini into thin, round slices. Try to make them uniform in size so they cook evenly. Pair them up into “sandwiches” and set aside.
Step 2: Add the Cheese
Place a small square of mozzarella (or your favorite cheese) between two zucchini slices. Gently press together—don’t worry if some cheese pokes out!
Step 3: Bread the Sandwiches
Set up your breading station:
- Bowl 1: Flour (seasoned with a pinch of salt and pepper)
- Bowl 2: Beaten eggs
- Bowl 3: Breadcrumbs + garlic powder + Italian seasoning (and Parmesan, if using)
Dip each zucchini sandwich first in flour, then egg, then breadcrumbs. Press lightly to help the coating stick.
Step 4: Cook Until Golden
Option 1: Pan-Fried Heat 1–2 tbsp olive oil in a nonstick skillet over medium heat. Cook sandwiches in batches for 2–3 minutes per side, until golden and cheese is melty.
Option 2: Baked Preheat oven to 425°F (220°C). Place bites on a parchment-lined baking sheet, spray with olive oil, and bake for 15–18 minutes, flipping halfway.
Option 3: Air Fryer Air fry at 375°F for 8–10 minutes, until golden and crisp.
Step 5: Drain & Serve
Transfer to a paper towel–lined plate. Serve hot with your favorite dipping sauce!
🍽️ What to Serve With Zucchini Bites
- Classic marinara sauce
- Spicy garlic mayo
- Pesto dip
- Ranch or blue cheese dressing
- Serve as a fun side for soup or salad
🧊 Storage & Reheating
Store: Refrigerate in an airtight container for up to 3 days.
Reheat: For best results, reheat in a skillet or air fryer to regain crispiness. Microwave will work, but they’ll be softer.
Freezing? Not recommended—the texture of the zucchini doesn’t hold well after thawing.
❤️ Final Thoughts
These Cheesy Zucchini Sandwich Bites are crispy, cheesy, snackable, and surprisingly addictive! Whether you’re sneaking in more veggies, looking for a fun appetizer, or craving comfort food with a twist, these little bites deliver. You’ll find yourself going back to the pan for “just one more” again and again!
🥒 More Veggie-Packed Snacks to Try
- Crispy Cauliflower Bites with Buffalo Sauce
- Zucchini Fritters with Greek Yogurt Dip
- Cheesy Broccoli Tots
- Baked Sweet Potato Nacho Rounds
📸 Show Me Your Zucchini Bites!
Tried this recipe? Tag your photos with #mmmrecipes on Pinterest or Instagram—I’d love to see how cheesy and golden your zucchini bites turned out!
🧮 Nutritional Info (Per 3–4 bites, Approximate)
- Calories: 230
- Fat: 14g
- Carbs: 12g
- Protein: 9g
- Sugar: 2g
- Fiber: 2g
- Sodium: 300mg
Thanks for cooking with me today—can’t wait for you to take your first melty bite! 🧀💛
Tips for Success
- Use dry zucchini slices: Pat them with a paper towel so the coating sticks better.
- Cut cheese slightly smaller than the zucchini rounds to minimize melting overflow.
- Double-dip in egg and breadcrumbs for extra crunch.
- Cook in batches so they crisp up evenly—don’t overcrowd the pan or air fryer basket.
Frequently Asked Questions
Can I make these ahead of time?
You can prep the sandwiches and store them in the fridge (unbreaded) for up to 1 day before breading and cooking.
Can I use yellow squash instead of zucchini?
Absolutely! The flavor and texture are very similar.
Is there a dairy-free option?
Yes! Use plant-based cheese and an egg replacer. Daiya or Violife mozzarella-style shreds melt well.
Can I bake them instead of frying?
Yes—and they’re still delicious! See the baking instructions above for a healthier version.
More Recipes You'll Love
All Salads & Sides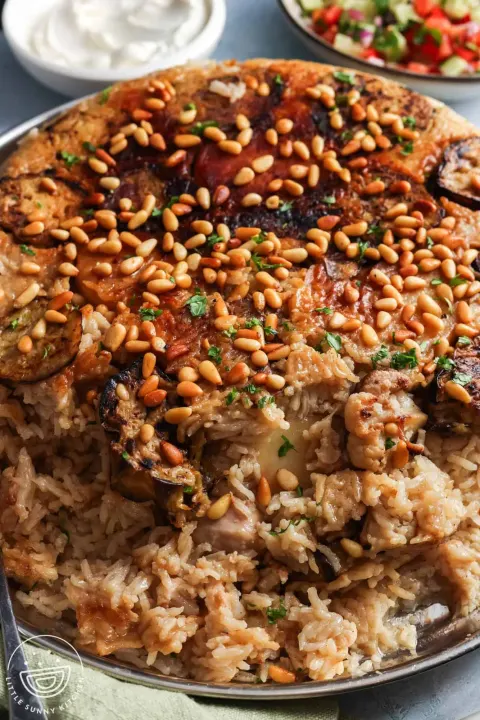 Salads & Sides
Maqluba (Upside Down Chicken with Rice)
Maqluba is a comforting layered rice dish popular across the Levant, known for its dramatic flip before serving.
Sweet Southern Cornbread – A Buttery, Golden Delight 🌽🍯✨
Few things are as comforting as Sweet Southern Cornbread—moist, tender, and with just the right balance of sweetness.
 Salads & Sides
One-Pot Creamy Garlic Parmesan Chicken is Delicious!
Introduction to One-Pot Creamy Garlic Parmesan Chicken Are you looking for a delicious and easy meal that the whole family will love? Look no further!
 Salads & Sides
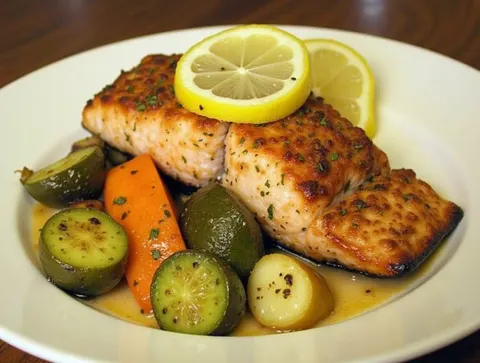
Lemon Herb Baked Salmon with Roasted Veggies Recipe
Introduction to Lemon Herb Baked Salmon with Roasted Veggies Are you looking for a delicious and healthy meal that’s easy to prepare? Look no further!
 Salads & Sides
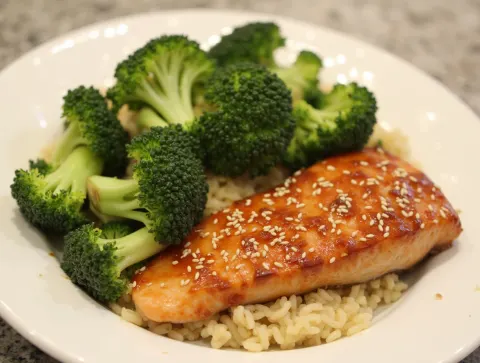
Teriyaki Glazed Salmon with Steamed Broccoli Recipe.
Introduction to Teriyaki Glazed Salmon with Steamed Broccoli Are you looking for a delicious and healthy meal? Look no further!
Apple Cranberry Coleslaw – A Crisp & Refreshing Side Dish! 🥗🍏
If you’re looking for a vibrant, refreshing, and slightly sweet coleslaw, this Apple Cranberry Coleslaw is the perfect choice!
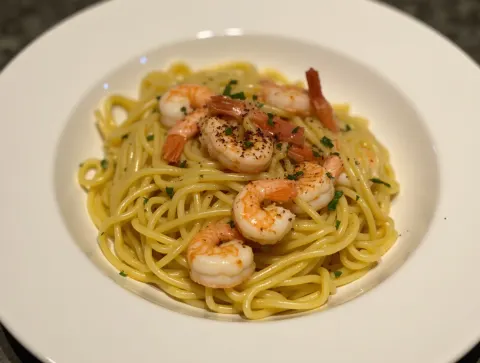 Salads & Sides
Spaghetti Aglio e Olio with Shrimp is a delight.
Introduction to Spaghetti Aglio e Olio with Shrimp Spaghetti Aglio e Olio with Shrimp is a delightful dish that brings together the simplicity of Italian…
Southern-Style Honey Butter Cornbread Poppers
If there’s one thing Southerners know how to do, it’s cornbread. But today, we’re taking it to the next level with Southern-Style Honey Butter Cornbread…