
3-Ingredient Homemade Crunch Bars
I’m so happy you’re here—because these 3-Ingredient Homemade Crunch Bars are one of the easiest, quickest, and most nostalgic desserts you can possibly make.
 By Amanda DavisDEC 7, 20254 MIN
Ingredients
Instructions
- Prepare your dish. Line a baking pan with parchment paper for easy removal.
- Melt the chocolate. Microwave chocolate chips and coconut oil in 30-second intervals, stirring until smooth. *(You can also melt using a double boiler.)*
- Combine with cereal. Pour the melted chocolate over the crispy cereal. Fold gently to coat everything without crushing the cereal.
- Spread into the pan. Press lightly to even out the top; don’t compress too hard or you’ll lose the airy crunch.
- Chill. Refrigerate for 45–60 minutes or freeze for 20 minutes until firm.
- Cut and enjoy! Slice into bars, squares, or bite-sized pieces.
I’m so happy you’re here—because these 3-Ingredient Homemade Crunch Bars are one of the easiest, quickest, and most nostalgic desserts you can possibly make. Every time I whip up a batch, I’m reminded just how magical simple ingredients can be. And honestly? I always end up wishing I had made a double batch… these disappear so fast!
If you love quick no-bake treats like this delivered straight to your inbox, don’t forget to subscribe!
3-Ingredient Homemade Crunch Bars – Overview of the Recipe
These bars taste just like the classic candy bar—but better, fresher, and incredibly easy. With just three ingredients and a few minutes of prep, you get chocolatey, crispy, melt-in-your-mouth bars that make the perfect treat for snacking, gifting, or late-night cravings.
This recipe is totally fuss-free: melt, mix, pour, chill. Dessert magic in minutes!
Why You’ll Love This Recipe
- Only 3 ingredients
- Completely no-bake
- Ready in minutes
- Kid-friendly and beginner-friendly
- Budget-friendly
- Perfect for lunchboxes, parties, or holidays
- Stores beautifully
- Anything but boring!!
What Do 3-Ingredient Homemade Crunch Bars Taste Like?
They’re crisp, creamy, chocolatey, and delightfully nostalgic. The crispy rice cereal gives a light crunch in every bite while the chocolate melts smoothly over your tongue. It’s sweet but not too sweet, comforting but exciting—pure candy bar perfection.
Benefits of This Recipe
- No special tools needed
- Easily customizable
- Gluten-free option
- Quick and great for meal prepping sweet snacks
- Freezer-friendly
- Great activity for kids
Ingredients for 3-Ingredient Homemade Crunch Bars
- 2 cups chocolate chips (milk, dark, or semi-sweet)
- 2 tablespoons coconut oil or butter
- 2 cups crispy rice cereal (Rice Krispies or similar)
Optional Add-Ins
- Sea salt flakes
- Peanut butter (½ cup mixed into melted chocolate)
- Crushed pretzels
- Mini marshmallows
- Chopped nuts
- Toffee bits
- White chocolate drizzle
- Sprinkles
Tools You’ll Need
- Microwave-safe bowl or double boiler
- Spatula
- Mixing bowl
- 8×8 or 9×9 baking dish
- Parchment paper
- Knife for slicing
Additions & Substitutions
Additions
- Add chopped almonds for a chocolate-nut bar
- Add toasted coconut for a tropical twist
- Add Oreo crumbs for a cookies-and-cream crunch
Substitutions
- Use vegan chocolate to make the recipe dairy-free
- Swap crispy rice cereal for cornflakes or puffed quinoa
- Replace coconut oil with butter or omit entirely
- Use sugar-free chocolate for a low-carb version
How to Make 3-Ingredient Homemade Crunch Bars
- Prepare your dish. Line a baking pan with parchment paper for easy removal.
- Melt the chocolate. Microwave chocolate chips and coconut oil in 30-second intervals, stirring until smooth. (You can also melt using a double boiler.)
- Combine with cereal. Pour the melted chocolate over the crispy cereal. Fold gently to coat everything without crushing the cereal.
- Spread into the pan. Press lightly to even out the top; don’t compress too hard or you’ll lose the airy crunch.
- Chill. Refrigerate for 45–60 minutes or freeze for 20 minutes until firm.
- Cut and enjoy! Slice into bars, squares, or bite-sized pieces.
What to Serve With Crunch Bars
- A cold glass of milk
- Hot coffee or tea
- Vanilla ice cream (crumble on top!)
- Fresh berries
- A dessert charcuterie board
Storage Instructions
- Refrigerator: Up to 2 weeks in an airtight container
- Freezer: Up to 3 months
- Room temperature: Only in cool environments, as chocolate softens easily
General Information
- Prep Time: 5 minutes
- Chill Time: 45 minutes
- Servings: 12–16 bars
- Difficulty: Very easy
- Category: No-Bake Dessert / Candy
Conclusion
These 3-Ingredient Homemade Crunch Bars are the perfect blend of simplicity and nostalgia. Sweet, crunchy, chocolatey, and so easy to whip up, they’re the kind of dessert you’ll find yourself making over and over again. Perfect for parties, gifts, or emergency sweet cravings—they’re irresistible every time!
If you love easy no-bake treats, don’t miss my Homemade Turtle Candy, No-Bake Chocolate Nut Bars, and Peanut Butter Crunch Bars next!
Share Your Creations!
Did you make these bars? I’d love to see them! Leave a review and share your photos on Pinterest—your creativity always inspires me!
Nutritional Information (per bar)
Approximate values:
- Calories: 150
- Fat: 8g
- Carbs: 19g
- Sugar: 13g
- Protein: 1g
Tips for Success
- Use high-quality chocolate for the richest flavor.
- Fold gently so the cereal stays crisp and airy.
- Chill thoroughly before cutting for clean slices.
- Store in the fridge to keep the chocolate firm.
- Add mix-ins last so they stay evenly distributed.
Frequently Asked Questions
Can I use white chocolate?
Absolutely! White, dark, semi-sweet, or milk chocolate all work beautifully.
Why are my bars soft?
They may not have chilled long enough, or your chocolate-to-oil ratio may be too high. Freeze to firm them up.
Can I make these without coconut oil?
Yes—melted chocolate alone works perfectly.
Can I double the recipe?
Yes! Use a 9×13 pan.
Can I make them gluten-free?
Yes—just use certified gluten-free crispy rice cereal.
More Recipes You'll Love
All Desserts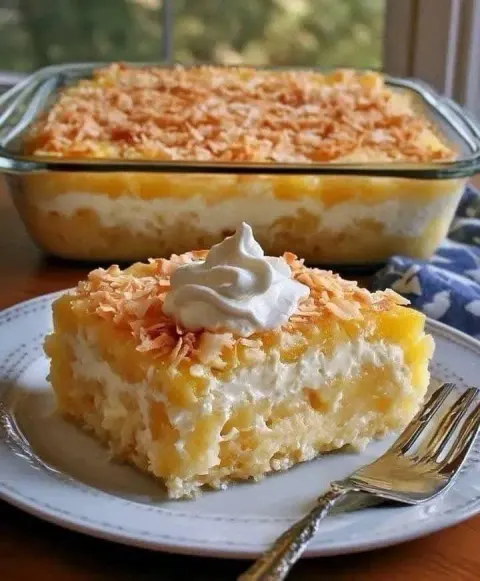 Desserts
Pineapple Coconut Dream Cake
I’m so glad you’re here—because this Pineapple Coconut Dream Cake is the kind of dessert that tastes like a tropical vacation on a plate.
 Desserts
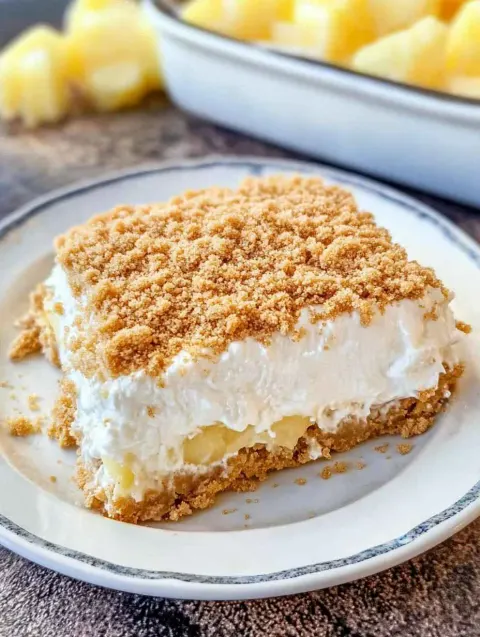
Pineapple Dream Dessert
I am so glad you’re here for this one—because this Pineapple Dream Dessert is one of those beloved, vintage-style treats that tastes like sunshine in every…
 Desserts
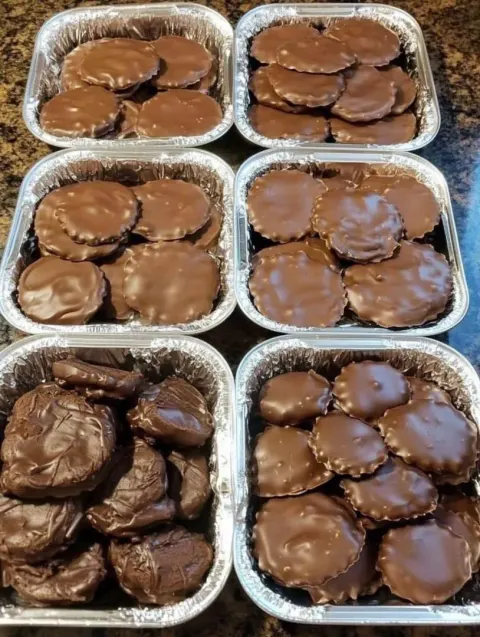
Homemade Turtle Candy: The Ultimate No-Bake Treat
I’m so excited you’re here for this one—because these Homemade Turtle Candies: The Ultimate No-Bake Treat are one of those desserts that make you wonder why…
 Desserts
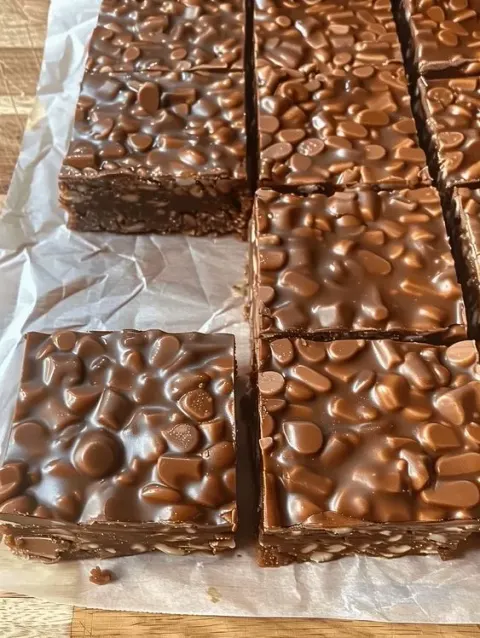
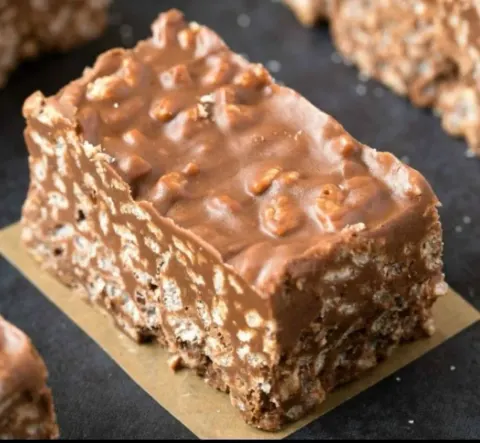
Homemade Crunch Bars
I’m so happy you’re here for this recipe—because these Homemade Crunch Bars are one of my all-time favorite no-bake treats!
 Desserts
No-Bake Homemade Crunch Bars Recipe
If you’re craving something chocolatey, crunchy, nostalgic, and unbelievably easy, you are going to fall in love with this No-Bake Homemade Crunch Bars…
 Desserts
Old Southern Chocolate Pecan Sheet Cake: Rich, Buttery, and Pure Southern Comfort
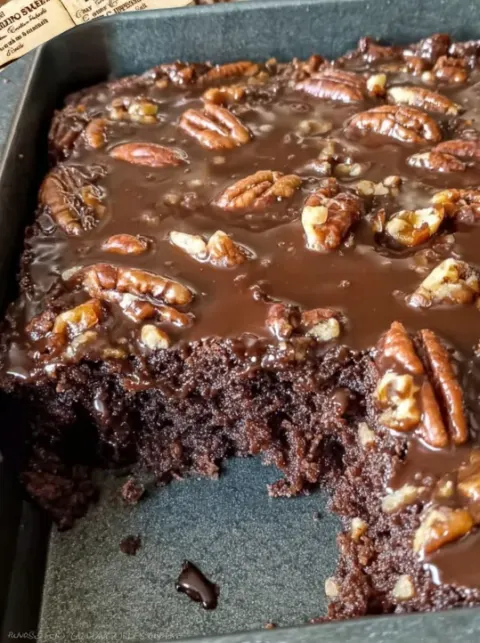
Old Southern Chocolate Pecan Sheet Cake Thank you so much for being here—truly. I’m so thrilled to share this Old Southern Chocolate Pecan Sheet Cake because…
 Desserts
White Chocolate Whipped Cream: Luxuriously Light, Sweet, and Silky
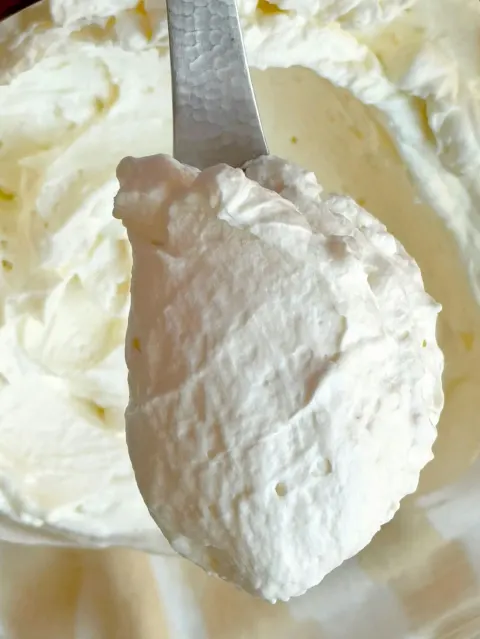
White Chocolate Whipped Cream Thank you so much for being here—truly. I’m so excited to share this White Chocolate Whipped Cream with you because it’s one…
 Desserts
Delicious Banana Malva Pudding: Warm, Sticky, Buttery Comfort in Every Spoonful
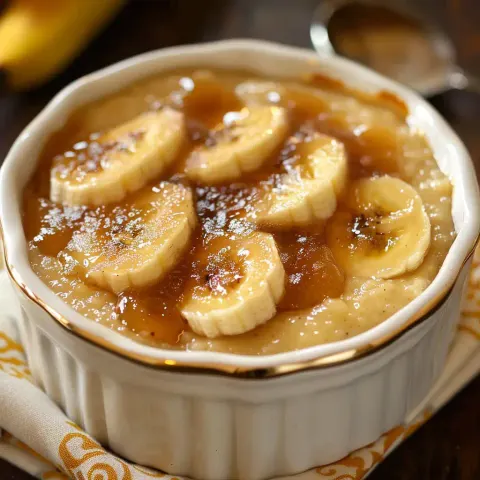
Delicious Banana Malva Pudding Thank you so much for being here—truly. I’m so excited to share this Delicious Banana Malva Pudding with you because it takes…