
No-Bake Homemade Crunch Bars Recipe
If you’re craving something chocolatey, crunchy, nostalgic, and unbelievably easy, you are going to fall in love with this No-Bake Homemade Crunch Bars…
 By Amanda DavisDEC 6, 20254 MIN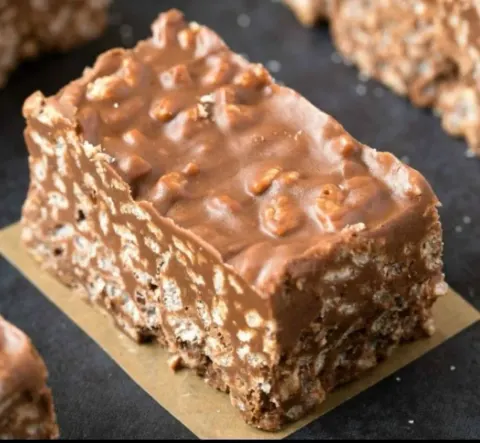
This post may contain affiliate links. If you buy something through one of them, we may earn a small commission at no extra cost to you. Learn more.
Ingredients
Instructions
- Prepare the pan. Line an 8×8 baking dish with parchment paper.
- Melt the chocolate. Heat chocolate chips and coconut oil in the microwave in 30-second intervals, stirring until smooth and silky. *OR melt over a double boiler.*
- Mix in the cereal. Pour chocolate over rice cereal and gently fold until fully coated.
- Pour and level. Spread mixture evenly into your prepared dish.
- Chill. Refrigerate for 45–60 minutes or freeze for 20 minutes until set.
- Slice and enjoy. Cut into bars, squares, or bite-sized pieces.
If you’re craving something chocolatey, crunchy, nostalgic, and unbelievably easy, you are going to fall in love with this No-Bake Homemade Crunch Bars Recipe. I’m genuinely so happy you’re here—because this is one of those 5-minute desserts I make over and over again (sometimes twice in a week!) and every bite takes me right back to childhood.
And if you’d love more quick no-bake treats sent straight to your inbox, make sure to subscribe!
No-Bake Homemade Crunch Bars Recipe – Overview of the Recipe
These no-bake crunch bars are the perfect mix of smooth melted chocolate and crispy cereal, forming a candy-bar-style treat with a satisfying snap. They require just a few simple ingredients, take almost no effort, and taste way better than anything store-bought.
Why You’ll Love This Recipe
- Ready in minutes—no baking needed
- Only 2–3 ingredients
- Perfect for meal prep, desserts, parties, and gifting
- Customizable with endless add-ins
- Naturally gluten-free if using GF rice cereal
- Great for both kids and adults
What Do These No-Bake Homemade Crunch Bars Taste Like?
Exactly like the chocolate crunch bars you grew up with—but richer, fresher, and even more delicious. Silky chocolate encases crisp rice cereal, giving each bite the perfect contrast: smooth, crunchy, sweet, and incredibly satisfying.
Benefits of This Recipe
- Budget-friendly
- Fast and foolproof
- Uses pantry staples
- Freezer-friendly
- Great for lunchboxes
- Portion-friendly (cut into any size squares!)
Ingredients for No-Bake Homemade Crunch Bars Recipe
- 2 cups chocolate chips (milk, dark, or semi-sweet)
- 2 tbsp coconut oil or butter
- 2 cups crispy rice cereal (like Rice Krispies)
Optional Add-Ins
- Pinch of flaky sea salt
- Mini marshmallows
- Peanut butter swirl (½ cup added to melted chocolate)
- Crushed pretzels
- Chopped nuts
- Sprinkles
- White chocolate drizzle
Tools You’ll Need
- Microwave-safe bowl or double boiler
- Spatula
- Mixing bowl
- 8×8 pan
- Parchment paper
- Sharp knife
Additions & Substitutions
Additions
- Stir in almonds or peanuts for extra crunch
- Add dried fruit for a chewy texture
- Mix in peanut butter for a Reese’s-style crunch bar
- Add crushed Oreos for a cookie-crunch twist
Substitutions
- Use vegan chocolate to make the recipe dairy-free
- Substitute coconut oil with butter or vegetable oil
- Swap crispy rice cereal with cornflakes or puffed quinoa
- Use sugar-free chocolate for a low-carb version
How to Make No-Bake Homemade Crunch Bars Recipe
- Prepare the pan. Line an 8×8 baking dish with parchment paper.
- Melt the chocolate. Heat chocolate chips and coconut oil in the microwave in 30-second intervals, stirring until smooth and silky. OR melt over a double boiler.
- Mix in the cereal. Pour chocolate over rice cereal and gently fold until fully coated.
- Pour and level. Spread mixture evenly into your prepared dish.
- Chill. Refrigerate for 45–60 minutes or freeze for 20 minutes until set.
- Slice and enjoy. Cut into bars, squares, or bite-sized pieces.
What to Serve With This Recipe
- Hot coffee or espresso
- A cold glass of milk
- Fresh berries
- Ice cream (crumble a bar over vanilla—OMG good!)
- A dessert platter for parties
Storage Instructions
- Refrigerator: Store in an airtight container for up to 2 weeks.
- Freezer: Freeze up to 3 months—thaws in minutes!
- Room Temperature: Only if your home is cool; chocolate softens easily.
General Information
- Prep Time: 5 minutes
- Chill Time: 45 minutes
- Servings: 12–16 bars
- Difficulty: Very easy
- Category: No-Bake Dessert / Snack
Conclusion
These No-Bake Homemade Crunch Bars are everything you want in a quick dessert: crunchy, chocolatey, nostalgic, and unbelievably easy. Whether you’re making them for yourself, your family, or a party, they deliver big flavor with almost zero effort.
If you love no-bake sweet treats like this, be sure to try my No-Bake Peanut Butter Bars, 3-Ingredient Chocolate Clusters, and No-Bake Oreo Crunch Squares next!
Share Your Creations!
Made these crunch bars? I would love to see them! Leave a review and share your photos on Pinterest so I can cheer you on!
Nutritional Information (per bar)
Approximate values:
- Calories: 150
- Fat: 8g
- Carbs: 18g
- Sugar: 12g
- Protein: 1g
Tips for Success
- Use high-quality chocolate—it makes a huge difference.
- Chill completely before slicing to get clean, sharp edges.
- Don’t crush the cereal—keep it airy for that classic crunch.
- Add cereal last to avoid sogginess.
- Store cold to maintain that perfect snap.
Frequently Asked Questions
Can I use white or dark chocolate?
Yes! Any melting chocolate works beautifully.
Why are my bars too soft?
Your chocolate may need more chilling—freeze for 20 minutes.
Can I make these without coconut oil?
Yes—use butter or simply melt the chocolate alone.
Can I double the recipe?
Absolutely—use a 9×13 pan.
Can I use Cocoa Krispies?
YES and they’re incredible—super chocolatey!
More Recipes You'll Love
All Desserts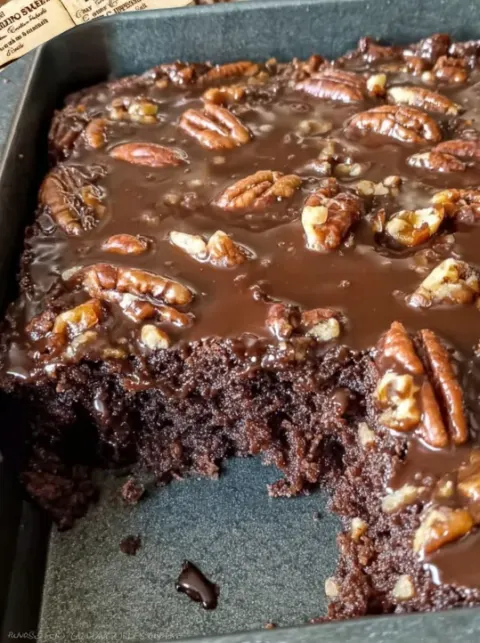 Desserts
Old Southern Chocolate Pecan Sheet Cake: Rich, Buttery, and Pure Southern Comfort
Old Southern Chocolate Pecan Sheet Cake Thank you so much for being here—truly. I’m so thrilled to share this Old Southern Chocolate Pecan Sheet Cake because…
 Desserts
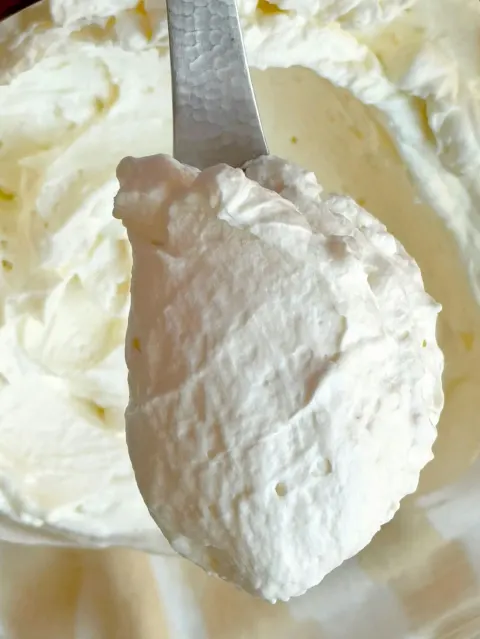
White Chocolate Whipped Cream: Luxuriously Light, Sweet, and Silky
White Chocolate Whipped Cream Thank you so much for being here—truly. I’m so excited to share this White Chocolate Whipped Cream with you because it’s one…
 Desserts
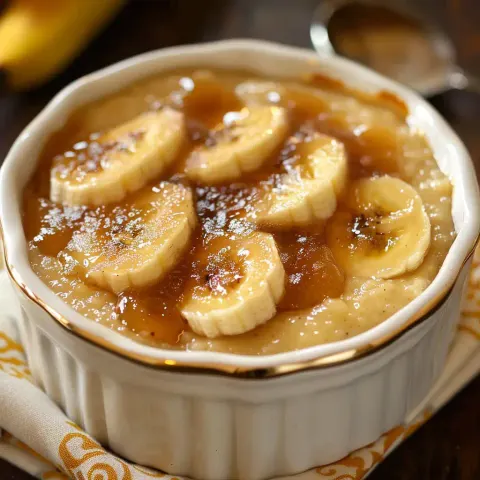
Delicious Banana Malva Pudding: Warm, Sticky, Buttery Comfort in Every Spoonful
Delicious Banana Malva Pudding Thank you so much for being here—truly. I’m so excited to share this Delicious Banana Malva Pudding with you because it takes…
 Desserts
Mini Pineapple Upside-Down Cakes: Sweet, Buttery, Tropical Perfection in Every Bite
Mini Pineapple Upside-Down Cakes Recipe Thank you so much for being here—truly. I’m so excited to share these Mini Pineapple Upside-Down Cakes with you…
 Desserts
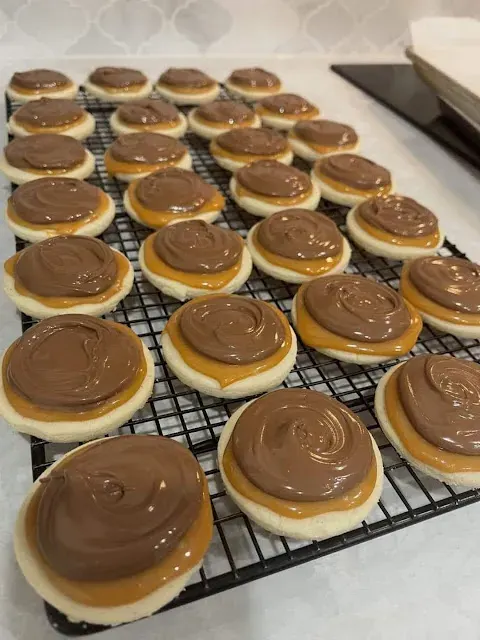
Twix Cookies Delight: Buttery, Caramelly & Dipped in Dreamy Chocolate
Twix Cookies Delight Thank you so much for being here—truly. I’m so excited to share this Twix Cookies Delight recipe with you today because it captures…
 Desserts
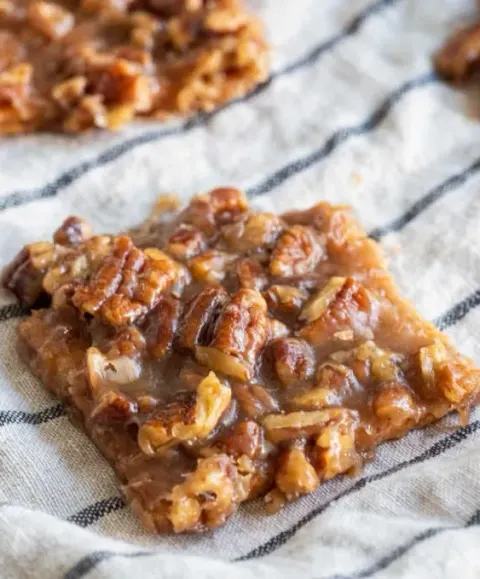
Pecan Pie Bark: The Addictive, Buttery, Crunchy Treat You’ll Make All Season Long
Pecan Pie Bark Thank you so much for being here—truly. I’m so excited to share this Pecan Pie Bark recipe because it’s one of those treats that tastes like…
 Desserts
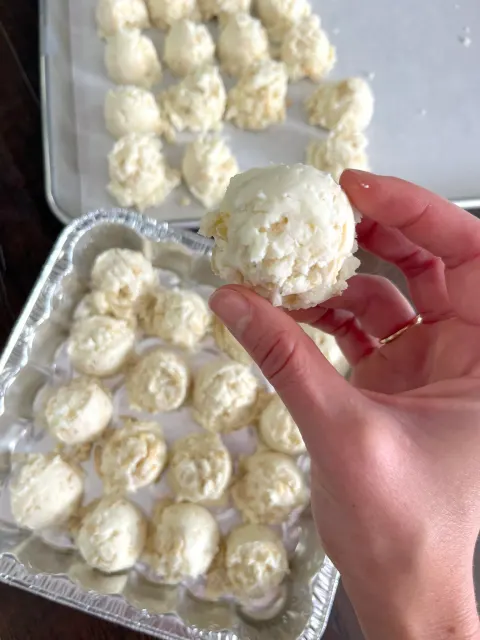
Slow Cooker Snowballs: A Melt-in-Your-Mouth Holiday Treat Made Effortlessly
Slow Cooker Snowballs Thank you so much for being here—truly. I’m so excited to share this festive, cozy…
 Desserts
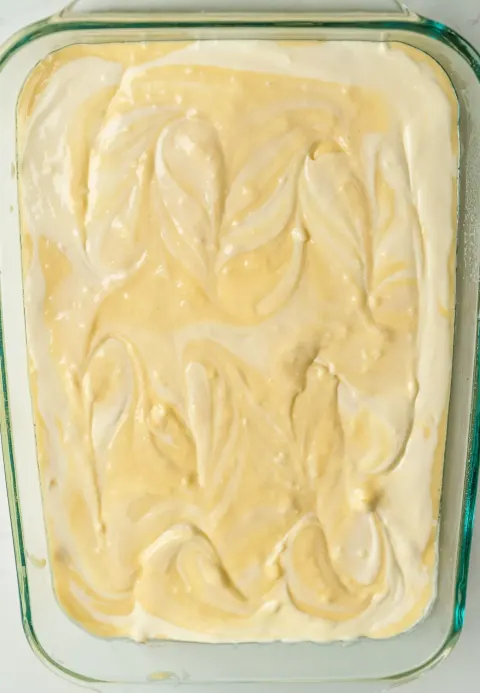
Cream Cheese Coffee Cake: Moist, Buttery & Swirled With Sweet Creamy Goodness
Cream Cheese Coffee Cake Thank you so much for being here today—truly. I’m thrilled to share this Cream Cheese Coffee Cake with you because it’s one of those…