
Grandma’s Unbelievably Creamy Chocolate Pie
Thank you—truly—for being here and for loving the recipes that feel like they’ve been passed down with a hug.
 By Amanda DavisFEB 1, 20265 MIN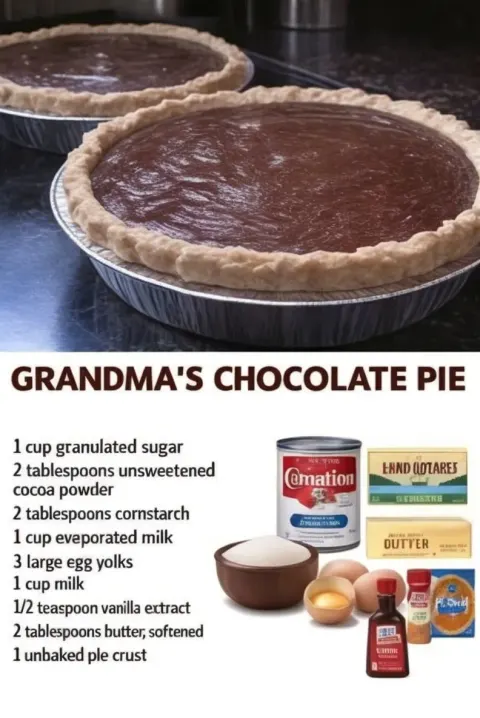
Ingredients
Instructions
- Preheat your oven to 350°F (175°C). Place the unbaked pie crust into your pie dish and set aside.
- In a saucepan, whisk together sugar, cocoa powder, cornstarch, and salt until fully combined.
- Slowly whisk in the milk, followed by the egg yolks, until smooth.
- Place the saucepan over medium heat, stirring constantly. Cook until the mixture thickens and comes to a gentle boil—this takes patience, but it’s worth it.
- Remove from heat and stir in butter and vanilla until silky smooth.
- Pour the warm chocolate filling into the prepared crust, smoothing the top.
- Bake for 25–30 minutes, until the center is just set. It will continue to firm up as it cools.
- Let the pie cool completely, then refrigerate for at least 4 hours before slicing.
Thank you—truly—for being here and for loving the recipes that feel like they’ve been passed down with a hug. 💛 Grandma’s Unbelievably Creamy Chocolate Pie is one of those desserts that carries memories in every bite. The kind of pie that showed up at holidays, Sunday dinners, and special occasions—quietly waiting on the counter until everyone circled back for just one more slice.
This Grandma’s Unbelievably Creamy Chocolate Pie is rich, silky, and deeply chocolatey, with a texture so smooth it practically melts on your fork. It’s simple, honest, old-fashioned baking at its best—and it never fails to impress.
If you love classic desserts like this, I’d love for you to subscribe so these treasured recipes can come straight to your inbox.
Overview of Grandma’s Unbelievably Creamy Chocolate Pie
This pie is all about texture and flavor. No shortcuts that sacrifice quality—just straightforward ingredients coming together to create a filling that’s luxuriously creamy and perfectly sweet. It’s baked gently, chilled patiently, and served proudly.
Reasons to Love This Recipe
• Old-fashioned, time-tested dessert • Ultra-creamy, smooth filling • Simple pantry ingredients • Perfect make-ahead pie • Always a crowd favorite
I promised you nostalgic comfort—and here’s proof!
What This Chocolate Pie Tastes Like
This pie is deeply chocolatey without being overly sweet. The filling is velvety, rich, and custard-like, with that unmistakable homemade flavor you just can’t fake. The aroma while it cooks is incredible!! Warm cocoa and vanilla filling the kitchen—exactly the smell that makes memories stick.
Benefits of This Recipe
• Classic, from-scratch dessert • No fancy equipment required • Great for holidays and gatherings • Slices beautifully • Stores well
Ingredients for Grandma’s Unbelievably Creamy Chocolate Pie
These are the same kinds of ingredients Grandma always reached for—nothing complicated.
• Unbaked pie crust • Granulated sugar • Unsweetened cocoa powder • Cornstarch • Salt • Whole milk • Egg yolks • Butter • Vanilla extract
Simple ingredients, unforgettable result.
Tools You’ll Need
• Medium saucepan • Whisk • Measuring cups and spoons • Pie dish • Spatula
Just good, basic kitchen tools.
Ingredient Additions and Substitutions
You can keep this recipe classic or gently adapt it:
• Use dark cocoa powder for deeper flavor • Swap whole milk for half-and-half for extra richness • Add a pinch of espresso powder to enhance chocolate • Use a graham cracker crust instead of traditional • Top with whipped cream or meringue
These changes keep the heart of the pie intact.
How to Make Grandma’s Unbelievably Creamy Chocolate Pie Step by Step
Step 1: Preheat and Prepare
Preheat your oven to 350°F (175°C). Place the unbaked pie crust into your pie dish and set aside.
Step 2: Mix the Dry Ingredients
In a saucepan, whisk together sugar, cocoa powder, cornstarch, and salt until fully combined.
Step 3: Add Milk and Eggs
Slowly whisk in the milk, followed by the egg yolks, until smooth.
Step 4: Cook the Filling
Place the saucepan over medium heat, stirring constantly. Cook until the mixture thickens and comes to a gentle boil—this takes patience, but it’s worth it.
Step 5: Finish with Butter and Vanilla
Remove from heat and stir in butter and vanilla until silky smooth.
Step 6: Fill the Pie
Pour the warm chocolate filling into the prepared crust, smoothing the top.
Step 7: Bake
Bake for 25–30 minutes, until the center is just set. It will continue to firm up as it cools.
Step 8: Cool and Chill
Let the pie cool completely, then refrigerate for at least 4 hours before slicing.
What to Serve with Chocolate Pie
This pie shines on its own, but it’s even better with:
• Fresh whipped cream • Vanilla ice cream • Hot coffee or espresso • Fresh berries
Simple pairings let the chocolate shine.
Storage Instructions
Store the pie covered in the refrigerator.
• Refrigerator: up to 4 days • Freezer: up to 1 month (wrap tightly)
Thaw overnight in the fridge if frozen.
General Recipe Information
• Prep Time: 15 minutes • Cook Time: 30 minutes • Chill Time: 4 hours • Total Time: About 5 hours • Servings: 8
Conclusion: A Slice of Pure Nostalgia
Grandma’s Unbelievably Creamy Chocolate Pie isn’t just dessert—it’s a memory, a tradition, and a reminder that the simplest recipes are often the most beloved. Smooth, rich, and timeless, this is the kind of pie that never goes out of style.
If you loved this recipe, you might also enjoy:
• Old-Fashioned Chocolate Pudding • Classic Chess Pie • Homemade Chocolate Cream Pie
If you make Grandma’s Unbelievably Creamy Chocolate Pie, I’d love for you to leave a review and share your photos on Pinterest. Seeing these cherished recipes come to life in your kitchens truly means the world to me.
Nutritional Information (Per Serving – Approximate)
• Calories: 360 • Fat: 18g • Carbohydrates: 46g • Protein: 6g • Sugar: 32g
Tips for Success
• Stir constantly while cooking the filling • Don’t rush the thickening step • Chill completely before slicing • Use whole milk for best texture • Wipe the knife between slices
Frequently Asked Questions
Is this pie very sweet?
It’s perfectly balanced—rich and chocolatey without being overwhelming.
Can I make it ahead?
Yes! This pie is actually better the next day.
Does it need to be baked?
Yes—baking ensures the filling sets properly.
Can I use a store-bought crust?
Absolutely. Grandma did when she needed to.
More Recipes You'll Love
All Desserts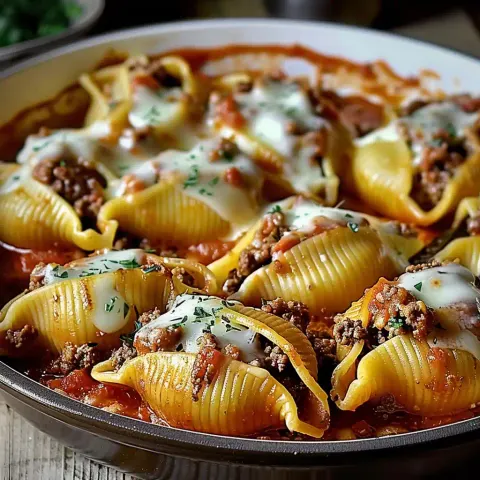 Desserts
Italian Stuffed Shells
Italian Stuffed Shells are one of those timeless comfort dishes that instantly make me slow down and feel thankful—thankful for cozy kitchens, shared meals…
 Desserts
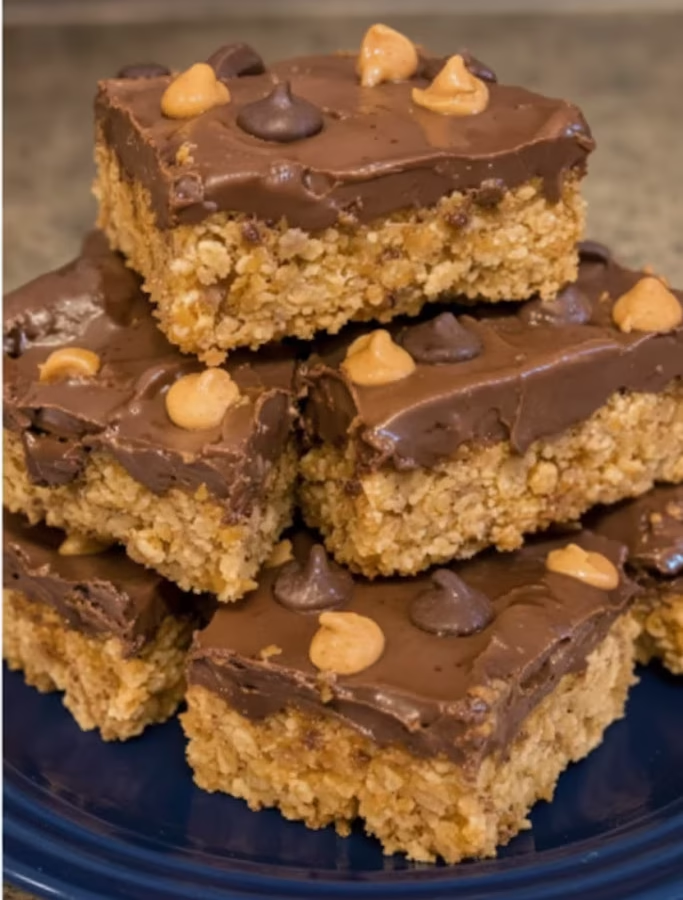
Scotcheroos: The Ultimate No-Bake Rice Krispie Treat with Chocolate-Butterscotch Excellence
Scotcheroos have a very special place in my heart, and I’m so grateful you’re here to share in this sweet little moment with me.
 Desserts
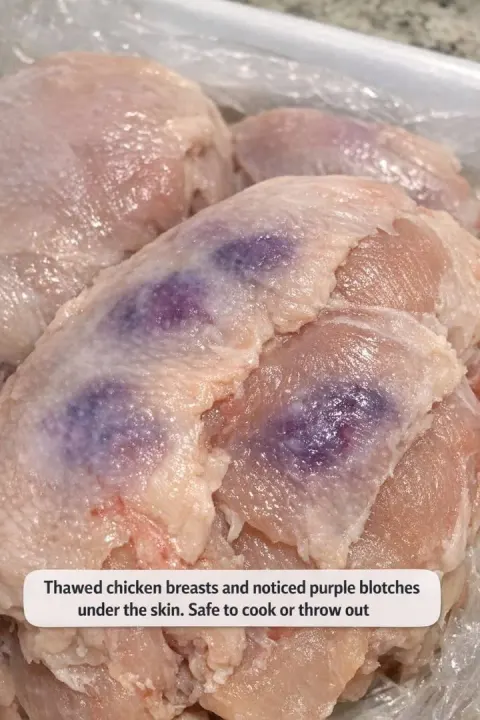
Purple Chicken Mystery Solved: A Home Cook’s Guide to Safe Poultry Handling
Purple Chicken Mystery Solved — first, thank you for being here. Truly. If you’ve ever opened a package of chicken and paused because the color looked… off…
 Desserts
Roasted Tomato Soup with Grilled Cheese Croutons
Thank you so much for being here — truly, it means the world to me. This Roasted Tomato Soup with Grilled Cheese Croutons…
 Desserts
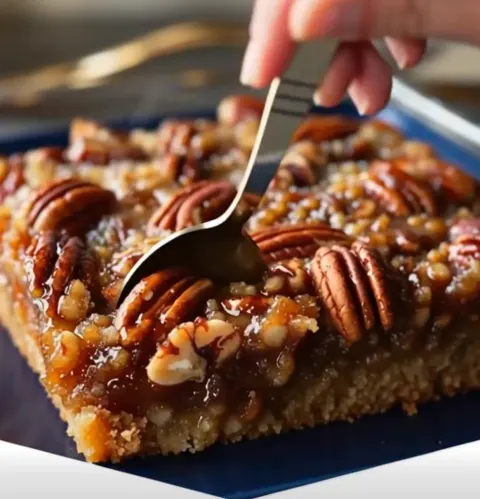
Decadent Pecan Dump Cake
Thank you so much for being here — I truly appreciate you. This Decadent Pecan Dump Cake, right after the title and straight from my heart…
 Desserts
3-Ingredient Slow Cooker Italian Chicken: The Ultimate Set-It-and-Forget Dinner
Thank you so much for being here — truly. Recipes like this 3-Ingredient Slow Cooker Italian Chicken, right after the title and straight from my heart…
 Desserts
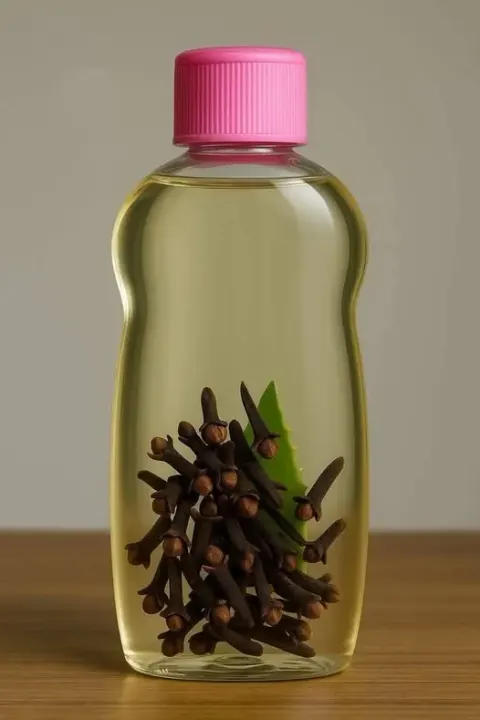
Clove & Aloe Vera Hair Tonic
Thank you so much for being here — truly. Sharing natural, time-tested beauty recipes like this Clove & Aloe Vera Hair Tonic feels extra special because…
 Desserts
Hobo Casserole Ground Beef Recipe
Thank you so much for being here — it truly means the world to me. Recipes like this Hobo Casserole Ground Beef Recipe are the reason I love sharing comfort…