
Hillbilly Pie (Old-Fashioned Poor Man’s Cherry Pie)
Thank you so much for being here 💛 Truly. Recipes like this Hillbilly Pie (Old-Fashioned Poor Man’s Cherry Pie) remind me why I fell in love with home baking…
 By Amanda DavisJAN 5, 20264 MIN
This post may contain affiliate links. If you buy something through one of them, we may earn a small commission at no extra cost to you. Learn more.
Ingredients
Instructions
- Preheat your oven to 350°F (175°C). Grease your baking dish or pie plate lightly with butter.
- In a mixing bowl, whisk together sugar, flour, and salt. Slowly add milk, melted butter, and vanilla, stirring until smooth and lump-free.
- Pour the batter into the prepared dish. Spoon the cherry pie filling evenly over the top. Do not stir—this creates the signature layered effect as it bakes.
- Bake for 40–45 minutes, or until the center is set and the top is lightly golden.
- Allow the pie to cool for at least 15 minutes before slicing. Serve warm or chilled.
Thank you so much for being here 💛 Truly. Recipes like this Hillbilly Pie (Old-Fashioned Poor Man’s Cherry Pie) remind me why I fell in love with home baking in the first place. This is the kind of dessert that was born out of simplicity, creativity, and love—when ingredients were few, but the desire to make something sweet for family was big. And let me tell you… this pie may be humble, but the flavor is anything but!
It’s nostalgic, comforting, and unbelievably easy. If you enjoy old-fashioned desserts that taste like they came straight from Grandma’s kitchen, you’re going to adore this one. Be sure to subscribe so you can receive recipes like this directly by email—no frills, just good food and heartfelt stories.
Hillbilly Pie (Old-Fashioned Poor Man’s Cherry Pie) Overview
Hillbilly Pie, often lovingly called Poor Man’s Cherry Pie, is a classic Southern-style dessert made without fresh cherries or a traditional pie crust. Instead, it uses simple pantry staples to create a soft, custard-like base with pops of cherry flavor throughout. It’s baked in one dish, sliced like a pie, and served warm or chilled.
Reasons to Love Hillbilly Pie (Old-Fashioned Poor Man’s Cherry Pie)
- Made with basic, affordable ingredients
- No pie crust required
- Old-fashioned comfort food at its finest
- Perfect for potlucks and family dinners
- Tastes even better the next day
What Does Hillbilly Pie Taste Like?
This pie has a lightly crisp top, a soft, almost pudding-like center, and little bursts of sweet cherry flavor in every bite. It’s not overly sweet, making it perfect with a scoop of vanilla ice cream or a dollop of whipped cream.
Benefits of This Recipe
- Budget-friendly
- Beginner-friendly
- No rolling dough or special tools
- A great way to recreate vintage baking
Ingredients for Hillbilly Pie (Old-Fashioned Poor Man’s Cherry Pie)
- 1 cup sugar
- ½ cup all-purpose flour
- ¼ tsp salt
- 1 cup milk
- 2 tbsp butter, melted
- 1 tsp vanilla extract
- 1 can (15 oz) cherry pie filling
- Optional: powdered sugar for dusting
Necessary Tools for Preparation
- Mixing bowl
- Whisk or spoon
- 8×8-inch baking dish or pie plate
- Measuring cups and spoons
Possible Ingredient Additions and Substitutions
- Use blueberry or apple pie filling instead of cherry
- Add a pinch of cinnamon or nutmeg for warmth
- Swap milk for evaporated milk for a richer texture
- Reduce sugar slightly if you prefer less sweetness
How to Make Hillbilly Pie (Old-Fashioned Poor Man’s Cherry Pie)
Step 1: Preheat and Prepare
Preheat your oven to 350°F (175°C). Grease your baking dish or pie plate lightly with butter.
Step 2: Mix the Batter
In a mixing bowl, whisk together sugar, flour, and salt. Slowly add milk, melted butter, and vanilla, stirring until smooth and lump-free.
Step 3: Add the Cherries
Pour the batter into the prepared dish. Spoon the cherry pie filling evenly over the top. Do not stir—this creates the signature layered effect as it bakes.
Step 4: Bake
Bake for 40–45 minutes, or until the center is set and the top is lightly golden.
Step 5: Cool and Serve
Allow the pie to cool for at least 15 minutes before slicing. Serve warm or chilled.
What to Serve with Hillbilly Pie (Old-Fashioned Poor Man’s Cherry Pie)
This pie is wonderful served with:
- Vanilla ice cream
- Fresh whipped cream
- A cup of hot coffee or tea
- A light dusting of powdered sugar
Storage Instructions
Store covered in the refrigerator for up to 4 days. Reheat individual slices gently in the microwave or enjoy cold—it’s delicious both ways.
General Information
- Prep Time: 10 minutes
- Bake Time: 45 minutes
- Total Time: 55 minutes
- Servings: 6–8
Conclusion: Why Hillbilly Pie Is Still Loved Today
This Hillbilly Pie (Old-Fashioned Poor Man’s Cherry Pie) is proof that simple ingredients can create something truly special. It’s warm, nostalgic, and filled with the kind of comfort only an old-fashioned recipe can deliver. No fuss, no fancy steps—just honest, homemade goodness.
If you enjoyed this recipe, you might also love my old-fashioned cobbler, vintage custard pie, or peach dump cake.
I’d love to hear what you think! Leave a comment, rate the recipe, and don’t forget to share your pie on Pinterest—I can’t wait to see your beautiful bakes ❤️🥧
Nutritional Information (Approximate per Serving)
- Calories: 290
- Carbohydrates: 48g
- Fat: 9g
- Protein: 4g
- Sugar: 32g
Tips for Success
- Don’t overbake—the center should be just set
- Let it cool slightly to firm up before slicing
- Use a glass baking dish to monitor browning
- For cleaner slices, chill before cutting
Frequently Asked Questions
Why is it called Poor Man’s Pie?
It was created using inexpensive pantry ingredients when fresh fruit or pastry wasn’t available.
Does this pie have a crust?
No, the batter forms its own soft base as it bakes.
Can I use homemade cherry filling?
Absolutely! Just be sure it’s thickened.
Can this be made ahead?
Yes—this pie tastes even better the next day.
More Recipes You'll Love
All Dinner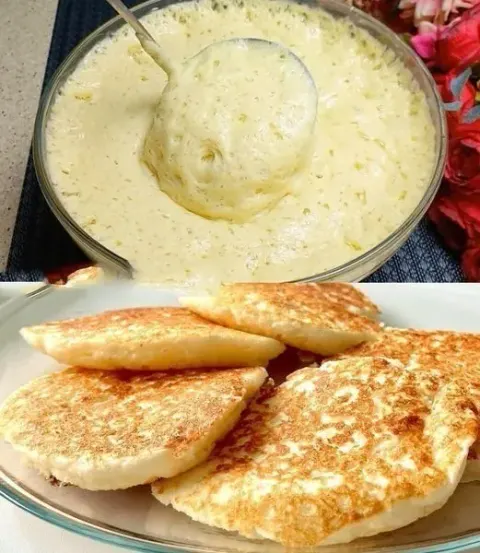 Dinner
Fluffy Homemade Pancakes Flourless with a Delicious Taste
Thank you so much for being here 💛 I honestly can’t tell you how happy it makes me to share this recipe with you.
 Dinner
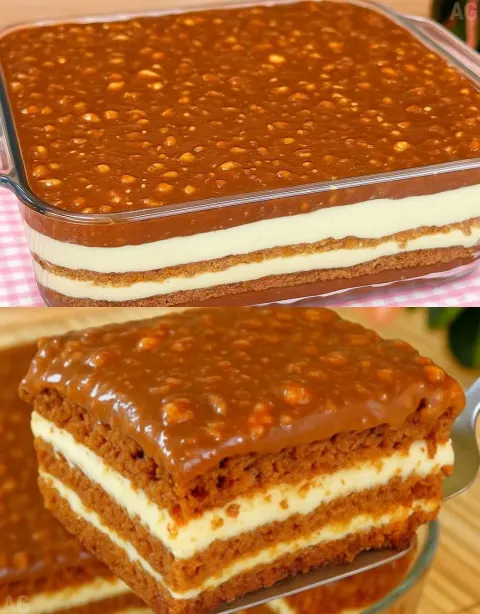
Caramel Biscuit Layered Dessert with Creamy Vanilla Filling
Thank you so much for being here 💛 Truly, it means the world to me that you trust this space for sweet inspiration.
 Dinner
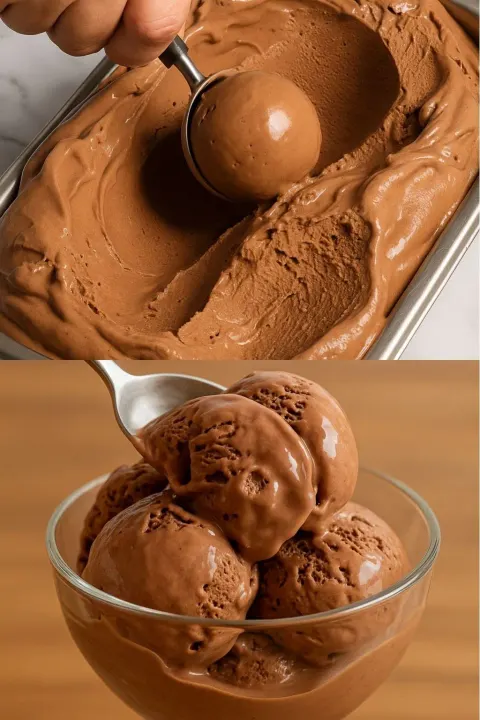
Homemade Chocolate Ice Cream
Homemade Chocolate Ice Cream is one of those desserts I truly never get tired of—and I’m so grateful you’re here to make it with me.
 Dinner
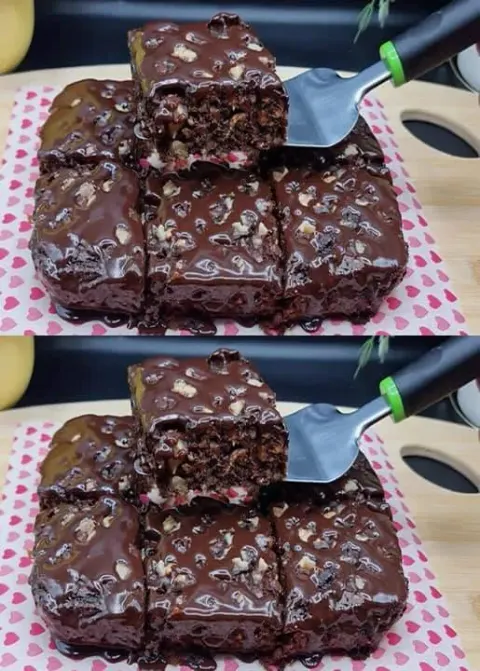
Melt-In-Your-Mouth Creamy Dream Dessert
Melt-In-Your-Mouth Creamy Dream Dessert is exactly the kind of treat I never get tired of eating—and I’m so grateful you’re here to enjoy it with me.
 Dinner
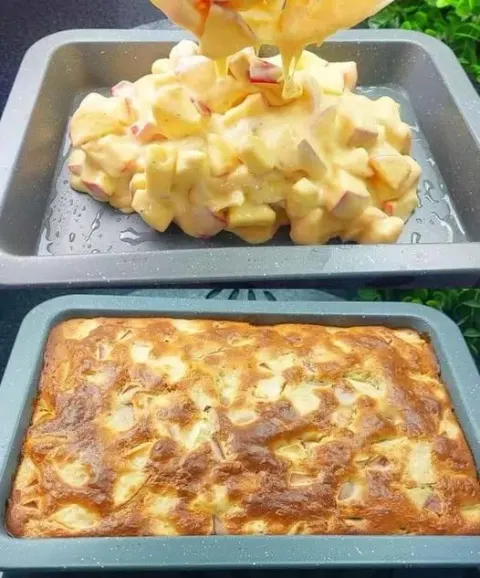
Super Simple and Quick Blender Apple Pie
Super Simple and Quick Blender Apple Pie is one of those magical recipes that makes you stop and say, why didn’t I try this sooner?!
 Dinner
Stuffed Pepper Soup
Stuffed Pepper Soup is one of those recipes I make when I want all the cozy comfort of classic stuffed peppers without the extra work—and I’m truly…
 Dinner
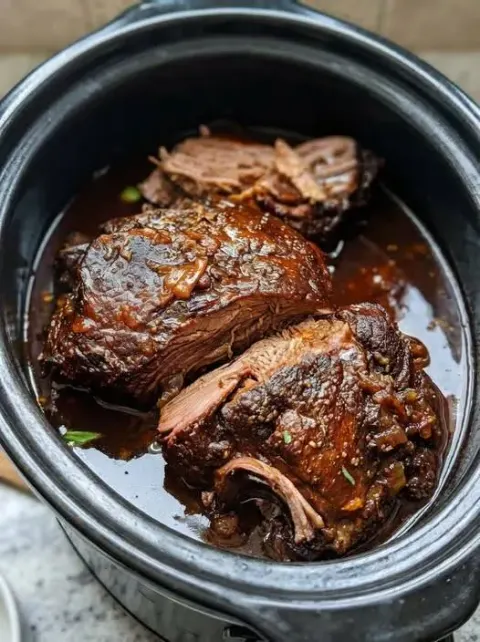
Classic Three-Envelope Roast Recipe
Classic Three-Envelope Roast Recipe is one of those tried-and-true comfort meals that feels like a gift every single time you make it.
 Dinner
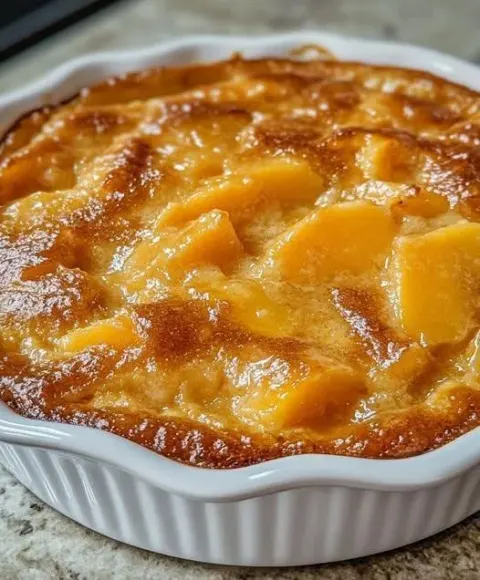
Southern-Style Tennessee Peach Pudding
Southern-Style Tennessee Peach Pudding is pure comfort, and I’m genuinely so grateful you’re here to experience it with me.