
Lemon Cream Cheese Bars – A Bright & Zesty Delight 🍋✨
Hey there, lovely bakers! Today, I’m super excited to share a treat that’s guaranteed to brighten your day — Lemon Cream Cheese Bars!
 By Amanda DavisMAR 5, 20253 MIN
Hey there, lovely bakers! Today, I’m super excited to share a treat that’s guaranteed to brighten your day — Lemon Cream Cheese Bars! These bars are the perfect balance of sweet and tangy, with a buttery shortbread crust, creamy lemony filling, and a dusting of powdered sugar for that irresistible finishing touch.
Whether you’re making them for a spring brunch, afternoon snack, or just because you deserve something sweet, these bars are about to become your new favorite treat!
Why You’ll Love This Recipe ❤️
- Easy to Make: Simple ingredients and quick prep time.
- Perfectly Balanced Flavor: Sweet, tangy, and just the right amount of lemon.
- Buttery & Creamy Texture: A melt-in-your-mouth crust with a silky cream cheese filling.
- Great for Any Occasion: Perfect for dessert, brunch, or potlucks!
What Do Lemon Cream Cheese Bars Taste Like?
Imagine a soft, buttery shortbread crust topped with creamy lemon cheesecake filling that’s bursting with fresh lemon flavor — light, refreshing, and totally addictive!
Ingredients 🛒
For the Crust
- 1 cup unsalted butter, softened
- 1 cup granulated sugar
- 2 cups all-purpose flour
For the Cream Cheese Filling
- 1 package (8 oz) cream cheese, softened
- 1 egg
- Zest and juice from one lemon (about 2 tablespoons juice + 1 teaspoon zest)
- ½ cup granulated sugar
For Topping
- Powdered sugar for dusting
Tools You’ll Need
- Mixing bowls
- Hand mixer or stand mixer
- 9×13-inch baking dish
- Whisk
- Zester
How to Make Lemon Cream Cheese Bars
Step-by-Step Instructions
- Preheat Oven: Preheat your oven to 350°F (175°C) and grease your baking dish or line it with parchment paper.
- Make the Crust: In a large bowl, cream together softened butter and granulated sugar until light and fluffy. Add flour and mix until crumbly. Press the mixture evenly into the bottom of the baking dish. Bake for 15-18 minutes, or until lightly golden.
- Prepare the Filling: In another bowl, beat the softened cream cheese until smooth. Add sugar, egg, lemon zest, and lemon juice. Mix until creamy and well combined.
- Assemble: Pour the cream cheese mixture over the baked crust and spread evenly.
- Bake Again: Return to the oven and bake for 20-25 minutes, or until the filling is set.
- Cool: Let the bars cool completely at room temperature, then refrigerate for at least 1 hour before slicing.
- Dust & Serve: Dust with powdered sugar just before serving.
What to Serve with Lemon Cream Cheese Bars
- A cup of hot tea or coffee ☕
- Fresh berries on the side
- Whipped cream
- A drizzle of honey
How to Store
- Refrigerate: Store in an airtight container for up to 4 days.
- Freeze: Freeze bars in a sealed container for up to 2 months. Thaw overnight in the fridge before serving.
Conclusion
These Lemon Cream Cheese Bars are like sunshine in every bite — bright, creamy, and totally irresistible! Whether you’re treating yourself or sharing with friends, they’re bound to disappear fast.
If you try this recipe, I’d love to hear how it turned out! Leave a comment below, share your creation on Pinterest, or tag me on Instagram.
Craving More Sweet Treats?
Try these next:
- Lemon Pound Cake
- Strawberry Cheesecake Bars
- Blueberry Crumble Bars
Nutritional Information (Per Bar)
Happy Baking! 🍋✨
Tips for Success
- Use fresh lemon juice for the best flavor.
- Let the bars cool completely before cutting to get clean slices.
- Sprinkle powdered sugar just before serving to keep it fresh.
- Add a little vanilla extract to the filling for extra depth.
Frequently Asked Questions
Can I make these ahead of time?
Absolutely! These bars taste even better after chilling overnight.
Can I use bottled lemon juice?
Fresh lemon juice is best, but bottled will work in a pinch.
Can I make this recipe gluten-free?
Yes! Simply swap all-purpose flour with your favorite gluten-free flour blend.
More Recipes You'll Love
All Dinner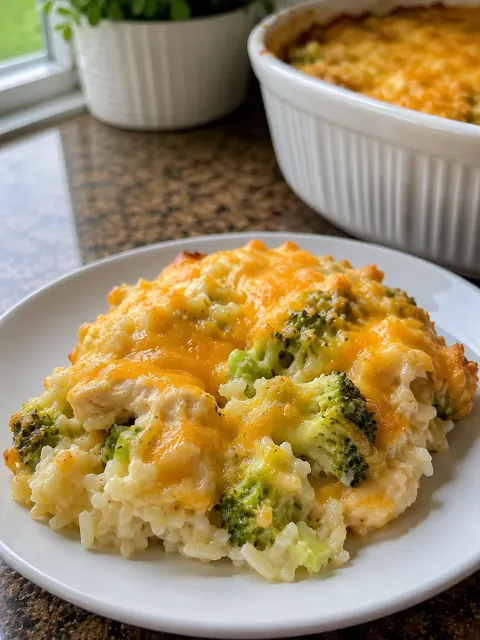 Dinner
Cheesy Broccoli Rice Casserole
A comforting, cheesy casserole packed with rice, broccoli, and melty cheddar — an easy weeknight dinner or side dish everyone loves.
Creamy Broccoli and Cauliflower Casserole 🥦🌸✨
I promise, you’ll never look at broccoli and cauliflower the same way again! This Creamy Broccoli and Cauliflower Casserole is pure comfort — a rich, cheesy…
Cheesy Garlic Scalloped Potatoes 🧄🧀🥔
There’s nothing more comforting than a warm dish of Cheesy Garlic Scalloped Potatoes straight from the oven!
Soft & Savory Red Lentil Bread – Perfect for Any Meal 🍞✨
Looking for a gluten-free, protein-packed bread that’s both delicious and nutritious? This Soft & Savory Red Lentil Bread is the perfect addition to any…
 Dinner
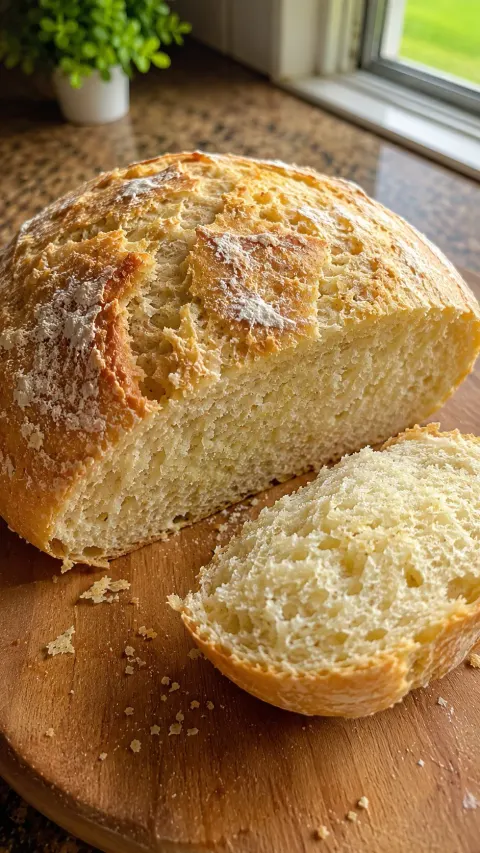
Bread in 20 Minutes – The Perfect Recipe for Those in a Hurry 🍞⏰
Thank you for being here today! There’s something incredibly comforting about the smell of fresh bread baking in the oven.
Caribbean Coconut Sweet Bread Recipe 🥥🍞
There’s something truly special about Caribbean Coconut Sweet Bread — a delightful fusion of soft, slightly dense bread with bursts of sweet coconut in every…
Cafeteria Noodles 🍜✨
These Cafeteria Noodles are the ultimate comfort food—rich, buttery, and packed with creamy, savory goodness.
Brisket Pot Pie 🥧🔥
If you love tender, smoky brisket and flaky, buttery crust, this Brisket Pot Pie is the ultimate comfort food with a bold, Texas-style twist!