
Peanut Butter Fudge
I’m so happy you’re here—because this Peanut Butter Fudge is one of those classic, melt-in-your-mouth…
 By Amanda DavisDEC 9, 20255 MIN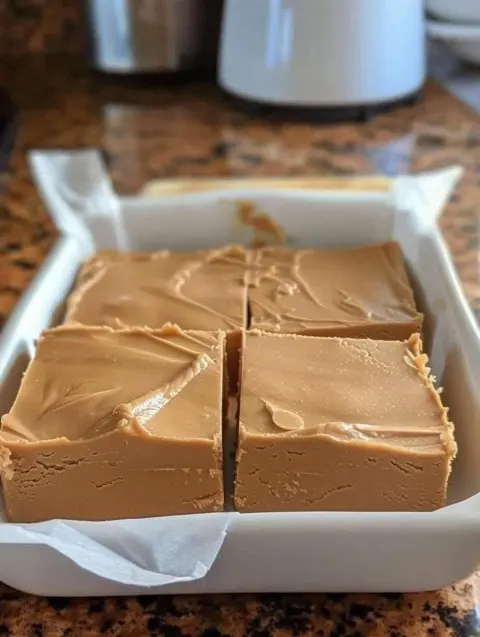
This post may contain affiliate links. If you buy something through one of them, we may earn a small commission at no extra cost to you. Learn more.
Ingredients
Instructions
- Prepare your pan. Line a baking dish with parchment paper.
- Heat sugar and milk. In a saucepan, bring sugar + milk to a boil over medium heat. Stir continuously.
- Boil for exactly 2–3 minutes. The mixture should bubble vigorously.
- Remove from heat. Immediately stir in peanut butter until smooth and creamy.
- Pour into pan. Spread evenly—fudge will set quickly.
- Let cool. Allow to firm up for 20–30 minutes at room temperature.
- Slice and enjoy! Cut into squares once completely set.
I’m so happy you’re here—because this Peanut Butter Fudge is one of those classic, melt-in-your-mouth, oh-so-creamy treats that brings instant joy to any kitchen. It’s simple, nostalgic, and so irresistibly delicious that every time I make a batch, I’m kicking myself for not tripling it… and today, we’re talking three double batches! Anything but boring!!
If you love quick, old-fashioned, no-fail desserts like this delivered straight to your inbox, don’t forget to subscribe!
Peanut Butter Fudge – Overview of the Recipe
This recipe is as classic as it gets—just sugar, milk, and peanut butter. No thermometer. No complicated steps. No long chill time. Just pure, creamy, dreamy fudge that comes together in minutes.
And because you asked about three double batches, I’ll include measurements for:
- A single batch
- A double batch
- Three double batches (6 batches total!)
Why You’ll Love This Recipe
- Only 3 simple ingredients
- No special tools
- No candy thermometer needed
- Ready in minutes
- Perfect for gifting
- Great for bake sales, holiday trays, or potlucks
- Very budget-friendly
What Does Peanut Butter Fudge Taste Like?
Creamy, smooth, rich, peanut-buttery perfection. It has the classic old-fashioned fudge texture—firm enough to slice, but melts on your tongue instantly. Sweet, nutty, comforting, and completely addictive!
Benefits of This Recipe
- Foolproof even for beginners
- Scales up beautifully
- No baking involved
- Stays fresh for days
- Stores and freezes extremely well
Ingredients for Peanut Butter Fudge
Single Batch
- 1 cup sugar
- ½ cup milk
- 1 cup peanut butter (creamy works best)
Double Batch
- 2 cups sugar
- 1 cup milk
- 2 cups peanut butter
Three Double Batches (6 batches total)
Perfect for holiday gifting, parties, or filling treat boxes.
- 6 cups sugar
- 3 cups milk
- 6 cups peanut butter
Optional Add-Ins
- Splash of vanilla extract
- Mini chocolate chips
- Sea salt flakes
- Chopped peanuts
- Swirl of Nutella
- Marshmallow fluff
- Crunchy peanut butter
Tools You’ll Need
- Medium or large saucepan (very large if making 3 double batches!)
- Wooden spoon
- 8×8 or 9×13 pan (depending on batch size)
- Parchment paper
- Measuring cups
Additions & Substitutions
Additions
- Add white chocolate chips for a sweeter fudge
- Add crushed pretzels on top for salty crunch
- Add cocoa for a swirl
- Add butterscotch chips
Substitutions
- Swap peanut butter for almond or cashew butter
- Use oat or evaporated milk
- Reduce sugar slightly for a less sweet fudge
How to Make Peanut Butter Fudge
- Prepare your pan. Line a baking dish with parchment paper.
- Heat sugar and milk. In a saucepan, bring sugar + milk to a boil over medium heat. Stir continuously.
- Boil for exactly 2–3 minutes. The mixture should bubble vigorously.
- Remove from heat. Immediately stir in peanut butter until smooth and creamy.
- Pour into pan. Spread evenly—fudge will set quickly.
- Let cool. Allow to firm up for 20–30 minutes at room temperature.
- Slice and enjoy! Cut into squares once completely set.
Note for Large (Triple Double) Batches
A very large pot is essential! If your pot is too small, make the batches one at a time—this fudge cooks so fast that it’s easy to do.
What to Serve With Peanut Butter Fudge
- Holiday cookie trays
- Hot chocolate
- Ice cream sundaes
- Coffee or tea
- Chocolate desserts (brownies, bark, etc.)
Storage Instructions
- Room Temperature: Up to 1 week
- Refrigerator: Up to 3 weeks
- Freezer: Up to 3 months (wrap well)
General Information
- Prep Time: 5 minutes
- Cook Time: 5 minutes
- Set Time: 20 minutes
- Servings: Varies by batch size
- Difficulty: Very easy
- Category: Candy / Dessert / No-Bake
Conclusion
This Peanut Butter Fudge is the simplest, smoothest, and most nostalgic treat—and scaling it up for three double batches means you’ll have plenty to share (or keep… I won’t tell!). It’s melt-in-your-mouth delicious, unbelievably easy, and perfect for gifting, snacking, or holiday treat trays.
If you loved this recipe, try my No-Bake Crunch Bars, Four Ingredient Nougat Bars, and Ooey Gooey Bars next!
Share Your Creations!
Made this fudge? I’d love to see it! Leave a review and share your photos on Pinterest—your treats always inspire me!
Nutritional Information (per piece)
Approximate values:
- Calories: 120
- Fat: 5g
- Carbs: 16g
- Protein: 2g
Tips for Success
- Boil for only 2–3 minutes—overboiling makes it crumbly.
- Stir constantly to prevent scorching.
- Use creamy peanut butter for the smoothest texture.
- Line the pan for easier removal.
- Cut before it gets too firm for clean edges.
Frequently Asked Questions
Can I use crunchy peanut butter?
Yes! It adds amazing texture.
Why is my fudge grainy?
It boiled too long, or wasn’t stirred enough.
Can I microwave this recipe?
Yes—heat sugar + milk in 30-second intervals until boiling, then stir in peanut butter.
Can I add chocolate?
Absolutely—melt chocolate chips into the hot mixture or swirl on top.
Why didn’t my fudge set?
It needed a slightly longer boil time. Cool it in the fridge to firm it up.
More Recipes You'll Love
All Dinner Dinner
Broccoli, Rice, Cheese, and Chicken Casserole 😋
I’m so happy you’re here—because this Broccoli, Rice, Cheese, and Chicken Casserole is one of those cozy, creamy…
 Dinner
Garbage Bread
I’m so happy you’re here—because this Garbage Bread is one of those fun, comforting, everything-but-the-kitchen-sink recipes that absolutely steals the show…
 Dinner
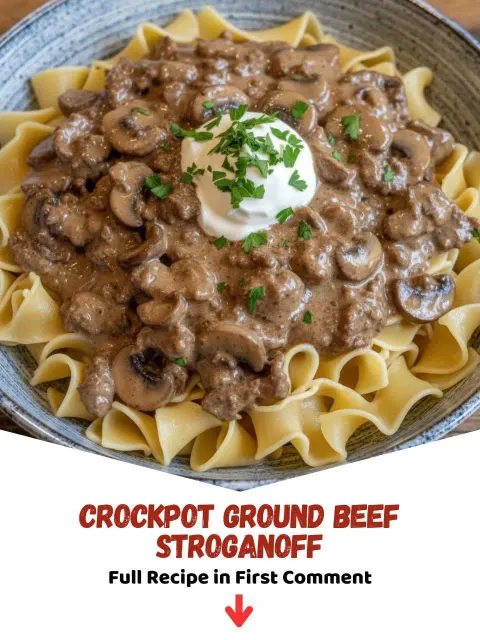
Crockpot Ground Beef
I’m so happy you’re here—because this Crockpot Ground Beef recipe is truly one of the easiest, most versatile…
 Dinner
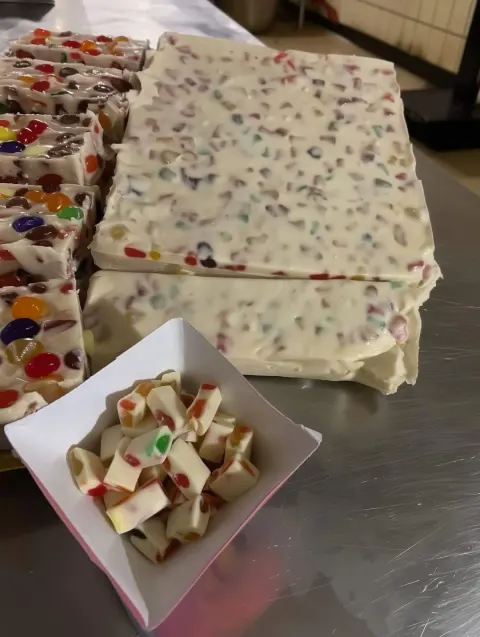
Decadent Four Ingredient Nougat Bars Recipe
I’m so happy you’re here—because these Decadent Four Ingredient Nougat Bars are one of those magical…
 Dinner
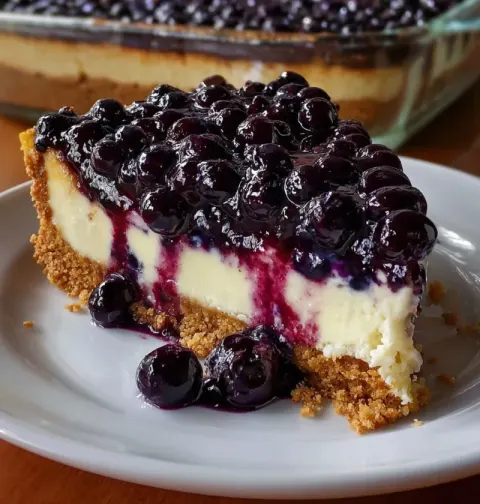
Ultimate Guide to Making Blueberry Cheesecake
I’m so happy you’re here—because this Ultimate Guide to Making Blueberry Cheesecake is going to walk you through everything you need to know to create…
 Dinner
Spinach, Feta & Cranberry Puff Pastry Christmas Trees
I’m so happy you’re here—because these Spinach, Feta & Cranberry Puff Pastry Christmas Trees are one of the cutest…
 Dinner
Lemon Drizzle Loaf Cake
I’m so happy you’re here for this one—because this Lemon Drizzle Loaf Cake is truly something special.
 Dinner
Creamy Sausage Pasta Soup Recipe
I’m honestly so excited you’re here for this one—because this Creamy Sausage Pasta Soup Recipe is the very definition of cozy comfort food.