
Rice Krispy Treat No-Bake Cheesecake 🍚
Rice Krispy Treat No-Bake Cheesecake is the kind of dessert that makes everyone light up the second it hits the table.
 By Amanda DavisFEB 17, 20265 MIN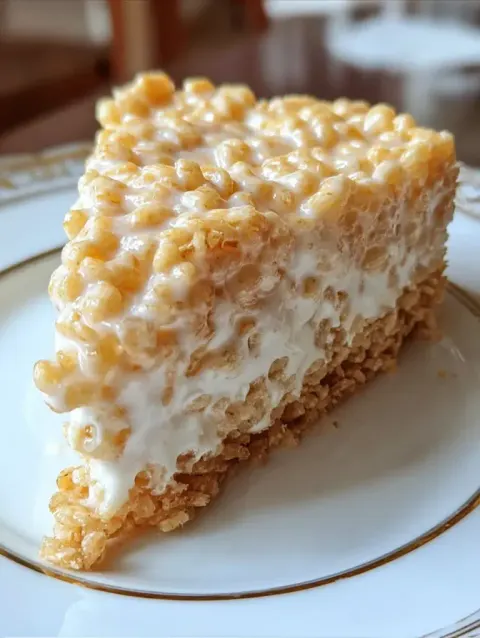
Ingredients
Instructions
- In a large saucepan over low heat, melt the butter.
- Add marshmallows and stir until completely melted and smooth.
- Remove from heat and quickly stir in the Rice Krispies cereal until fully coated.
- Press the mixture firmly into the bottom of a greased 9-inch springform pan. Use lightly buttered hands or the back of a spoon to press evenly.
- Allow to cool while preparing the filling.
- In a large bowl, beat softened cream cheese until smooth.
- Add powdered sugar and vanilla extract. Mix until creamy.
- In a separate bowl, whip heavy cream until stiff peaks form.
- Gently fold the whipped cream into the cream cheese mixture until light and fluffy.
- Spread the cheesecake filling evenly over the cooled Rice Krispy crust.
- Smooth the top with a spatula.
- Refrigerate for at least 4–6 hours, or until fully set. Overnight chilling gives the best texture.
- Before serving, add your favorite toppings like chocolate drizzle, berries, or crushed cookies.
- Release from the springform pan, slice, and enjoy!
Rice Krispy Treat No-Bake Cheesecake is the kind of dessert that makes everyone light up the second it hits the table. This Rice Krispy Treat No-Bake Cheesecake combines a gooey marshmallow cereal base with a rich, creamy cheesecake filling—no oven required! I’m so grateful you’re here because sharing playful, nostalgic desserts like this one brings out the kid in me every single time.
If you’d love this Rice Krispy Treat No-Bake Cheesecake recipe sent straight to your inbox (along with more fun, crowd-pleasing treats), be sure to subscribe to my email list so you never miss a sweet creation!
Why You’ll Love This Rice Krispy Treat No-Bake Cheesecake
This dessert is the perfect mashup of two classics—crispy marshmallow treats and creamy cheesecake.
Reasons to Love This Recipe
- No oven required
- Perfect for summer
- Kid-friendly and party-ready
- Make-ahead dessert
- Nostalgic with a gourmet twist
What Does Rice Krispy Treat No-Bake Cheesecake Taste Like?
The base is buttery, gooey, and slightly chewy from the marshmallows and crispy rice cereal. On top, the cheesecake layer is smooth, tangy, and perfectly sweet. Each bite gives you that irresistible crunch-meets-creaminess combination. And the smell of melted marshmallows while you’re making the crust? Absolutely incredible!!
Benefits of This Recipe
- Quick prep time
- Minimal ingredients
- No water bath or baking stress
- Easily customizable
- Great for beginners
Ingredients for Rice Krispy Treat No-Bake Cheesecake
Here’s everything you’ll need.
For the Rice Krispy Base
- 4 cups Rice Krispies cereal
- 3 tablespoons unsalted butter
- 4 cups mini marshmallows
For the No-Bake Cheesecake Filling
- 16 oz cream cheese, softened
- 1 cup powdered sugar
- 1 teaspoon vanilla extract
- 1 ½ cups heavy whipping cream
Optional Toppings
- Chocolate drizzle
- Fresh strawberries
- Crushed Oreos
- Caramel sauce
- Extra cereal for garnish
Kitchen Tools You’ll Need
- 9-inch springform pan
- Large saucepan
- Mixing bowls
- Hand mixer or stand mixer
- Spatula
Ingredient Additions and Substitutions
I promised versatile—and here’s proof!
- Chocolate version: Add ½ cup melted chocolate to the cheesecake filling.
- Strawberry twist: Fold in chopped strawberries.
- Peanut butter lovers: Mix ¼ cup peanut butter into the filling.
- Gluten-free option: Use certified gluten-free cereal.
- Lower sugar: Reduce powdered sugar slightly to taste.
How to Make Rice Krispy Treat No-Bake Cheesecake Step by Step
Step 1: Make the Rice Krispy Base
In a large saucepan over low heat, melt the butter.
Add marshmallows and stir until completely melted and smooth.
Remove from heat and quickly stir in the Rice Krispies cereal until fully coated.
Press the mixture firmly into the bottom of a greased 9-inch springform pan. Use lightly buttered hands or the back of a spoon to press evenly.
Allow to cool while preparing the filling.
Step 2: Prepare the Cheesecake Filling
In a large bowl, beat softened cream cheese until smooth.
Add powdered sugar and vanilla extract. Mix until creamy.
In a separate bowl, whip heavy cream until stiff peaks form.
Gently fold the whipped cream into the cream cheese mixture until light and fluffy.
Step 3: Assemble the Cheesecake
Spread the cheesecake filling evenly over the cooled Rice Krispy crust.
Smooth the top with a spatula.
Step 4: Chill
Refrigerate for at least 4–6 hours, or until fully set. Overnight chilling gives the best texture.
Step 5: Add Toppings and Serve
Before serving, add your favorite toppings like chocolate drizzle, berries, or crushed cookies.
Release from the springform pan, slice, and enjoy!
What to Serve with Rice Krispy Treat No-Bake Cheesecake
This dessert pairs beautifully with:
- Fresh fruit salad
- Iced coffee
- Cold milk
- Vanilla ice cream
- A drizzle of warm caramel
It’s perfect for birthday parties, potlucks, or summer BBQs.
Storage Instructions
Store Rice Krispy Treat No-Bake Cheesecake in the refrigerator for up to 4 days.
Cover tightly with plastic wrap or store in an airtight container.
Freezing is possible for up to 1 month. Thaw overnight in the refrigerator before serving.
General Information About This Dessert
Rice Krispy treats have been a beloved no-bake dessert for decades, and no-bake cheesecake is a classic for its simplicity. Combining the two creates a fun, modern dessert that’s playful yet impressive.
It’s proof that simple ingredients can create something spectacular—anything but boring!!
Conclusion
Rice Krispy Treat No-Bake Cheesecake is creamy, crunchy, nostalgic, and completely irresistible. With its gooey marshmallow base and fluffy cheesecake topping, it’s a dessert that feels both playful and indulgent. Best of all, there’s no oven required!
If you love fun no-bake desserts, you might also enjoy Peach Icebox Cake, Peach Cheesecake Bars, or Fresh Peach Parfaits for another sweet treat that’s easy and impressive.
I’d love to hear how your Rice Krispy Treat No-Bake Cheesecake turns out. Leave a review below and share your photos on Pinterest—it truly makes my day seeing your delicious creations!
Nutritional Information (Approximate Per Slice)
- Calories: 480
- Protein: 6g
- Carbohydrates: 45g
- Fat: 31g
- Saturated Fat: 18g
- Sugar: 32g
- Sodium: 240mg
Tips for Success
- Press the crust firmly so it holds together when slicing.
- Use room-temperature cream cheese for a smooth filling.
- Whip cream to stiff peaks for structure.
- Chill fully before slicing for clean cuts.
- Run a knife under hot water before slicing for perfect pieces.
Frequently Asked Questions
Can I make this ahead of time?
Yes! It’s best made at least one day in advance.
Why is my filling too soft?
The whipped cream may not have reached stiff peaks, or it needs more chilling time.
Can I use Cool Whip instead of heavy cream?
Yes, substitute with 2 cups of whipped topping.
How do I prevent the crust from sticking?
Lightly grease the pan or line the bottom with parchment paper.
Can I make this in a 9×13 pan?
Absolutely—just press evenly and adjust chilling time as needed.
More Recipes You'll Love
All Dinner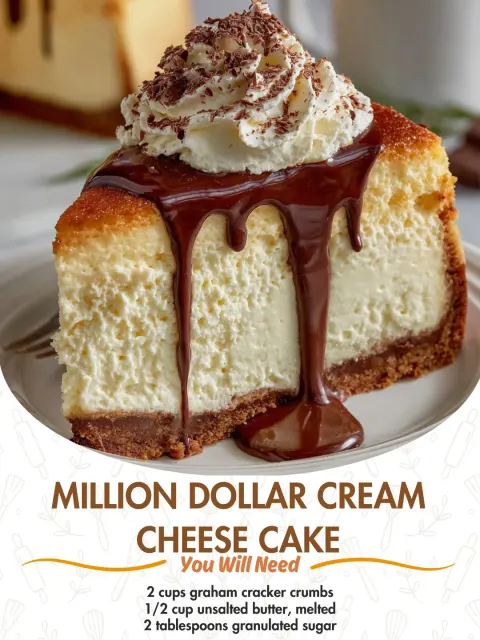 Dinner
Million Dollar Cream Cheese Cake
Million Dollar Cream Cheese Cake is exactly what it sounds like—rich, luxurious, and worth every single bite.
 Dinner
Reuben Egg Rolls
Reuben Egg Rolls are the ultimate mashup of crispy, golden egg rolls and the bold, savory flavors of a classic deli sandwich.
 Dinner
Crispy Cheesy Hotdogs Bake
Crispy Cheesy Hotdogs Bake is the ultimate comfort food mashup—melty cheese, juicy hotdogs, and a golden, buttery crust that bakes up perfectly crisp on top.
 Dinner
Corn Casserole
Corn Casserole is one of those timeless comfort dishes that instantly makes a meal feel complete. This creamy, buttery Corn Casserole is soft in the center…
 Dinner
Jalapeño Popper Bites
Jalapeño Popper Bites are everything we love about classic jalapeño poppers—creamy, cheesy, slightly spicy—but in perfectly poppable, party-ready form.
 Dinner
Amish Hamburger Steak Bake Recipe
Amish Hamburger Steak Bake Recipe is the kind of comforting, stick-to-your-ribs dinner that feels like it came straight from Grandma’s kitchen.
 Dinner
Creamy Cheeseburger Soup with Macaroni
Cheeseburger soup is the ultimate bowl of comfort, and this creamy cheeseburger soup with macaroni truly tastes like a warm hug on a chilly evening.
 Dinner
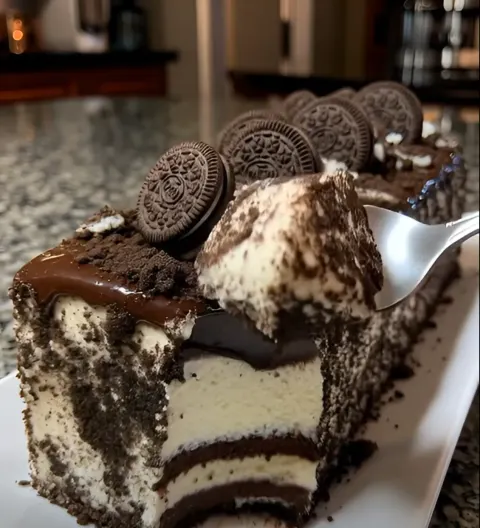
Cookies and Cream Oreo Cake
Cookies and Cream Oreo Cake is one of those desserts that makes everyone light up the second you set it on the table.