
Christmas Snowman White Chocolate Treats
Chocolate sandwich cookies dipped in creamy white chocolate and turned into little snowman faces, with chocolate eyes…
 By Amanda DavisNOV 17, 20268 MIN
This post may contain affiliate links. If you buy something through one of them, we may earn a small commission at no extra cost to you. Learn more.
Ingredients
Instructions
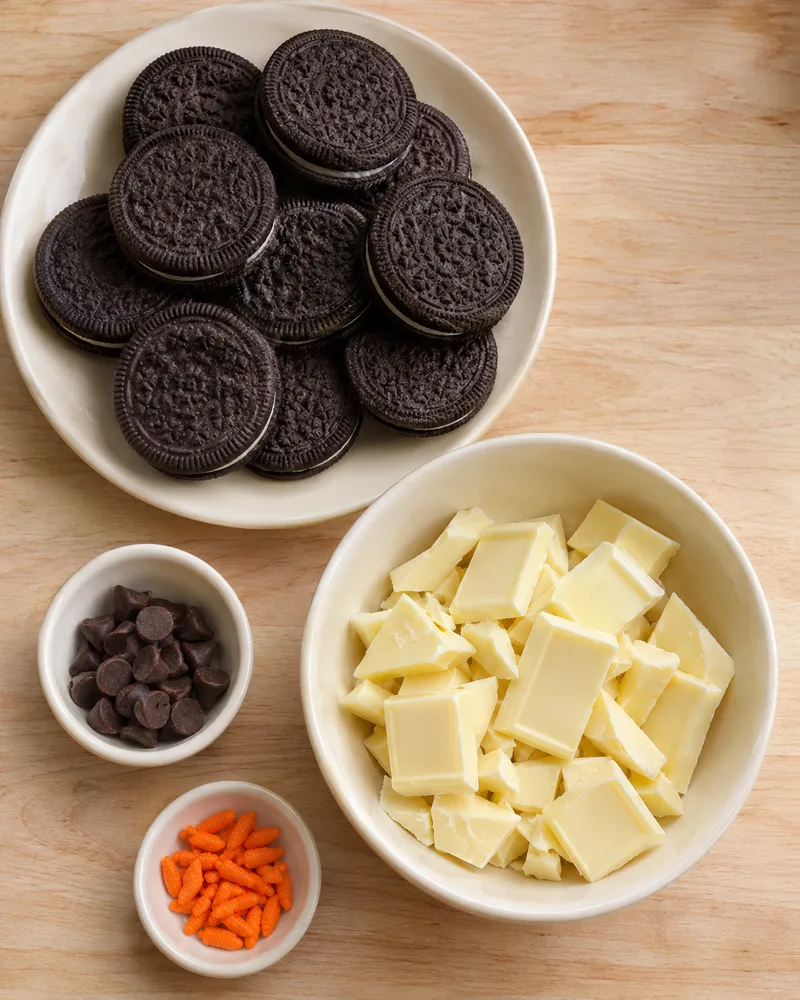
- Line a large baking sheet with parchment paper. Set out the cookies, the 24 carrot sprinkles in a small dish, a fork, a toothpick, and a small piping bag or zip-top bag. Finely chop the white chocolate (and the semisweet chocolate, if you're using a bar) and keep them in separate, completely dry bowls.
- Melt the white chocolate in a dry, microwave-safe bowl at 50% power for 30 seconds, then stir well. Continue in 15- to 20-second bursts, stirring after each one, until only a few small pieces remain, about 2 to 4 minutes in all. Stir until smooth; the leftover heat melts the last bits. It should feel just warm, never hot. Keep every drop of water and steam away from it.
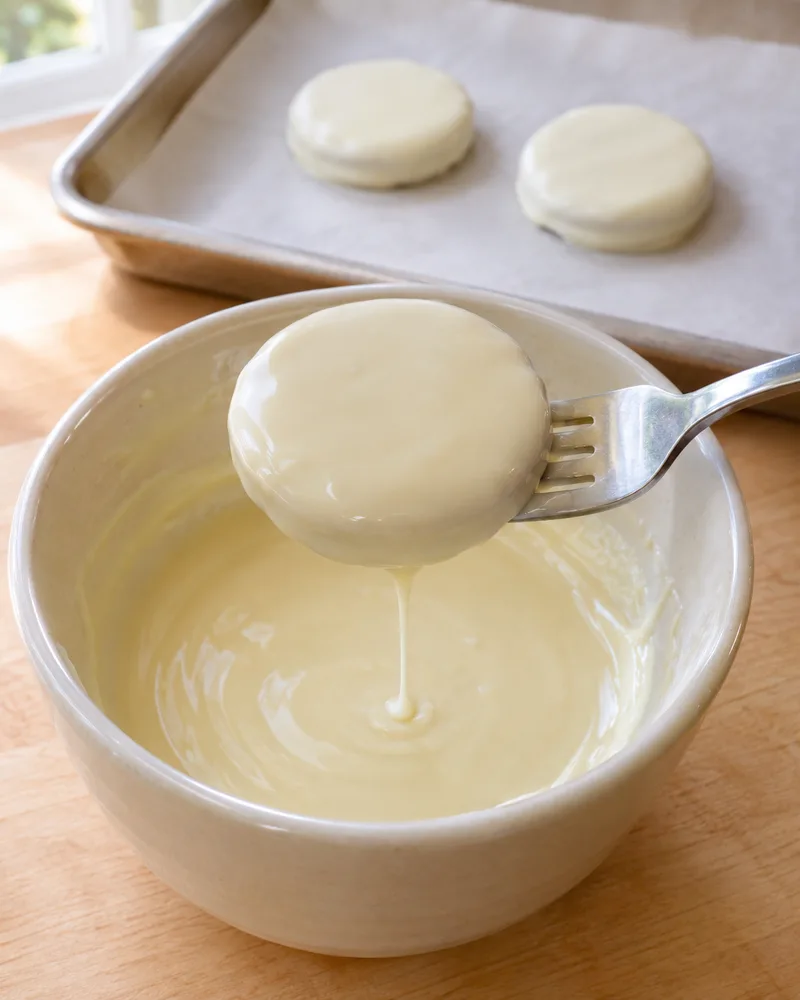
- Drop one cookie into the white chocolate and turn it with the fork until it's covered. Lift it out on the fork, let the excess drip back for a few seconds, then tap the fork firmly against the rim of the bowl several times and drag the underside of the fork across the rim. Use the toothpick to slide the cookie onto the parchment.
- While the coating is still wet and tacky, within about a minute, press a carrot sprinkle into the center of the cookie for the nose. Repeat the dipping and the nose with the remaining cookies, one at a time. If the white chocolate thickens, rewarm it at 50% power for 10 seconds and stir.
- Let the cookies sit at cool room temperature until the coating is firm and no longer tacky, about 30 minutes. A warm kitchen takes longer.
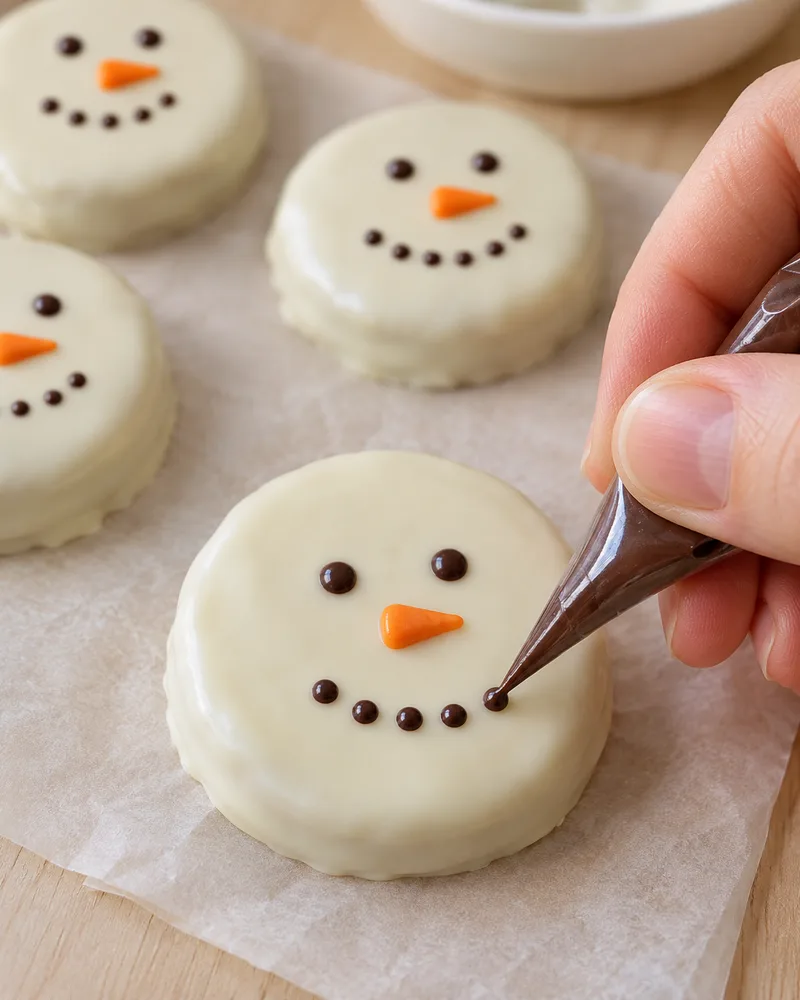
- Melt the semisweet chocolate at 50% power in 15-second bursts, stirring between each, until smooth, about 1 minute. Spoon it into the piping bag or a corner of the zip-top bag and snip off a very small tip.
- Pipe two small dots above the nose for the eyes, then five tiny dots in a gentle curve below the nose for the smile.
- Let the decorations firm up at cool room temperature, about 20 minutes, before stacking, serving or packaging.
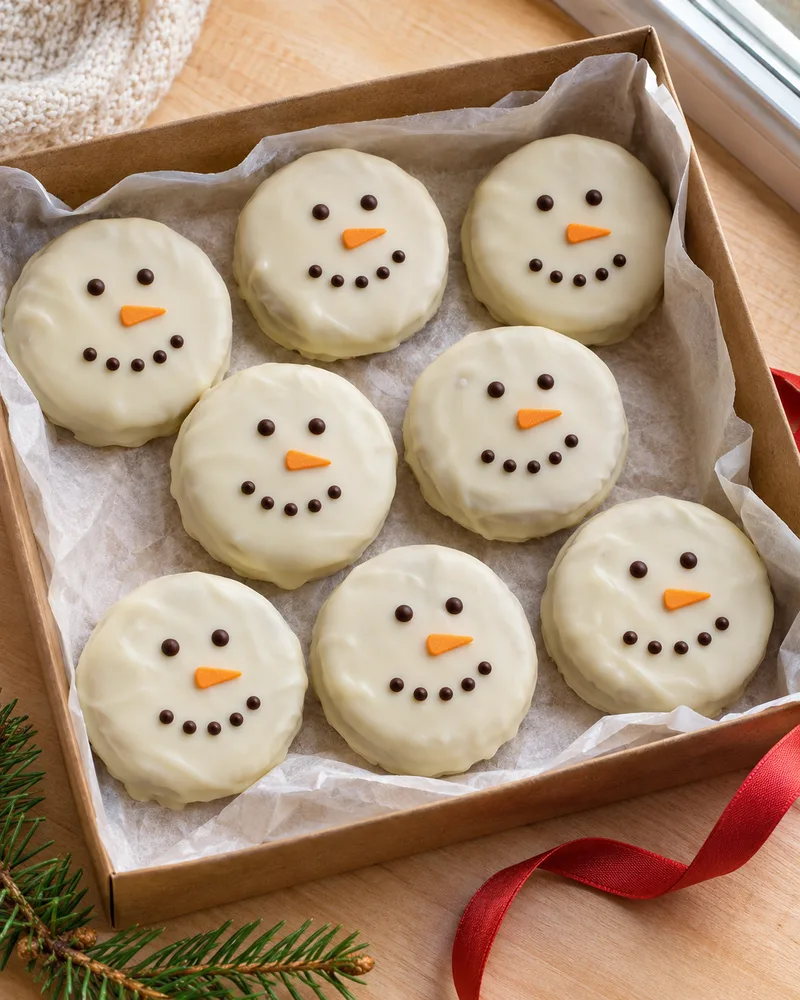
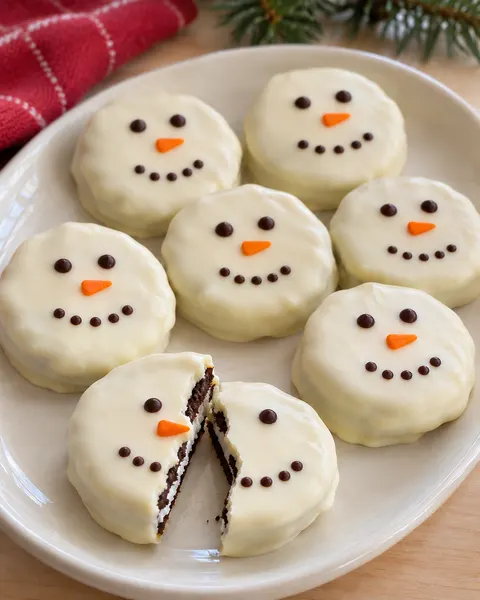
A smooth, creamy shell of white chocolate around a crunchy chocolate sandwich cookie, finished with the simplest snowman face: two chocolate eyes, a dotted smile and a little orange carrot nose.
These Christmas snowman white chocolate treats need no oven. You dip, add a nose, let the coating set, then pipe on the faces. Each one is a single round cookie, which makes them easy to stack on a holiday cookie tray or pack into a gift box. The recipe makes 24.
Why You'll Love This Recipe
- No baking. Just melting, dipping and a little piping.
- Four ingredients. Cookies, white chocolate, semisweet chocolate and carrot sprinkles.
- Beginner-friendly faces. The eyes and smile are only dots, so there's no tricky drawing.
- Made for sharing. They're flat, so they stack neatly in tins and boxes.
- Kid-friendly helping. Little hands can place the noses while you do the dipping.
Ingredients and Notes
The full amounts are in the ingredient list. A few notes on each one:
Chocolate sandwich cookies. 24 regular cookies, such as Oreos. Regular ones are the right thickness for dipping; double-stuffed cookies are taller and harder to coat neatly.
White chocolate. 16 ounces of real white chocolate baking bars, finely chopped. Look for cocoa butter in the ingredient list. Bars melt more smoothly than chips, which contain stabilizers that help them hold their shape. You won't use every bit of it, but a full bowl makes dipping much easier.
Semisweet chocolate. 2 ounces of chips or a finely chopped bar, for piping the eyes and smiles. That's more than the dots need, but a tiny amount is hard to melt and pipe.
Orange carrot-shaped sprinkles. 24, one per cookie. You'll find them with holiday sprinkles or in snowman sprinkle mixes.
White candy melts instead of white chocolate
You can use 16 ounces of white candy melts in place of the white chocolate. Candy melts are a candy coating, not real white chocolate: they're made with vegetable fat instead of cocoa butter. They melt easily, set faster and stay firmer at room temperature, but they taste sweeter and less creamy. Melt them following the package directions. Everything else in the recipe stays the same.
Equipment
- A large baking sheet lined with parchment paper.
- A microwave-safe bowl, deep enough to cover a cookie, plus a small one for the semisweet chocolate.
- A dinner fork for dipping and a toothpick for sliding the cookies off.
- A small piping bag or a zip-top sandwich bag.
- A rubber spatula for stirring.
How to Melt White Chocolate Without Overheating It
White chocolate scorches faster than dark chocolate because of its milk solids. Go slowly:
- Chop it finely. Small, even pieces melt evenly, so no part overheats.
- Use 50% power. Heat for 30 seconds, stir, then continue in 15- to 20-second bursts, stirring well after each one.
- Stop early. When only a few small pieces are left, take the bowl out and stir. The heat in the melted chocolate finishes the job.
- Keep it just warm. It should feel slightly warm on your lip or wrist, never hot.
Keep water out. Even a few drops of water or steam can make melted chocolate seize into a thick, grainy paste. Use a completely dry bowl, spatula and fork, and don't cover the bowl while it's hot.
How to Dip for Clean Edges
The goal is a thin, even coat with only a small rim of chocolate at the base:
- Coat it. Drop a cookie into the white chocolate and turn it with the fork until it's covered.
- Lift and drip. Lift it out flat on the fork and hold it over the bowl for a few seconds.
- Tap firmly. Tap the fork against the rim of the bowl several times. This shakes off most of the excess and smooths the top.
- Scrape the bottom. Drag the underside of the fork across the rim to remove the chocolate hanging below.
- Slide it off. Hold the cookie at the edge of the parchment and push it off the fork with a toothpick.
Most of the puddle around the base, sometimes called a "foot," comes from steps 3 and 4 being rushed. A few extra taps make a big difference.
Decorating the Snowman Faces
The nose goes on first. Press a carrot sprinkle into the center of each cookie right after dipping, while the coating is still wet and tacky. Once it sets, the sprinkle won't stick.
The eyes and smile go on last. Wait until the white coating is firm, so the dots sit neatly on top instead of sinking or spreading.
- Snip a very small tip off the piping bag. You can always cut it bigger.
- Practice a few dots on the parchment first.
- Pipe two small dots above the nose for eyes.
- Pipe five tiny dots in a gentle curve below the nose for the smile.
- Hold the bag straight up, squeeze lightly, stop squeezing, then lift. That gives round dots instead of points.
Setting Times and Room Temperature
- White coating: about 30 minutes at cool room temperature before piping.
- Decorations: about 20 minutes more before stacking or packaging.
In a warm kitchen, both take longer. If your kitchen is warm, you can put the tray in the fridge for about 10 minutes to firm up the coating, then let the cookies come back to room temperature before piping so moisture doesn't form on the surface.
Recipe Notes
- Times at a glance: 30 minutes of prep (setting up, dipping and piping), about 5 minutes of melting, and about 50 minutes of setting. 1 hour 25 minutes in total.
- Yield: 24 treats, one cookie each.
- Chocolate amounts: 16 ounces of white chocolate for dipping and 2 ounces of semisweet for the faces. Both leave a little extra in the bowl so dipping and piping stay easy.
Troubleshooting
The coating is too thick. It may have cooled, or it may be slightly overheated. Rewarm it at 50% power for 10 seconds and stir. If it's thick, grainy and won't loosen, it has overheated or touched water and can't be saved for dipping.
The edges are messy. Tap the fork more and scrape the underside across the rim before you set the cookie down. After the coating sets, you can trim any rim around the base with a small sharp knife.
The decorations don't stick. The nose needs to go on while the coating is still wet. If you missed that moment, dab a tiny dot of melted semisweet or white chocolate on the back of the sprinkle and press it on. If piped dots slide or spread, the coating wasn't fully set yet.
Serving Ideas
- Add them to a holiday cookie tray next to sugar cookies, fudge and gingerbread.
- Set them on a hot cocoa bar.
- Use them as a simple kids' party treat or classroom snack.
- Pack a few for teachers, neighbors and coworkers.
Storage, Make Ahead and Packaging
Storage. Keep the treats in an airtight container in a single layer, or in layers separated by parchment, at cool room temperature for up to 1 week. Keep them away from the stove, sunny windows and heaters.
A note on warm rooms. White chocolate that's simply melted, without tempering, can feel softer at warm room temperature than tempered chocolate or candy coating, and it may smudge when handled. Candy melts stay firmer. Either way, these aren't heat-resistant gifts: keep them in a cool spot and don't leave them in a hot car or ship them in warm weather.
Make ahead. Make them up to 1 week before you plan to serve or give them.
Packaging for gifts.
- Wait until the decorations are completely firm.
- Line a box or tin with parchment and set the cookies in a single layer, or in layers with parchment in between.
- Fill any gaps with crumpled parchment so they don't slide around.
- Store the boxes somewhere cool until you hand them out.
Frequently Asked Questions
Can I use white chocolate chips?
Baking bars are best. Chips contain stabilizers that help them hold their shape, so they often melt thicker and are harder to dip with.
Do I need to temper the white chocolate?
No. Gentle melting works for this recipe. Untempered white chocolate sets a little softer and is best kept somewhere cool. If you'd like a firmer coating at room temperature, use white candy melts.
Why is my melted white chocolate grainy or stiff?
It either got too hot or came into contact with water or steam. Melt it at 50% power in short bursts, stir between each one, and keep everything that touches it completely dry.
Can I make these ahead for a party?
Yes. Make them up to 1 week ahead and store them airtight at cool room temperature.
What can I use if I don't have a piping bag?
A zip-top sandwich bag works well. Spoon the melted semisweet chocolate into one corner and snip off a tiny tip. A toothpick dipped in melted chocolate also works for the dots.
Can kids help?
Yes. Adults should handle the melting and dipping, and kids can press on the noses and pipe the faces.
More Recipes You'll Love
All Desserts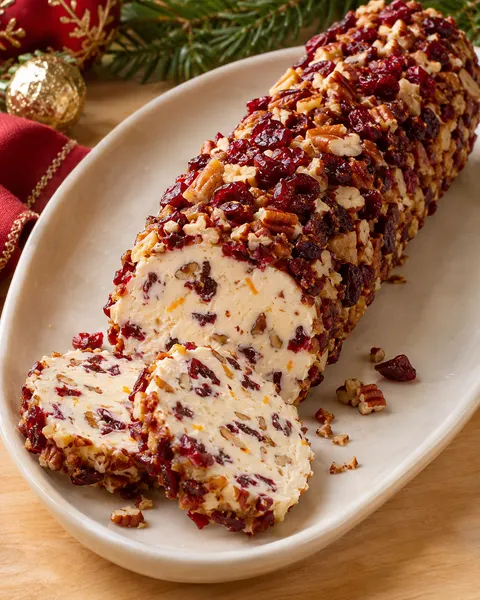 Desserts
Christmas Cranberry Pecan Log
A creamy, orange-scented cream cheese log rolled in dried cranberries and chopped pecans. No baking, no stovetop…
 Desserts
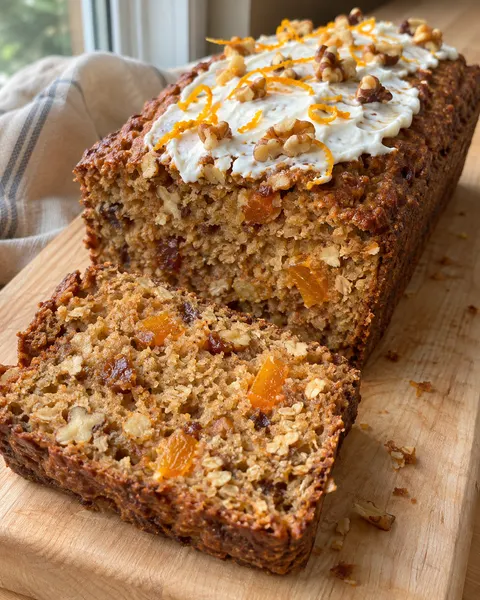
Super Moist Dried Fruit and Walnut Cake (No Added Sugar, No Wheat Flour)
A tender oat loaf sweetened only with a date paste, studded with soft pieces of apricot and crunchy walnuts…
 Desserts
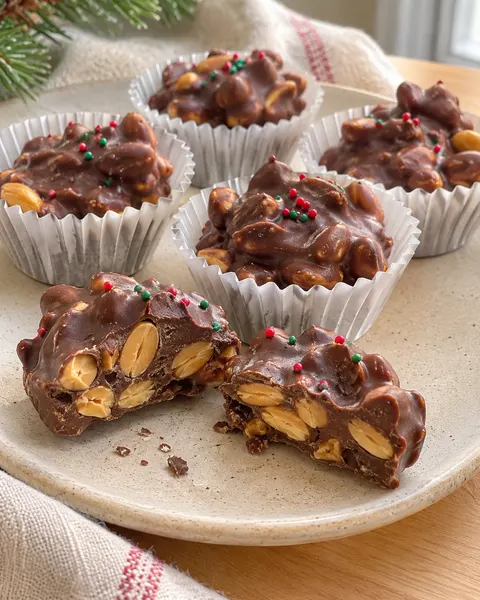
Crockpot Christmas Chocolate Peanut Butter Cups
Crunchy chocolate peanut clusters made in the slow cooker: two pounds of salted peanuts folded into chocolate melted with creamy peanut butter…
 Desserts
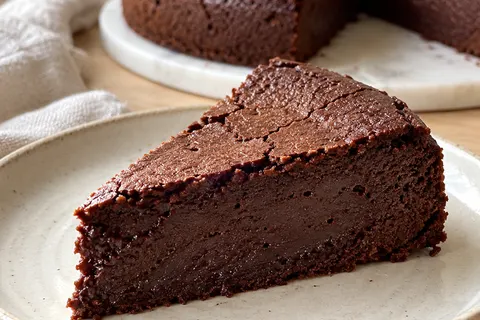
Flourless Greek Yogurt Chocolate Cake
A dense, fudgy dark chocolate cake made with thick Greek yogurt, eggs, cocoa and no flour, baked gently and chilled until rich, creamy and sliceable.
 Desserts
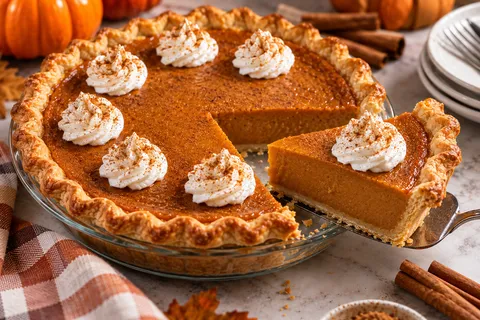
Pumpkin Pie Recipe
This classic pumpkin pie recipe is creamy, warmly spiced, and easy to make from scratch — the perfect make-ahead dessert for Thanksgiving and fall baking.
 Desserts
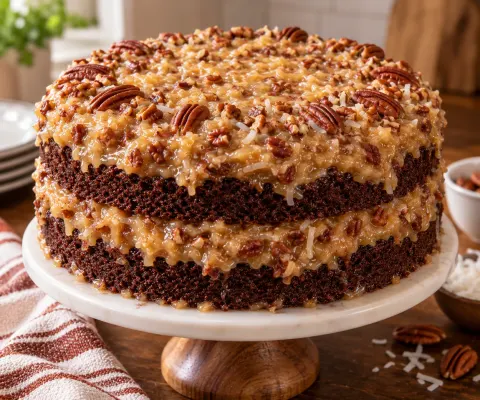
Classic German Chocolate Cake Recipe (Moist & Easy)
Moist chocolate layers filled with rich, homemade coconut pecan frosting — the classic celebration cake that's worth making from scratch.
 Desserts
Lebkuchen Bars
Soft, chewy bar cookies loaded with cinnamon, ginger, cloves, and nutmeg bring all the flavor of classic German Lebkuchen without shaping a single cookie.
 Desserts
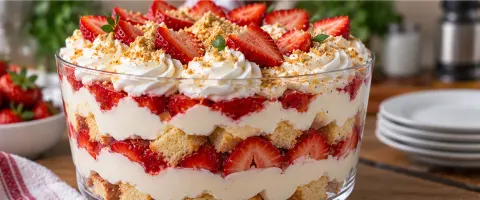
Strawberry Cheesecake Trifle 🍓🍰
Layers of soft cake, creamy cheesecake filling, and juicy strawberries make this trifle as gorgeous to look at as it is easy to throw together.