
Sausage Muffins with Bisquick
Sausage Muffins with Bisquick are one of those cozy, feel-good recipes I’m genuinely thankful to share with you.
 By Amanda DavisJAN 15, 20264 MIN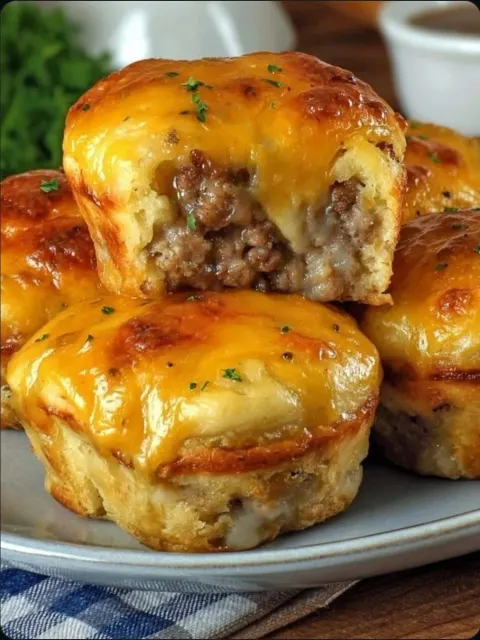
This post may contain affiliate links. If you buy something through one of them, we may earn a small commission at no extra cost to you. Learn more.
Ingredients
Instructions
- Preheat your oven to 375°F (190°C). Brown the sausage in a skillet over medium heat, breaking it up as it cooks. Drain excess grease and let cool slightly.
- In a large bowl, whisk together the eggs and milk. Stir in the Bisquick until just combined. Fold in the cooked sausage and shredded cheese.
- Grease a muffin tin or use liners. Spoon the batter evenly into each cup, filling about ¾ full.
- Bake for 18–22 minutes, or until the tops are golden and a toothpick inserted comes out clean.
- Let the muffins cool for a few minutes, then enjoy warm. I’m kicking myself every time I don’t make extra — they disappear fast!
Sausage Muffins with Bisquick are one of those cozy, feel-good recipes I’m genuinely thankful to share with you. Thank you for being here and cooking along with me — it truly makes my day. 💛 These muffins are warm, savory, fluffy, and packed with hearty sausage flavor, making them perfect for busy mornings, brunch spreads, or make-ahead breakfasts you’ll actually look forward to.
I promised you easy and versatile, and here’s proof! These Sausage Muffins with Bisquick come together quickly with simple ingredients and deliver big, comforting flavor. The smell when these are baking? Absolutely incredible!!
Don’t forget to subscribe so you can receive this recipe (and more breakfast favorites) straight to your inbox — fresh ideas, zero stress.
Sausage Muffins with Bisquick Recipe Overview
This recipe combines savory breakfast sausage, fluffy Bisquick, eggs, and cheese into perfectly portioned muffins. They’re portable, freezer-friendly, and endlessly customizable.
Reasons to Love These Sausage Muffins with Bisquick
Quick and easy to prepare Perfect for meal prep Kid-friendly and filling Customizable with add-ins Great for on-the-go breakfasts
What Do Sausage Muffins with Bisquick Taste Like?
They’re fluffy yet hearty, with rich sausage flavor in every bite. The Bisquick gives them a soft, tender crumb, while the cheese melts throughout, adding just the right amount of savory goodness. Anything but boring!!
Benefits of This Recipe
High in protein to keep you full Perfect make-ahead breakfast Minimal cleanup Uses pantry staples
Ingredients for Sausage Muffins with Bisquick
Main Ingredients
Breakfast sausage (pork, turkey, or chicken) Bisquick baking mix Eggs Milk Shredded cheddar cheese
Optional Add-Ins
Green onions or chives Bell peppers Onion, finely diced Garlic powder or black pepper Red pepper flakes for heat
Kitchen Tools You’ll Need
Large skillet Mixing bowl Muffin tin Measuring cups and spoons Spoon or ice cream scoop
Simple tools for a seriously satisfying recipe.
Ingredient Additions and Substitutions
Use spicy sausage for extra kick Swap cheddar for Colby Jack, pepper jack, or mozzarella Use almond milk or oat milk if needed Add cooked bacon along with sausage Make mini muffins for snacks or kids
This recipe is very forgiving — feel free to clean out the fridge!
How to Make Sausage Muffins with Bisquick Step by Step
Step 1: Cook the Sausage
Preheat your oven to 375°F (190°C). Brown the sausage in a skillet over medium heat, breaking it up as it cooks. Drain excess grease and let cool slightly.
Step 2: Mix the Batter
In a large bowl, whisk together the eggs and milk. Stir in the Bisquick until just combined. Fold in the cooked sausage and shredded cheese.
Step 3: Fill the Muffin Tin
Grease a muffin tin or use liners. Spoon the batter evenly into each cup, filling about ¾ full.
Step 4: Bake
Bake for 18–22 minutes, or until the tops are golden and a toothpick inserted comes out clean.
Step 5: Cool and Serve
Let the muffins cool for a few minutes, then enjoy warm. I’m kicking myself every time I don’t make extra — they disappear fast!
What to Serve with Sausage Muffins with Bisquick
Fresh fruit or fruit salad Scrambled eggs Yogurt or cottage cheese Hash browns or breakfast potatoes
They’re also perfect all on their own with a hot cup of coffee.
Storage Instructions
Store muffins in an airtight container in the refrigerator for up to 4 days.
To freeze:
Wrap individually and freeze for up to 2 months. Reheat in the microwave for 30–60 seconds or in the oven at 350°F until warmed through.
General Recipe Information
Prep Time: 10 minutes Cook Time: 20 minutes Total Time: 30 minutes Servings: 12 muffins
Difficulty: Easy and beginner-friendly.
Conclusion: Why You’ll Love These Sausage Muffins with Bisquick
These Sausage Muffins with Bisquick are easy, hearty, and packed with comforting breakfast flavor. Whether you’re feeding a crowd, prepping for busy mornings, or just craving something savory, this recipe delivers every single time.
If you enjoyed this recipe, you may also love:
Cheesy Breakfast Casserole Bisquick Sausage Balls Egg Muffins with Bacon and Cheese
I’d love to hear from you! Leave a review, share your photos on Pinterest, and let me know how you customized your muffins.
Nutritional Information (Approximate per Muffin)
Calories: 230 Protein: 9g Carbohydrates: 14g Fat: 15g Sugar: 2g Sodium: 520mg
Tips for Success
Don’t overmix the batter Use freshly shredded cheese for best melt Let sausage cool slightly before mixing Grease the pan well to prevent sticking Bake until just golden to keep them fluffy
These small tips make a big difference.
Frequently Asked Questions
Can I make these ahead of time?
Yes! They’re perfect for meal prep and reheat beautifully.
Can I use turkey sausage?
Absolutely — turkey or chicken sausage works great.
Are these good for freezing?
Yes, they freeze very well and reheat quickly.
Can I make them gluten-free?
Use gluten-free Bisquick for a gluten-free version.
Can I make mini muffins?
Yes, reduce baking time to about 12–15 minutes.
More Recipes You'll Love
All Dinner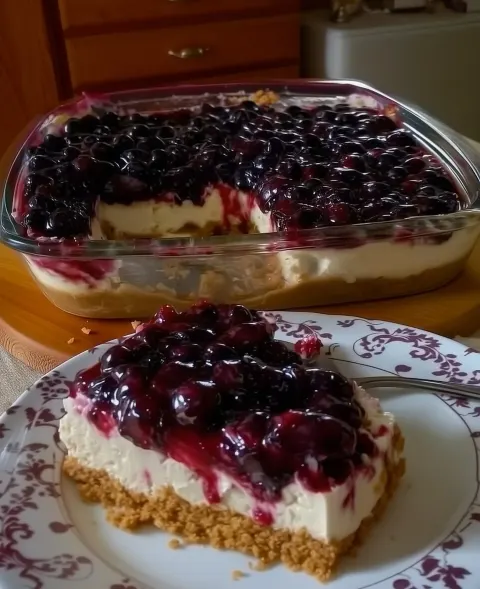 Dinner
Fresh Blueberry Cheesecake
Fresh Blueberry Cheesecake is one of those desserts that feels like a heartfelt thank-you baked into a pan.
 Dinner
Crispy Garlic Parmesan Potato Wedges
Crispy Garlic Parmesan Potato Wedges are everything I promised you they’d be — golden, crunchy on the outside, fluffy on the inside…
 Dinner
Old-School Pecan Dandy Do’s with Sweetened Condensed Milk (A Vintage Southern Treat)
Thank you so much for being here 💛 Truly. Recipes like these take me straight back in time—to church potlucks, handwritten recipe cards…
 Dinner
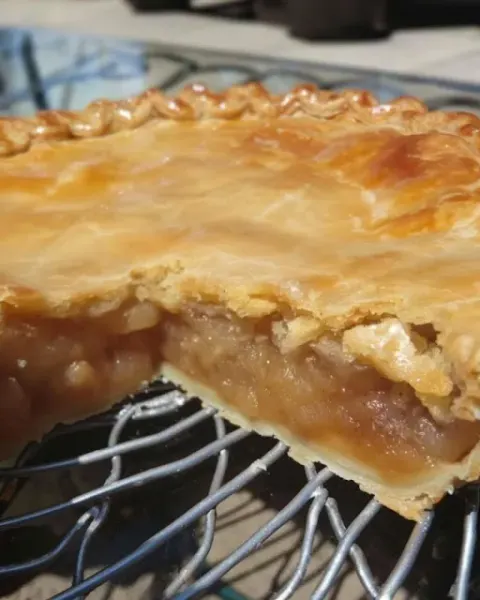
My Grandma’s Apple Strudel Recipe: A Slice of Tradition
Thank you from the bottom of my heart for being here 💛 Recipes like this one mean so much to me, because they carry memories, stories…
 Dinner
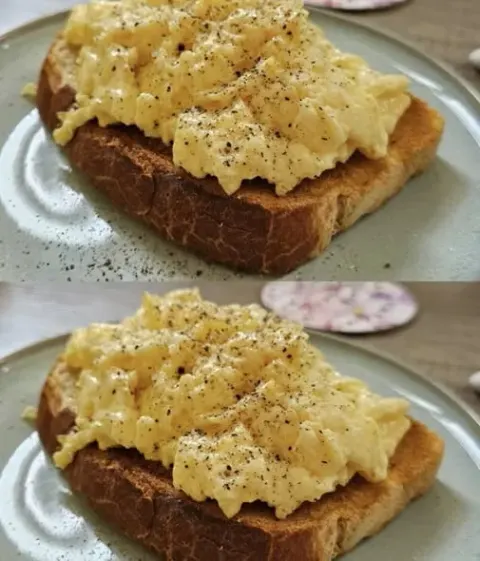
How to Make Perfect Scrambled Eggs Every Time (Soft, Fluffy & Never Dry)
Thank you so much for being here 💛 Truly. Scrambled eggs may seem simple, but getting them perfect—soft, creamy…
 Dinner
Zucchini Cornbread Casserole (Moist, Savory & Comfort-Filled)
Thank you so much for being here 💛 Truly. This Zucchini Cornbread Casserole is one of those cozy, feel-good recipes that sneaks vegetables into comfort food…
 Dinner
Keto Chicken and Broccoli Lasagna (Low-Carb, Creamy & Comforting)
Thank you so much for being here 💛 Truly. If you’re craving cozy, layered comfort food without the carbs…
 Dinner
Bay Leaf and Clove Herbal Tea (Soothing, Warming & Naturally Healing)
Thank you so much for being here 💛 Truly. There’s something deeply comforting about a warm cup of Bay Leaf and Clove Herbal Tea—especially when life feels…